Back
|
Forward
|
Figure List
|
Close Window
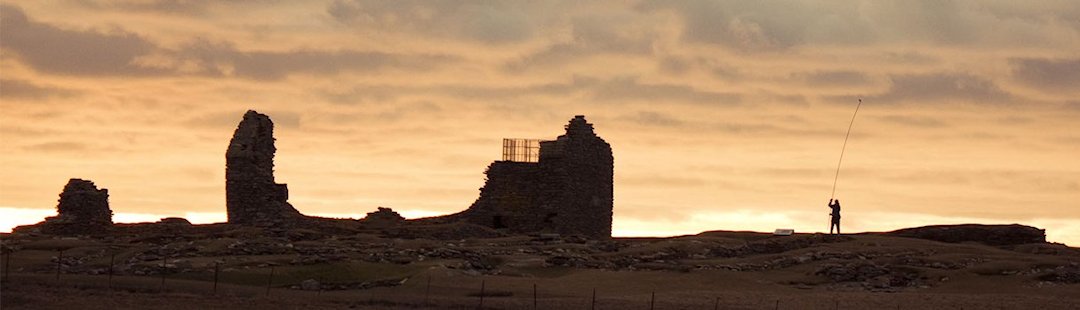
Figure 6: Operating the pole-mounted camera. Image © Kieran Duncan (CC BY-NC-ND 3.0)