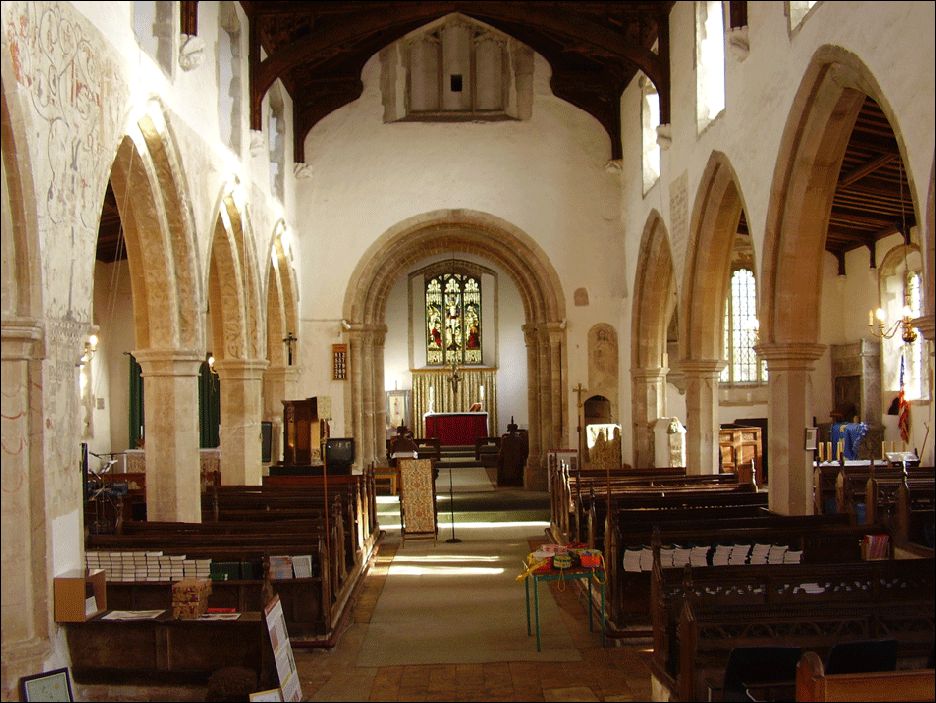
Figure 1: St. Mary the Virgin, Lakenheath (Suffolk) Nave looking east © The Perry Lithgow Partnership
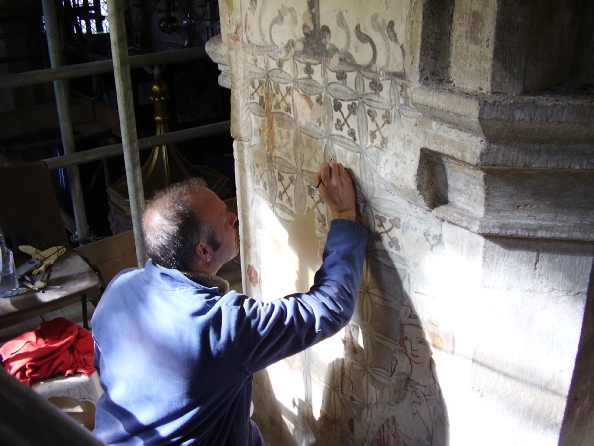
Figure 2: Mark Perry, Conservation Director, at work on the main pier of the north arcade, St. Mary the Virgin, Lakenheath (Suffolk) © The Perry Lithgow Partnership
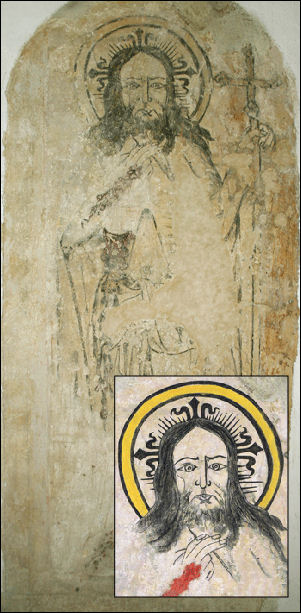
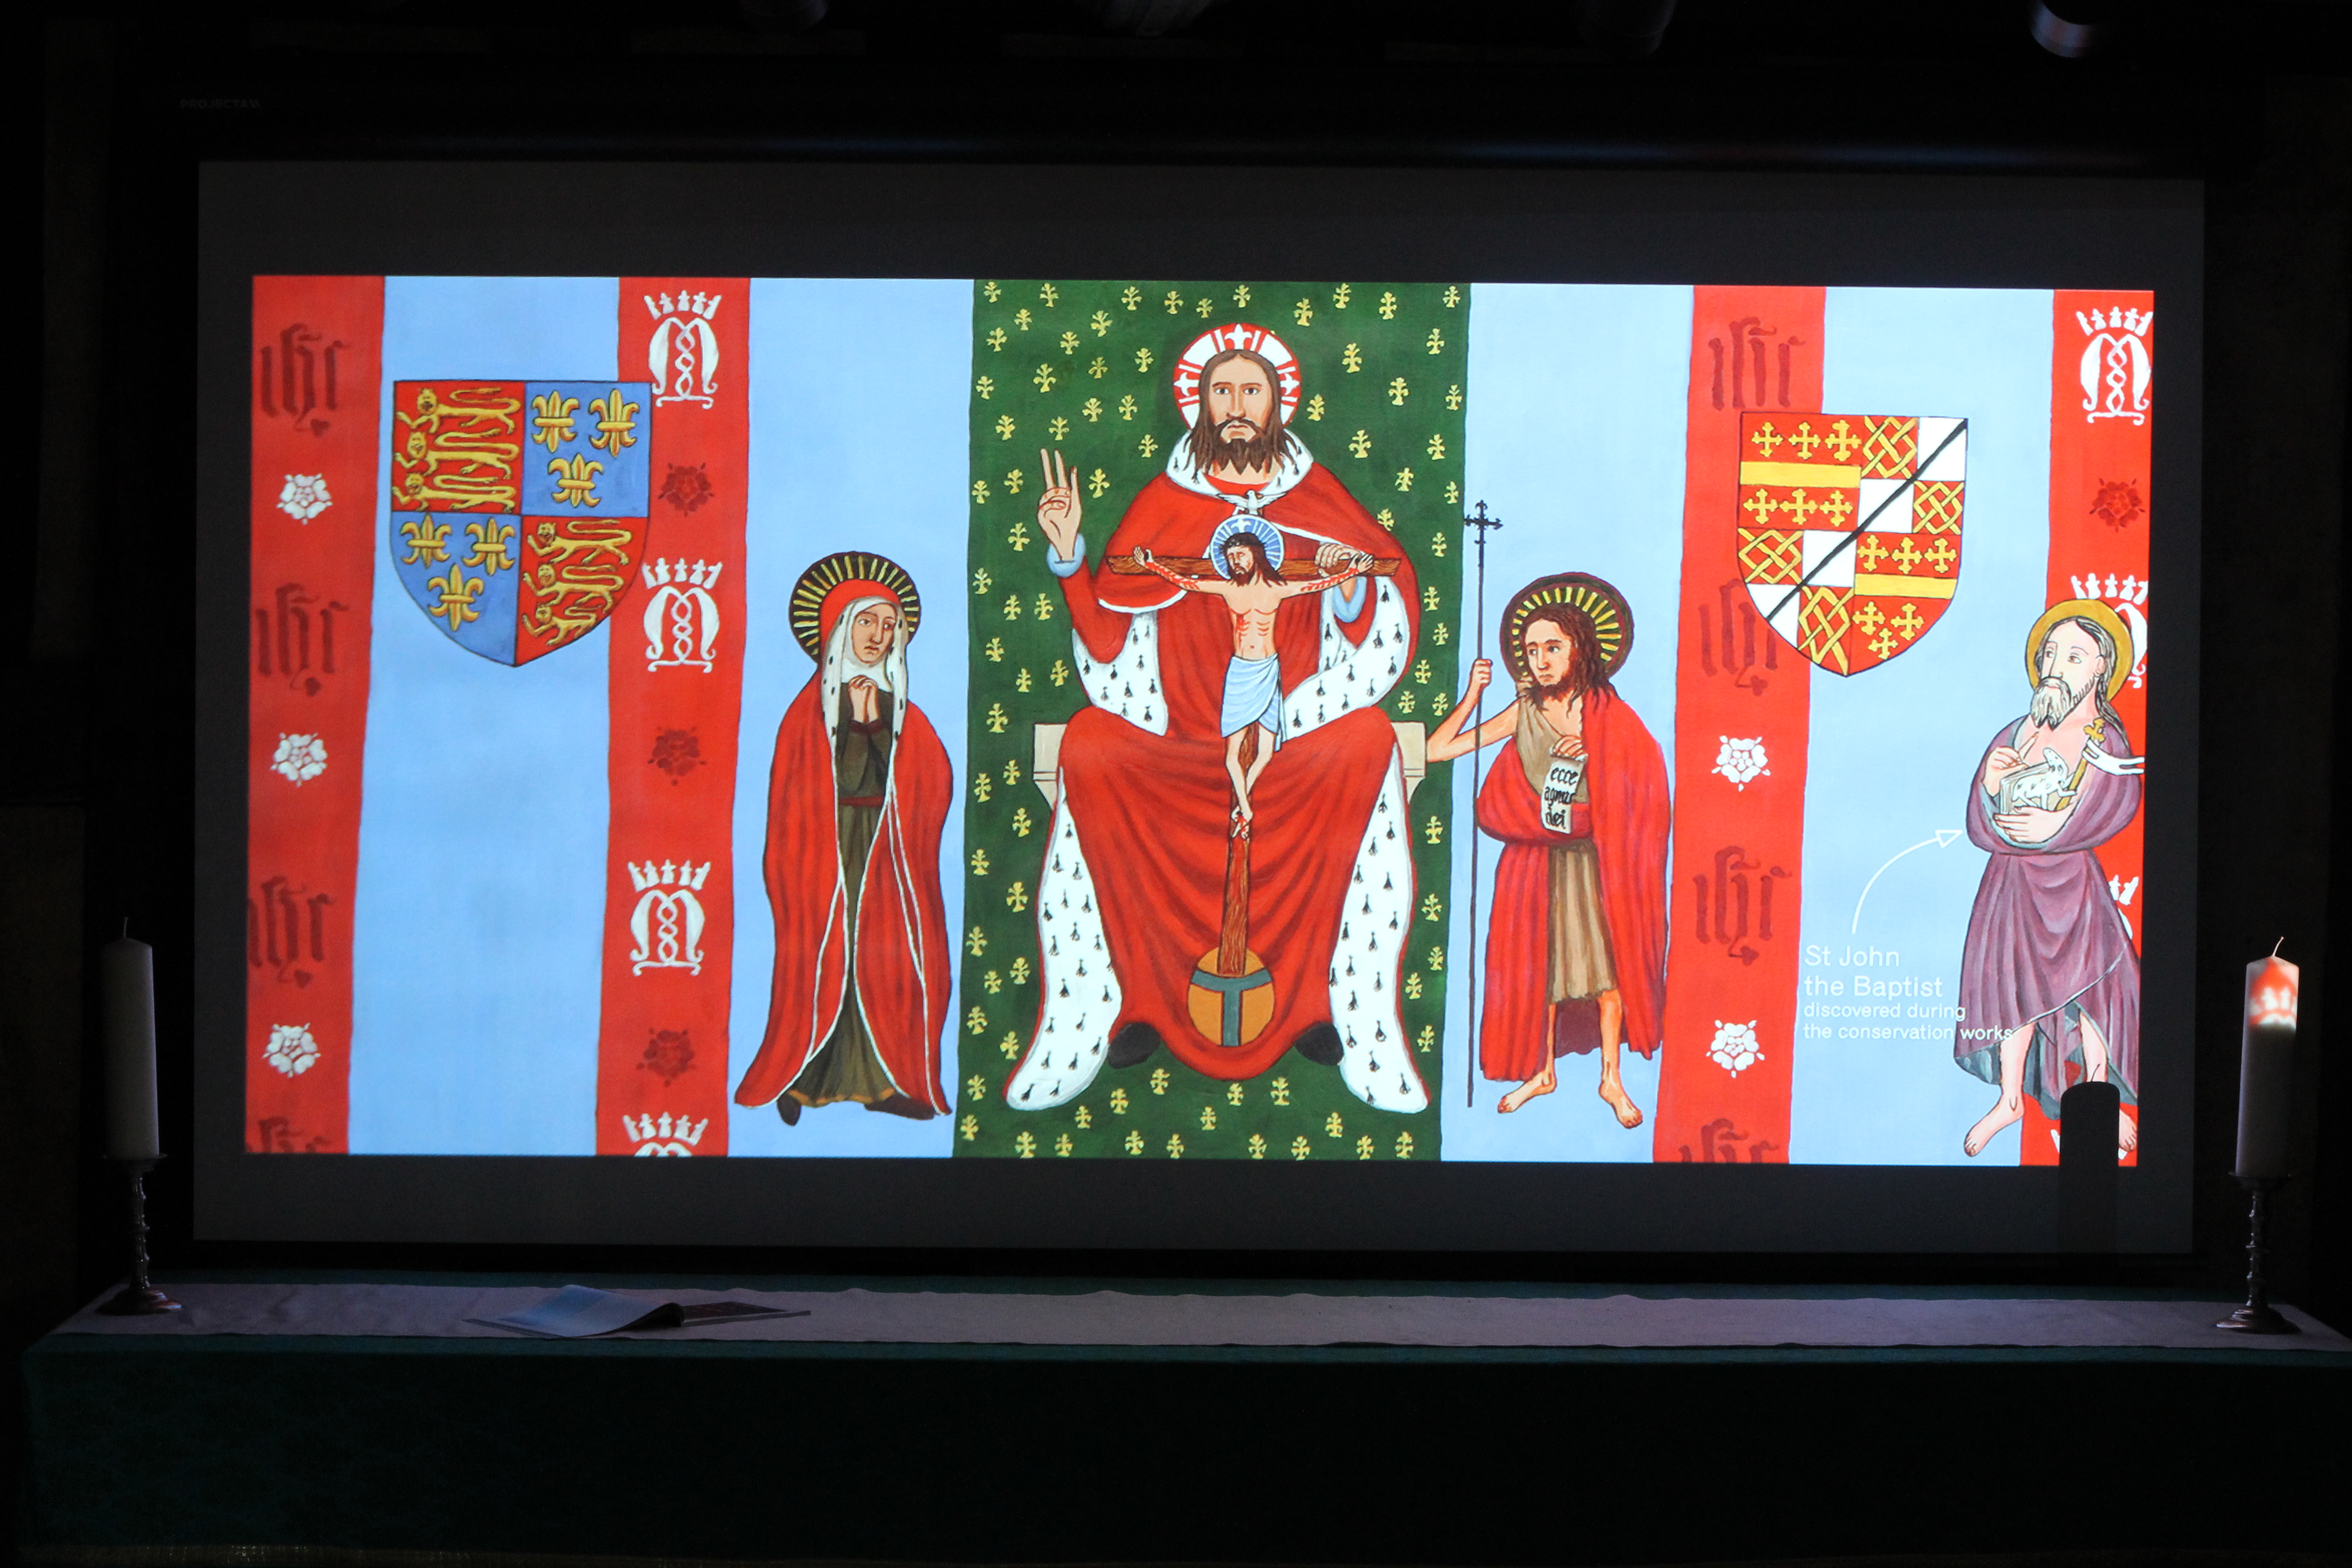
Figure 3: Risen Christ St. Mary the Virgin, Lakenheath (Suffolk) after conservation, with inset reconstruction of the original appearance of vermillion pigments by Perry Lithgow © The Perry Lithgow Partnership
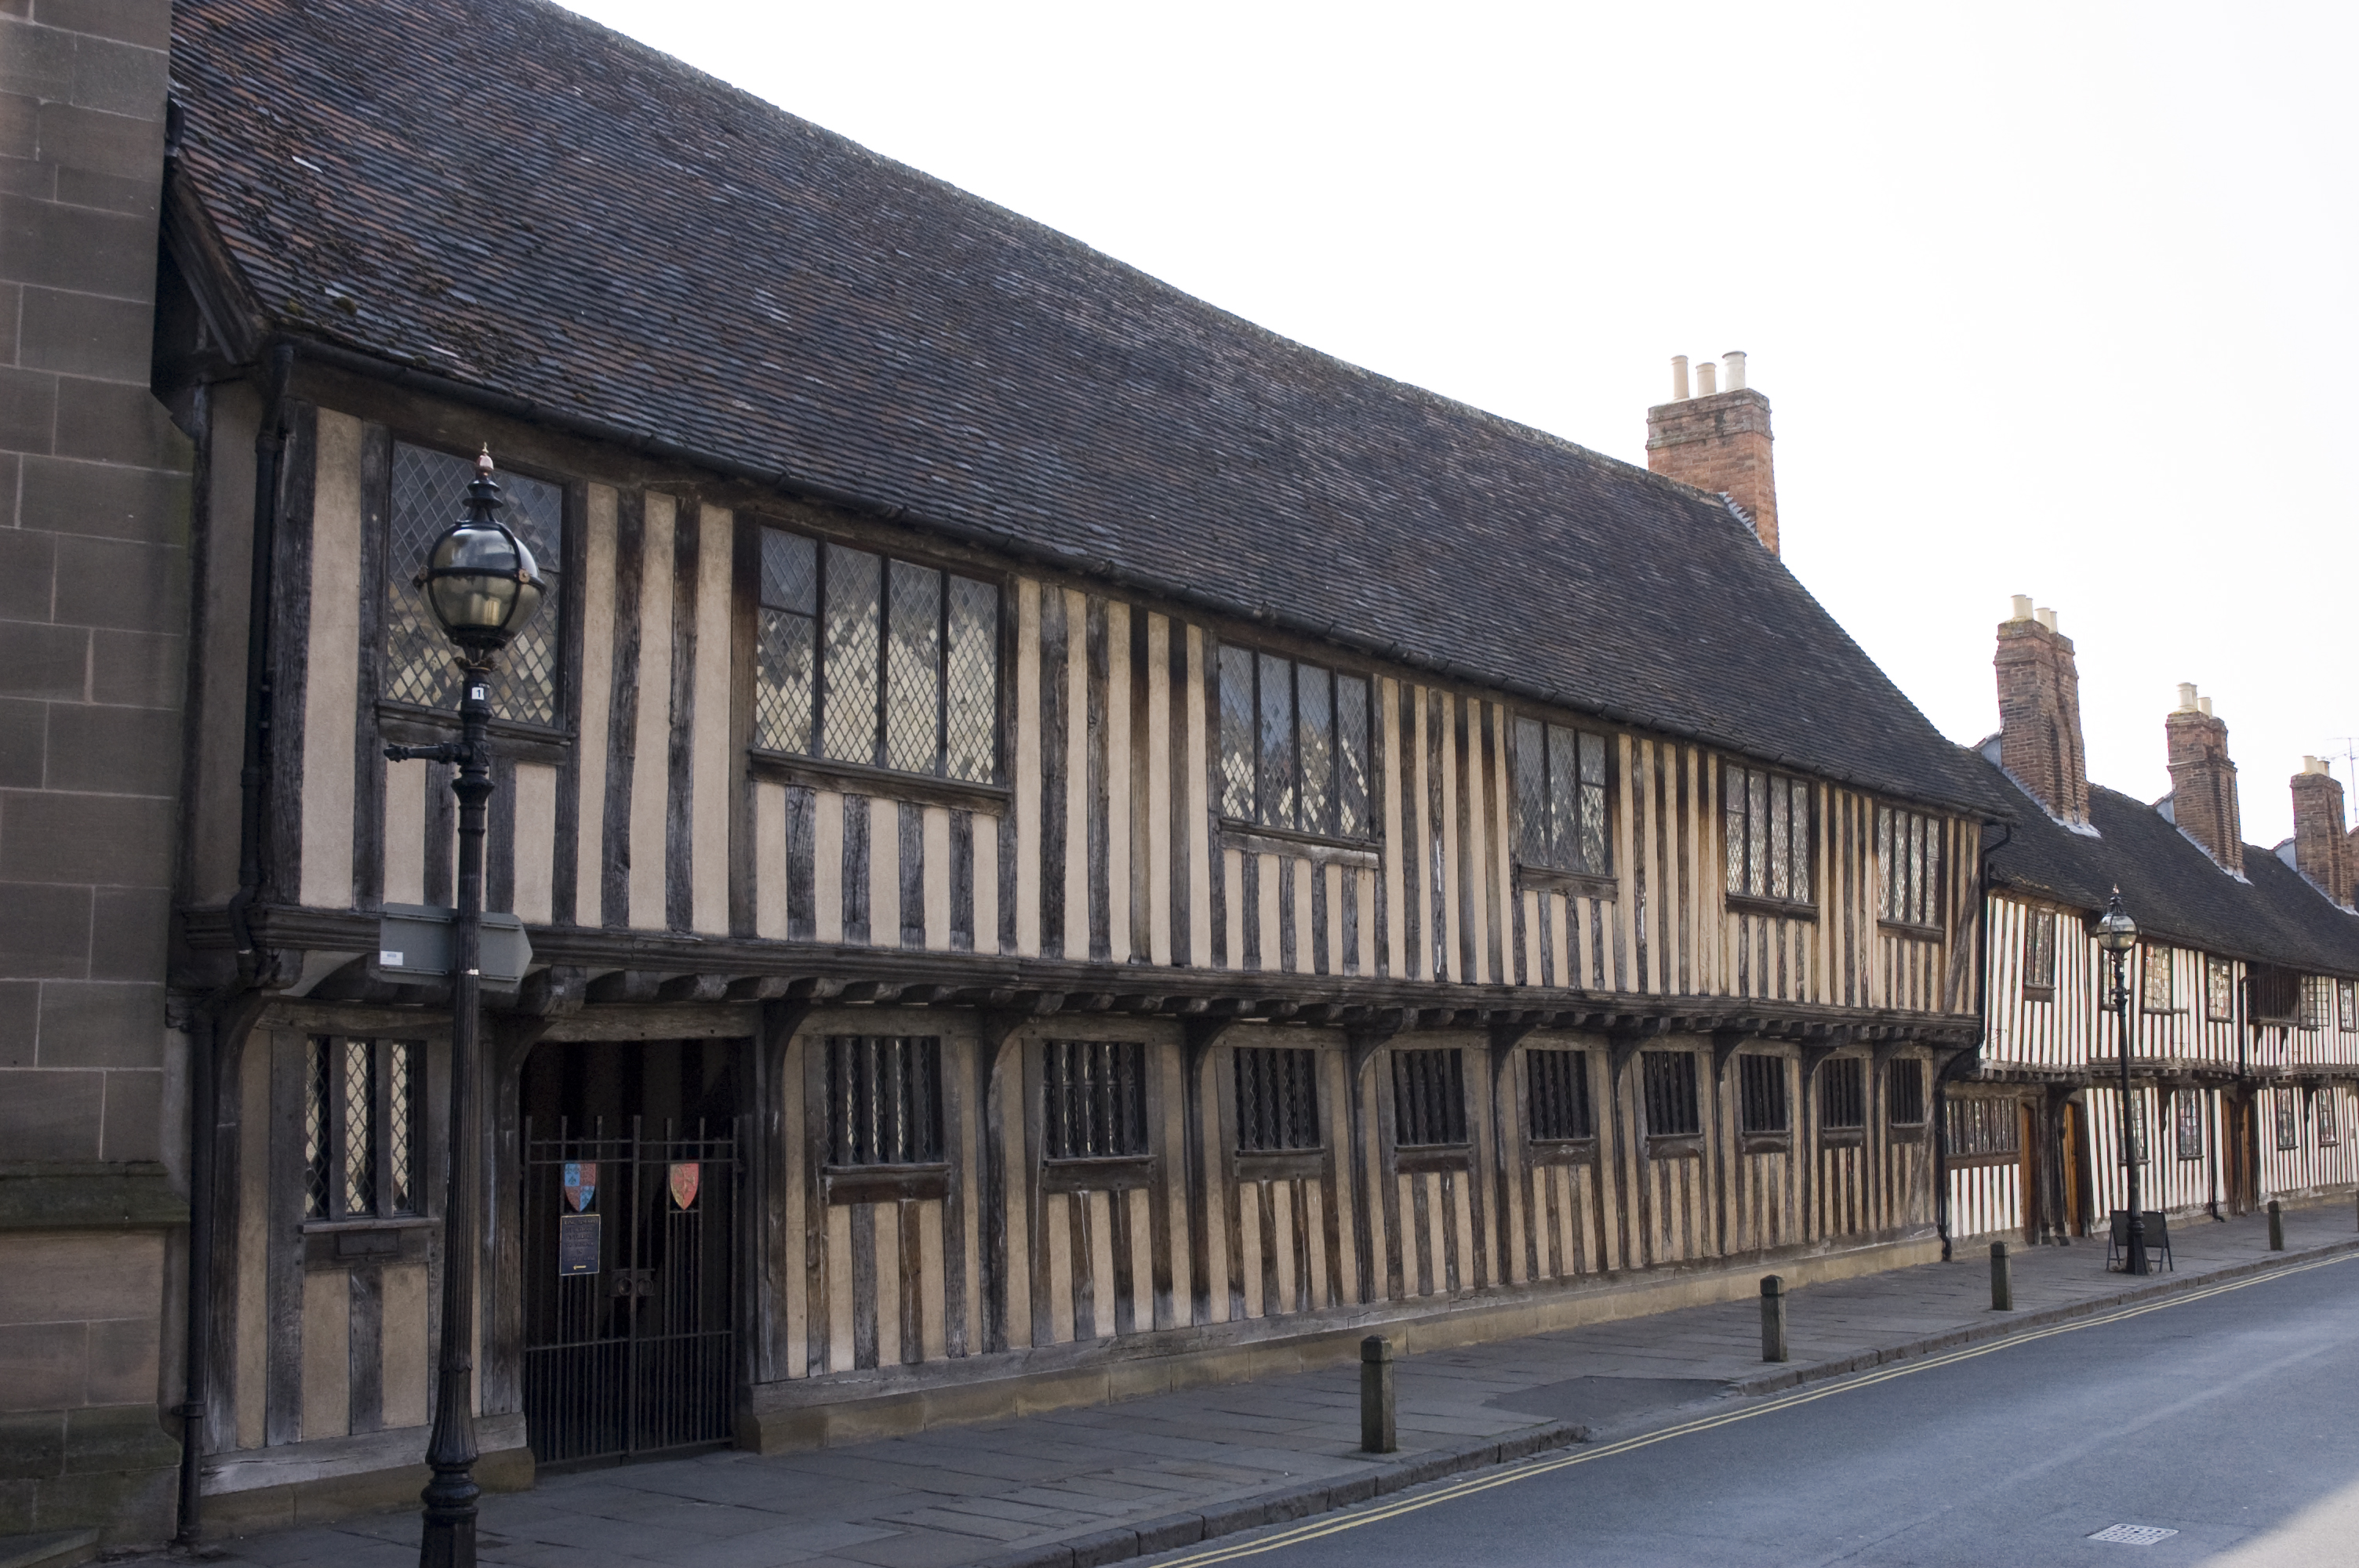
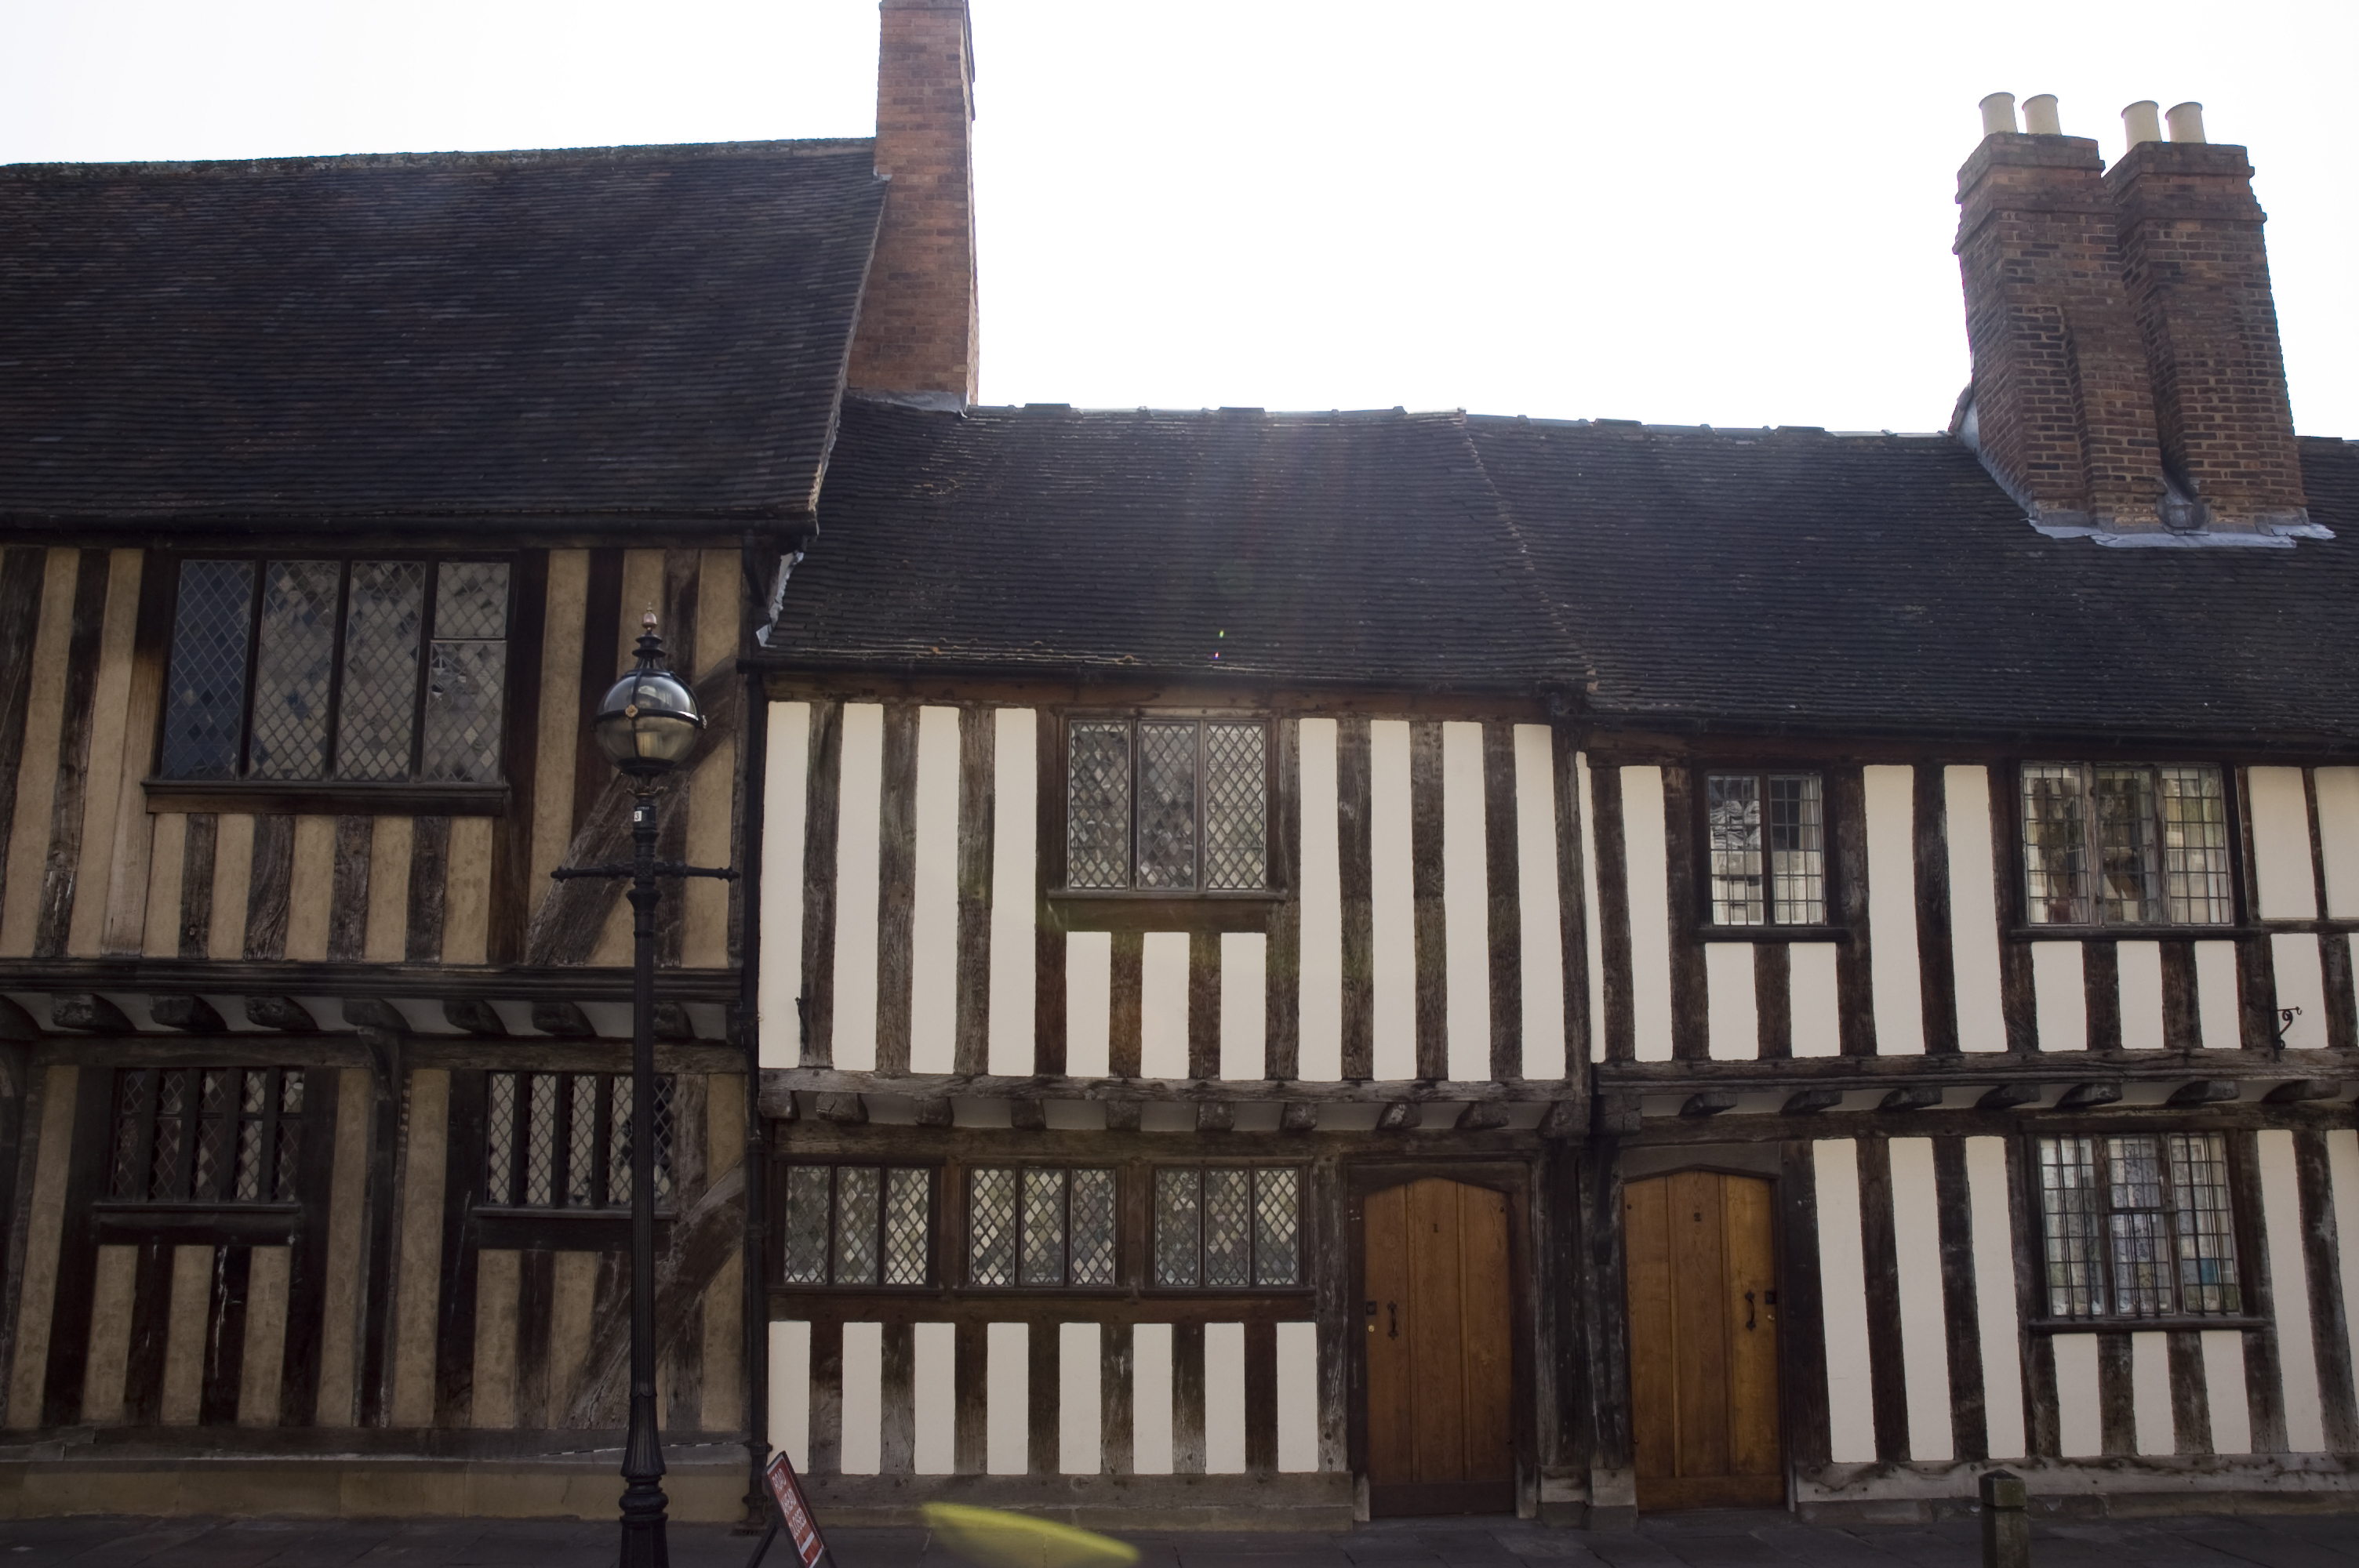
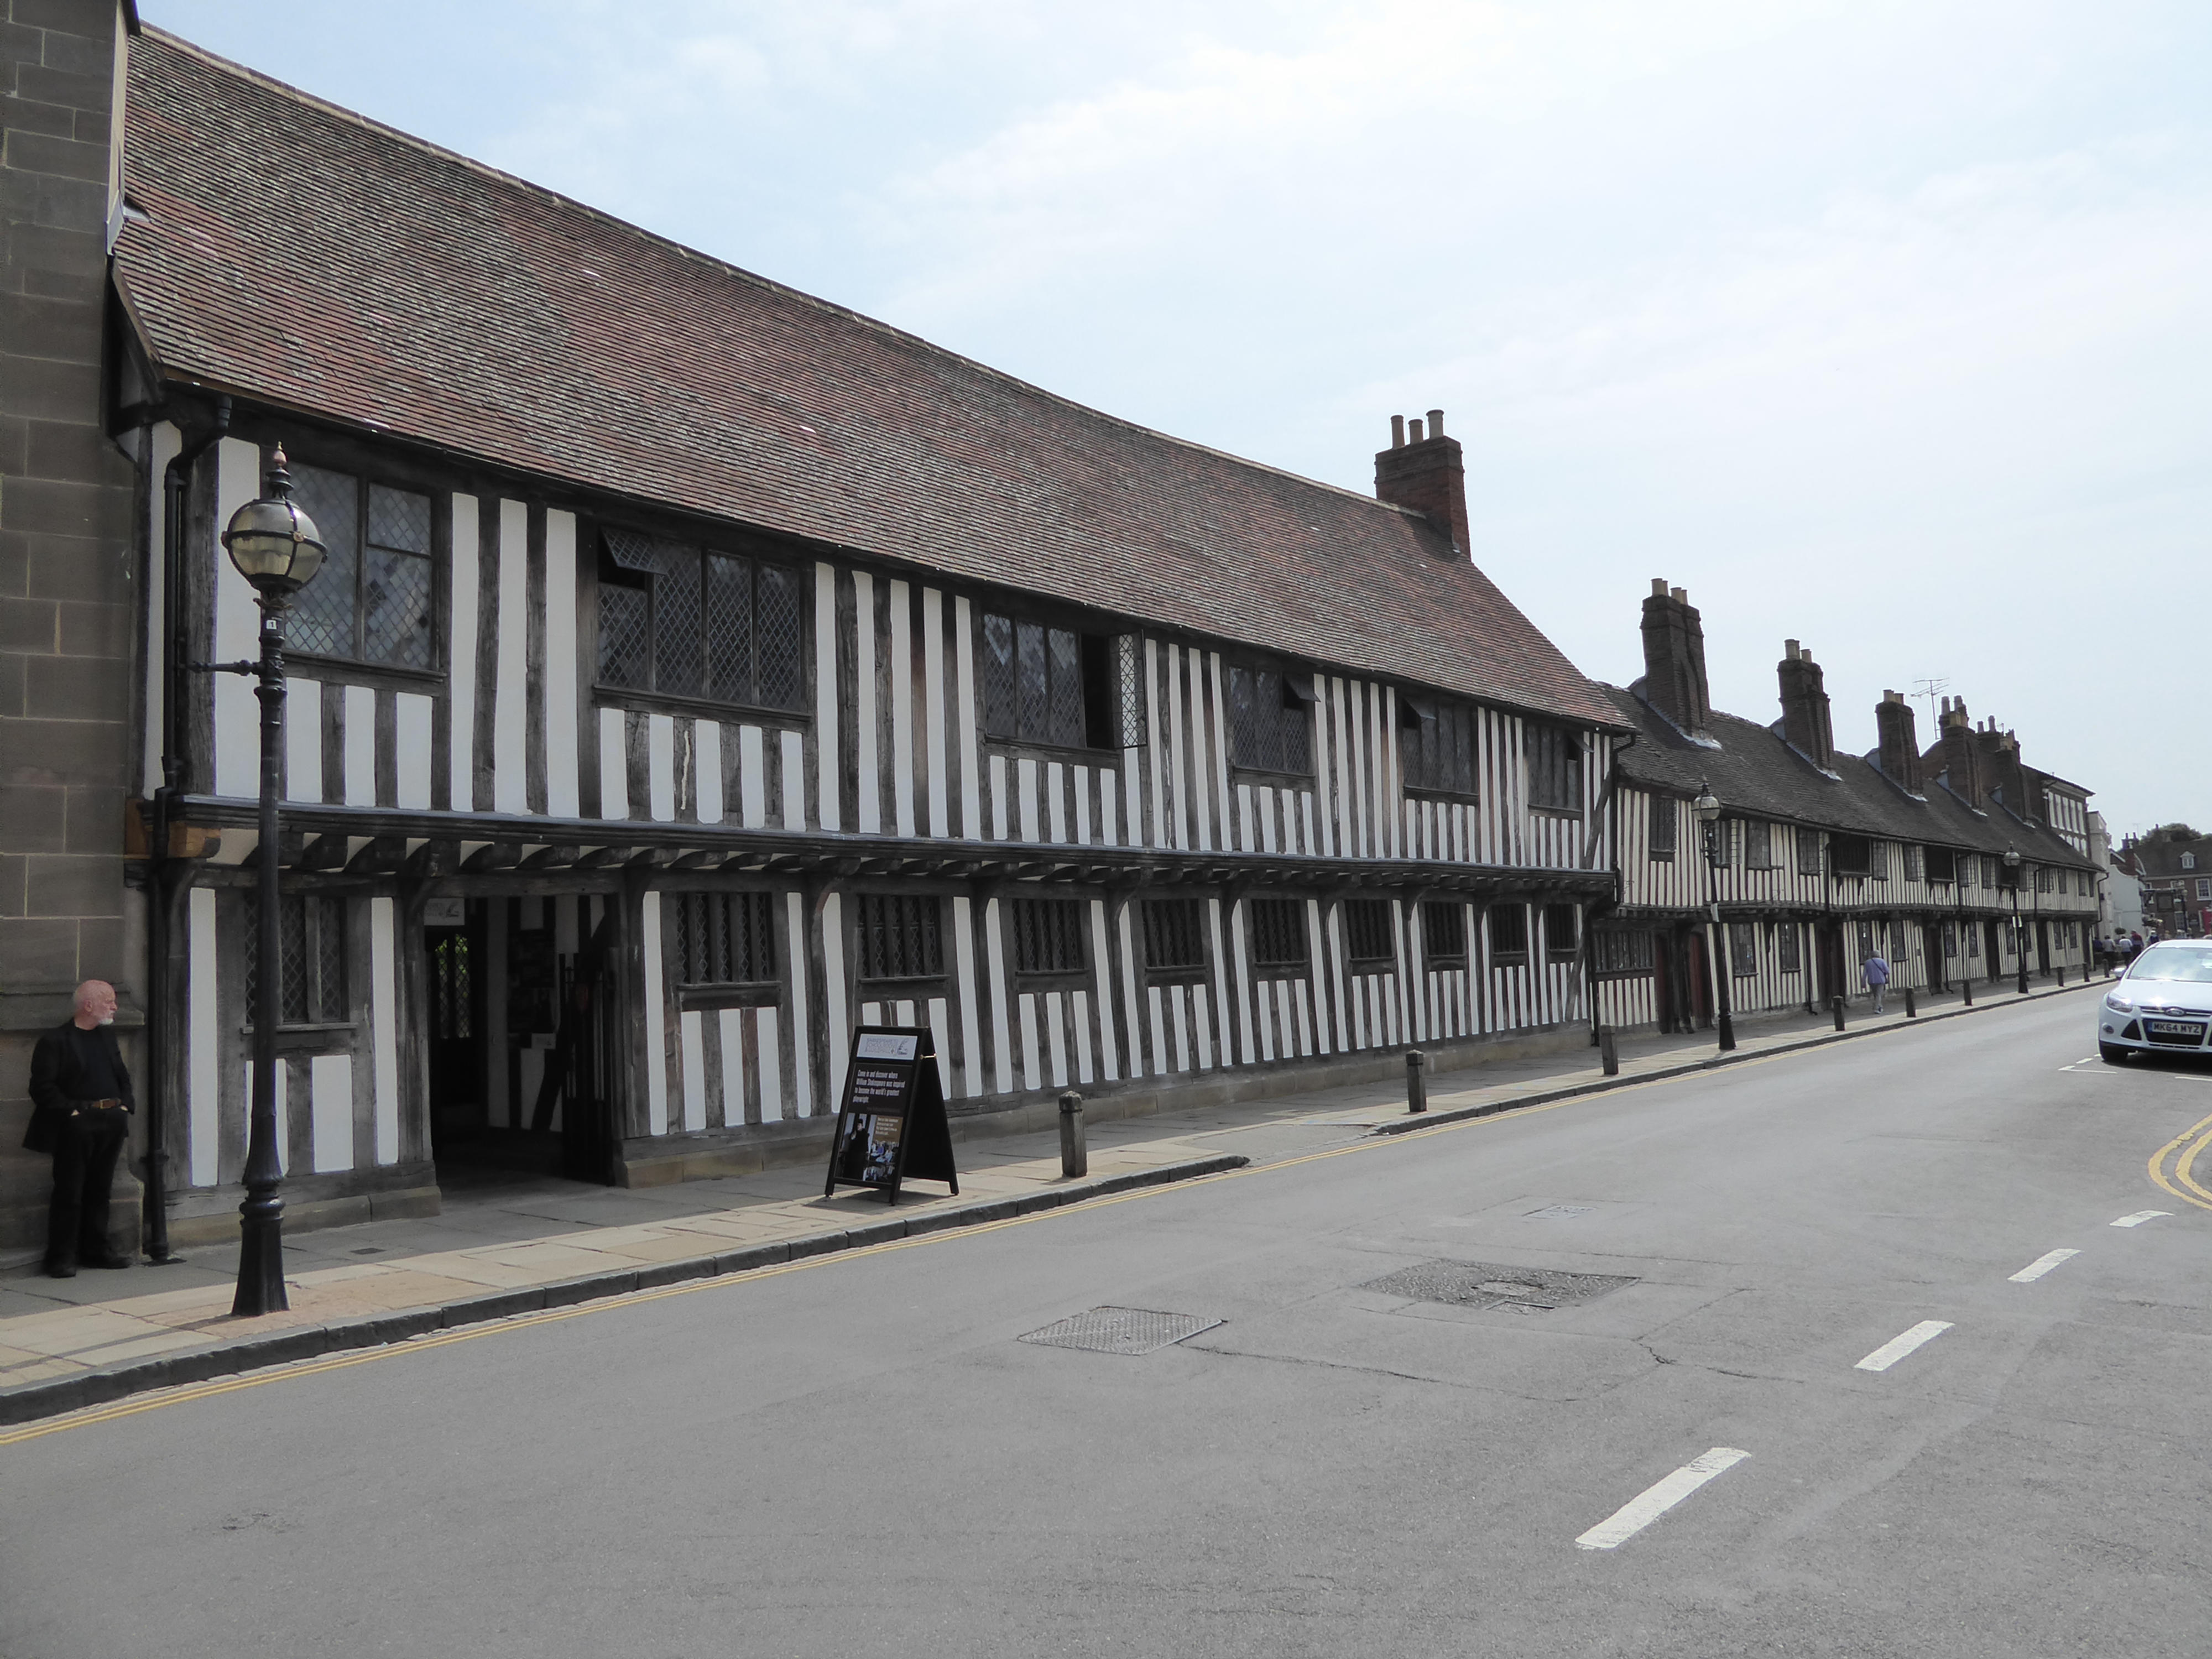
Figure 4: The exterior of the Guildhall, Stratford-upon-Avon
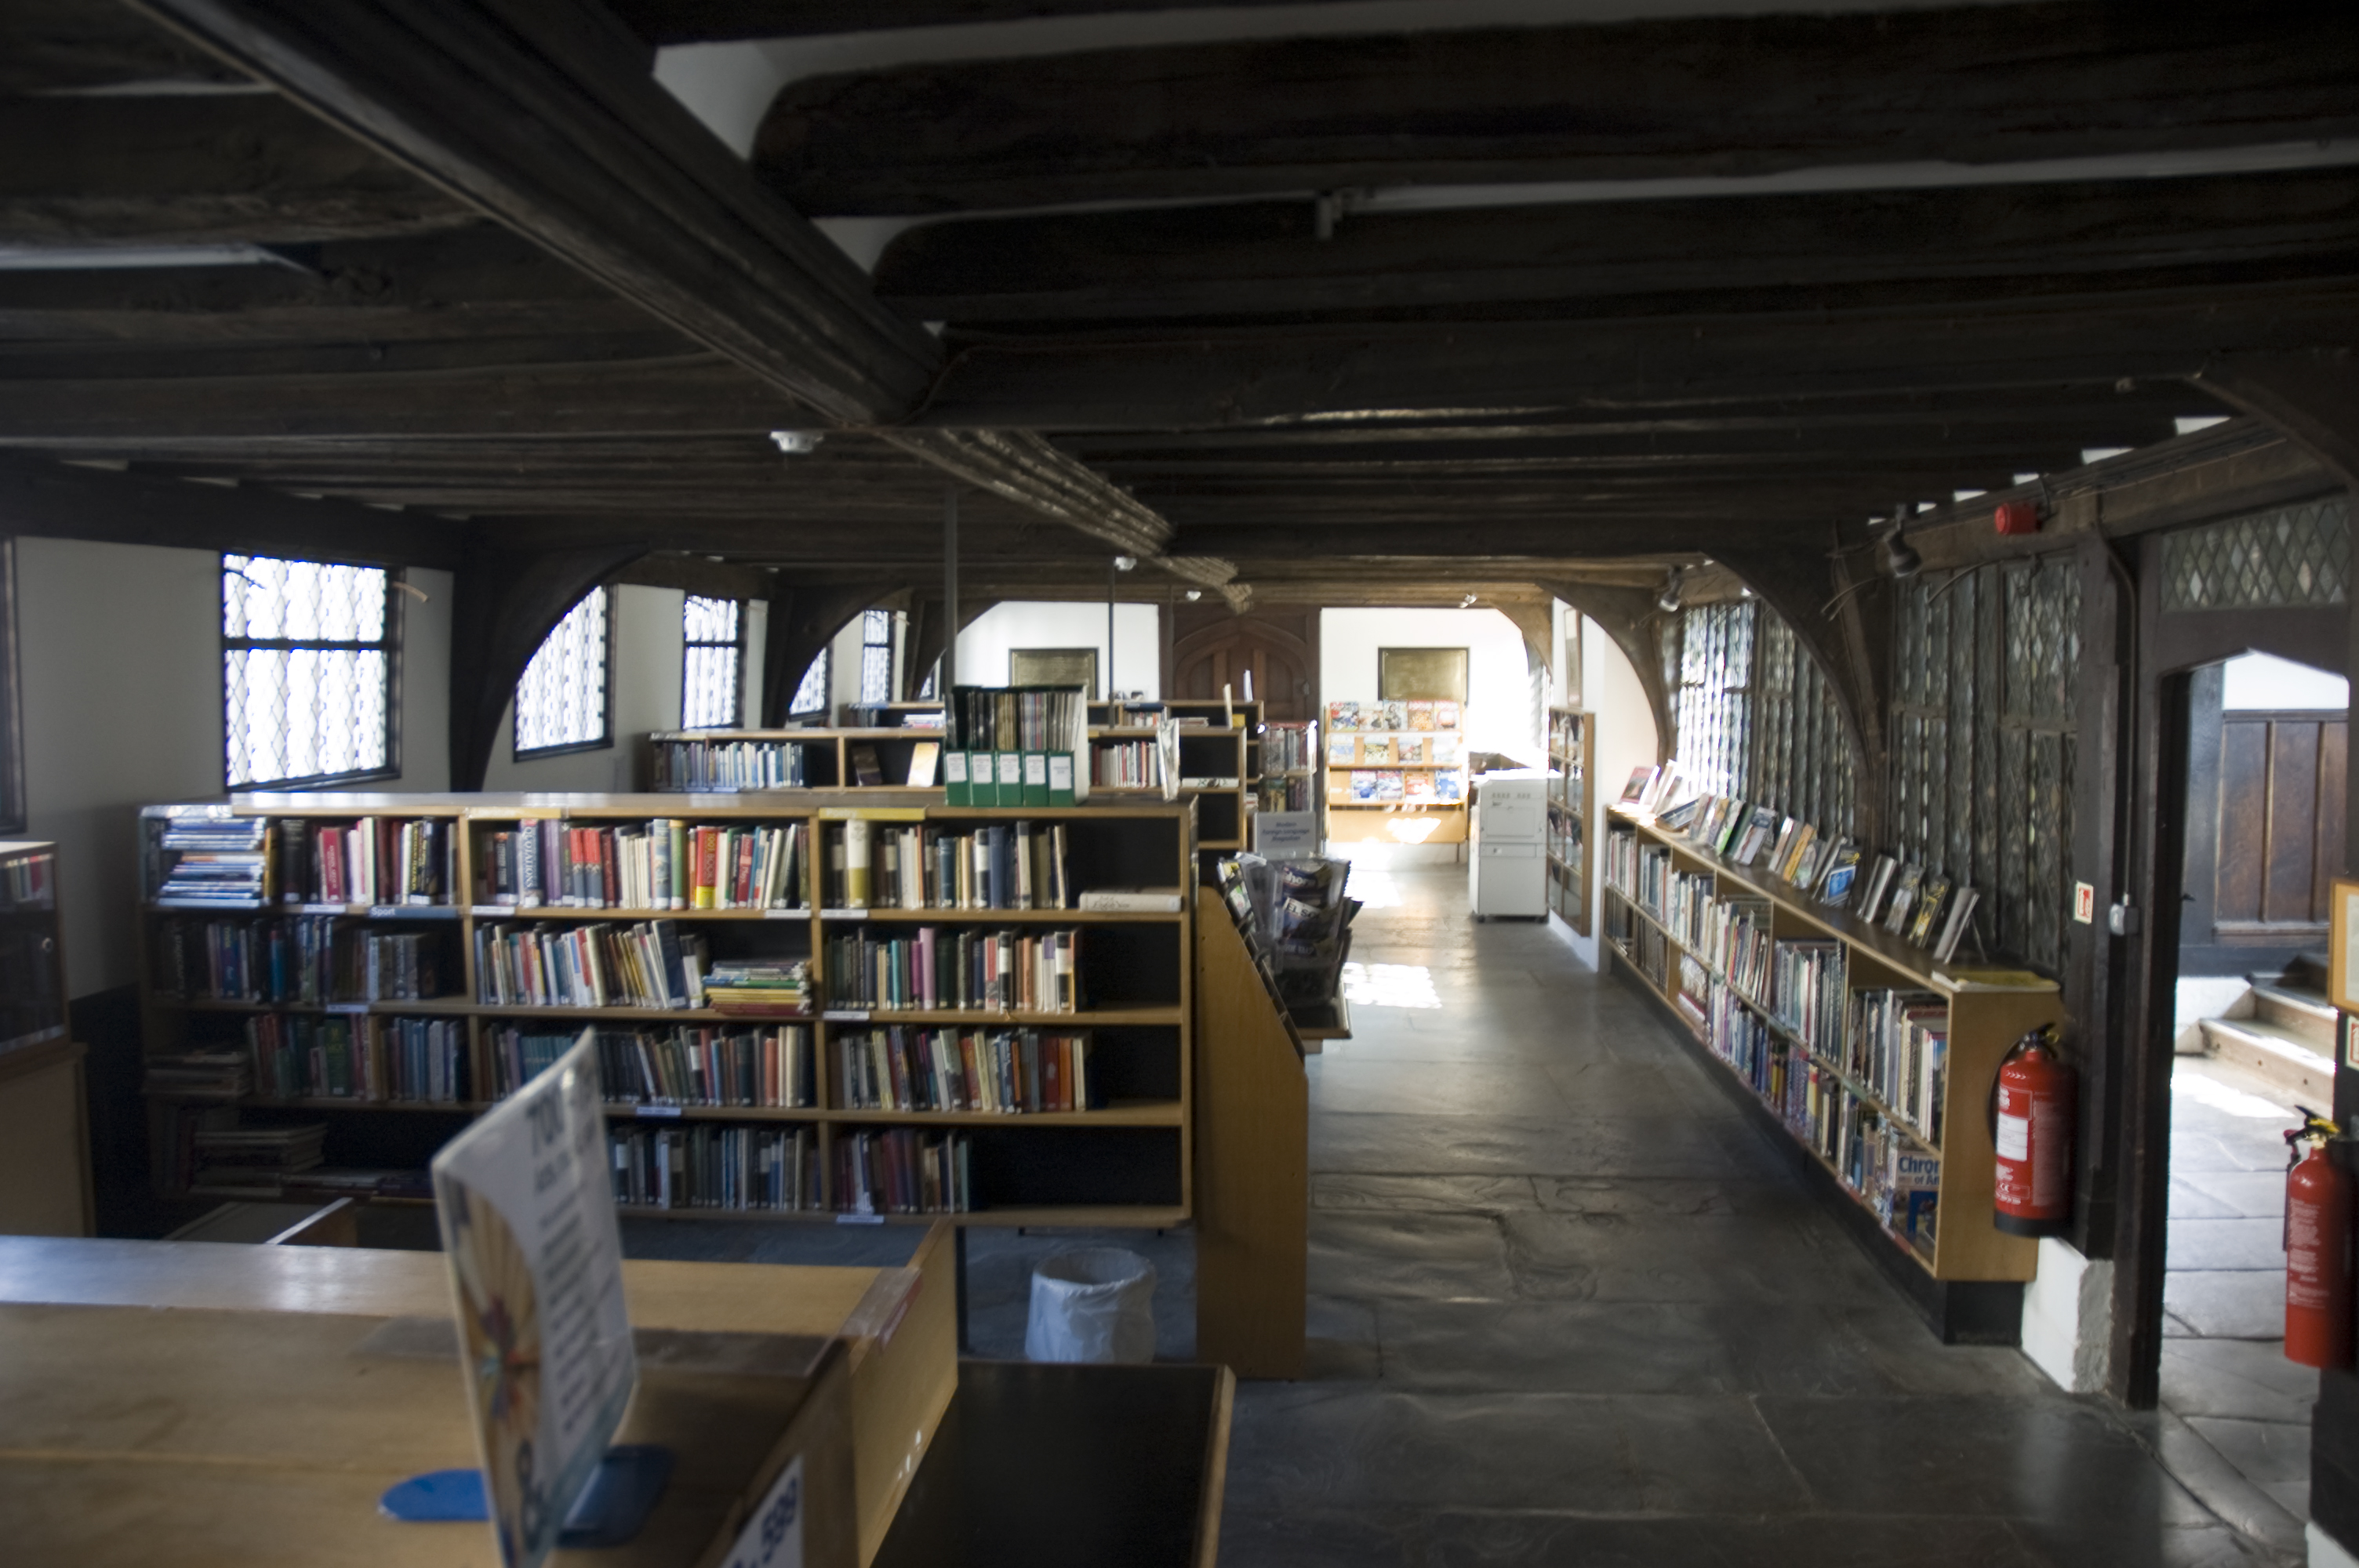
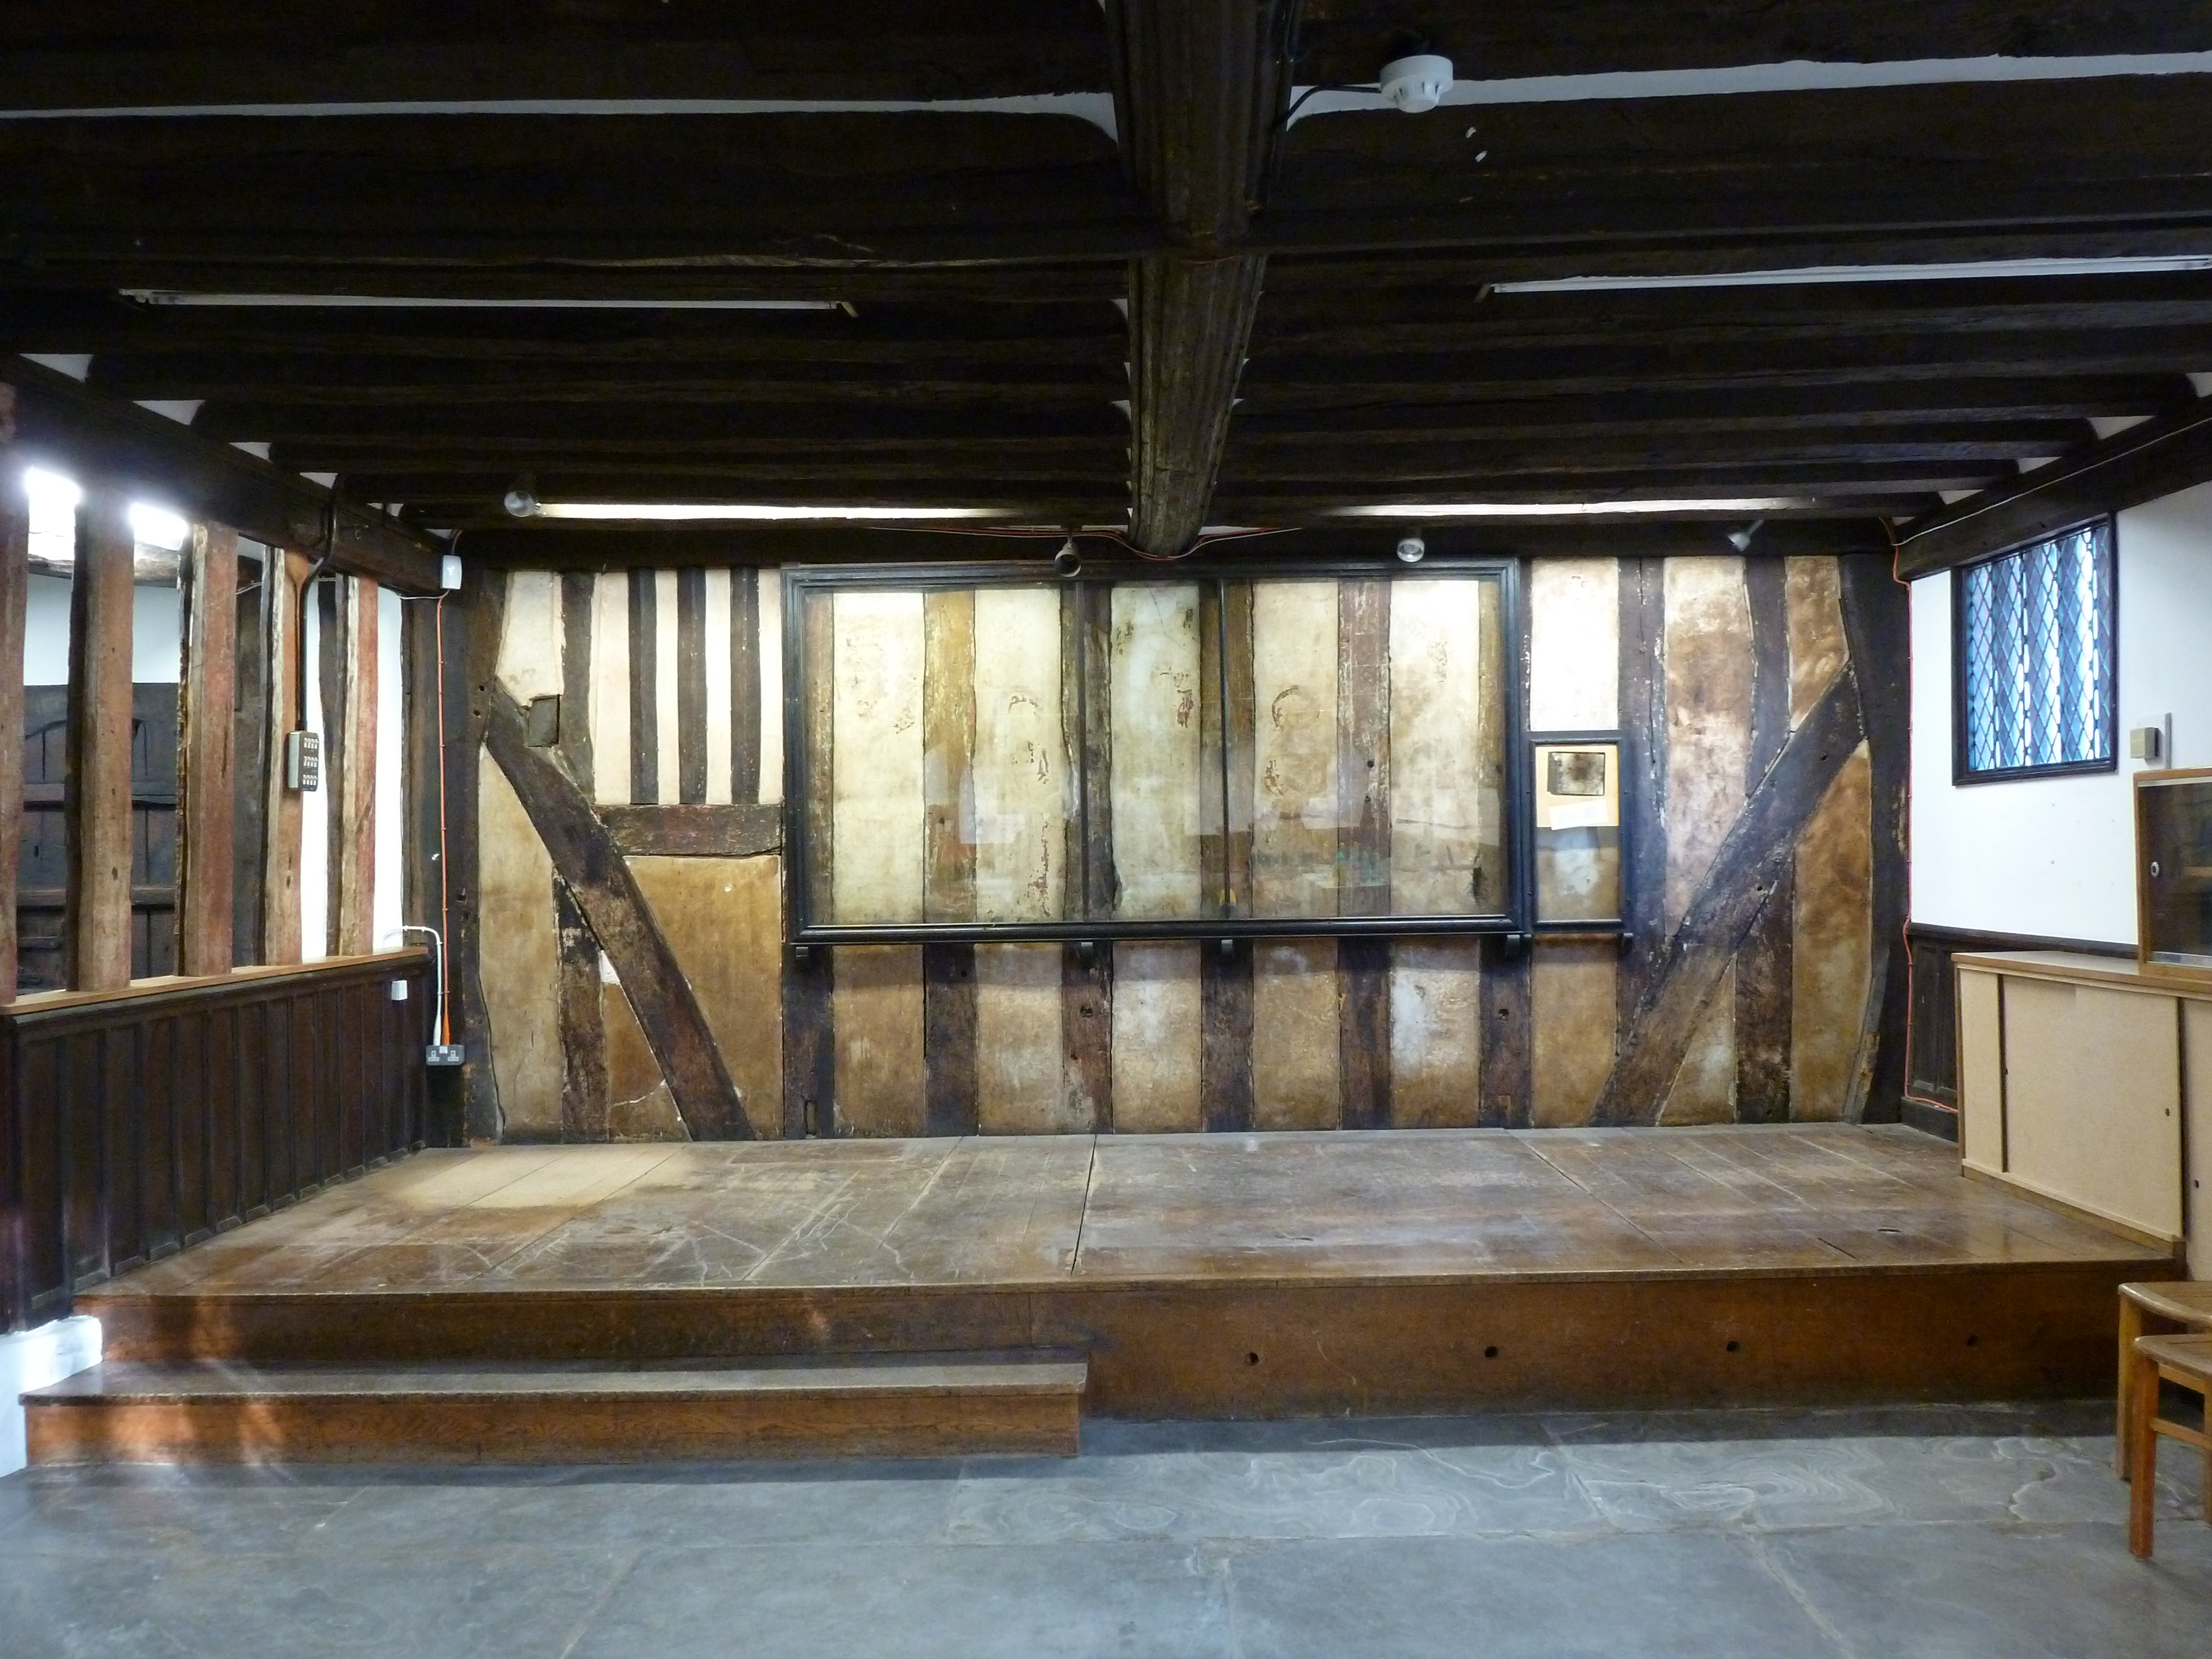
Figure 5: The ground floor of the Guildhall, Stratford-upon-Avon, in use as a Library by King Edward VI Grammar School.
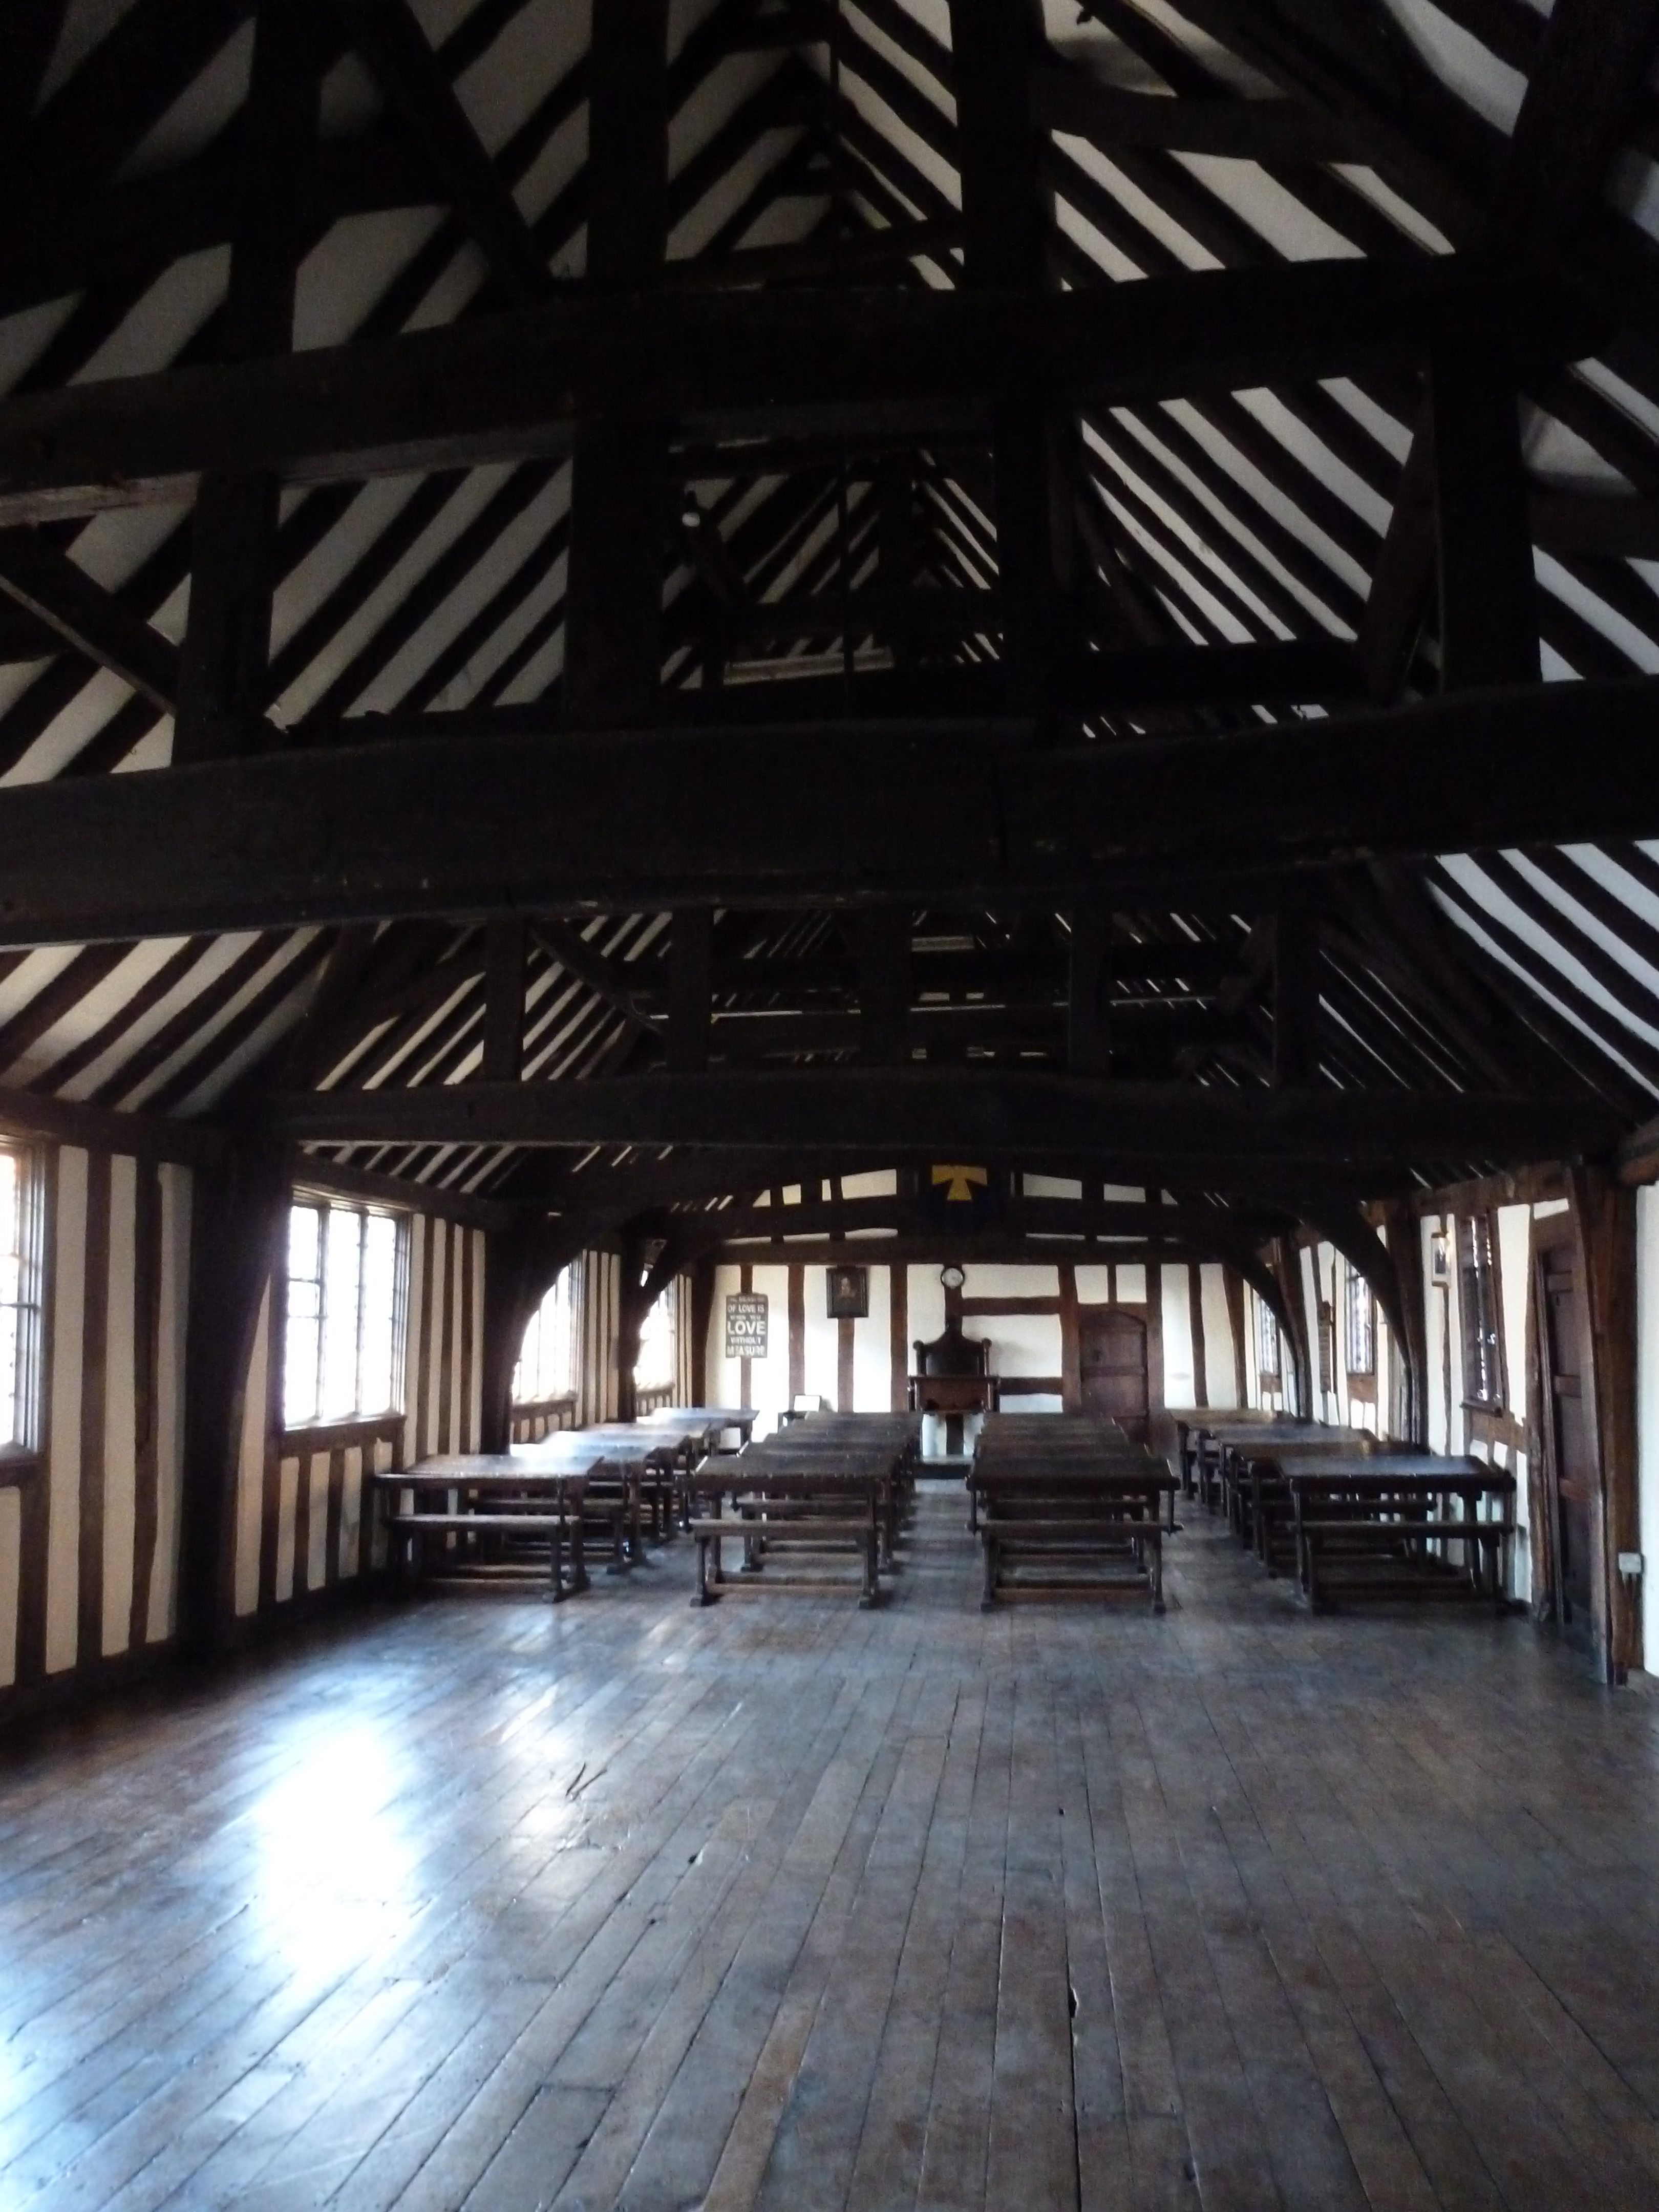
Figure 6: The first floor of the Guildhall, Stratford-upon-Avon
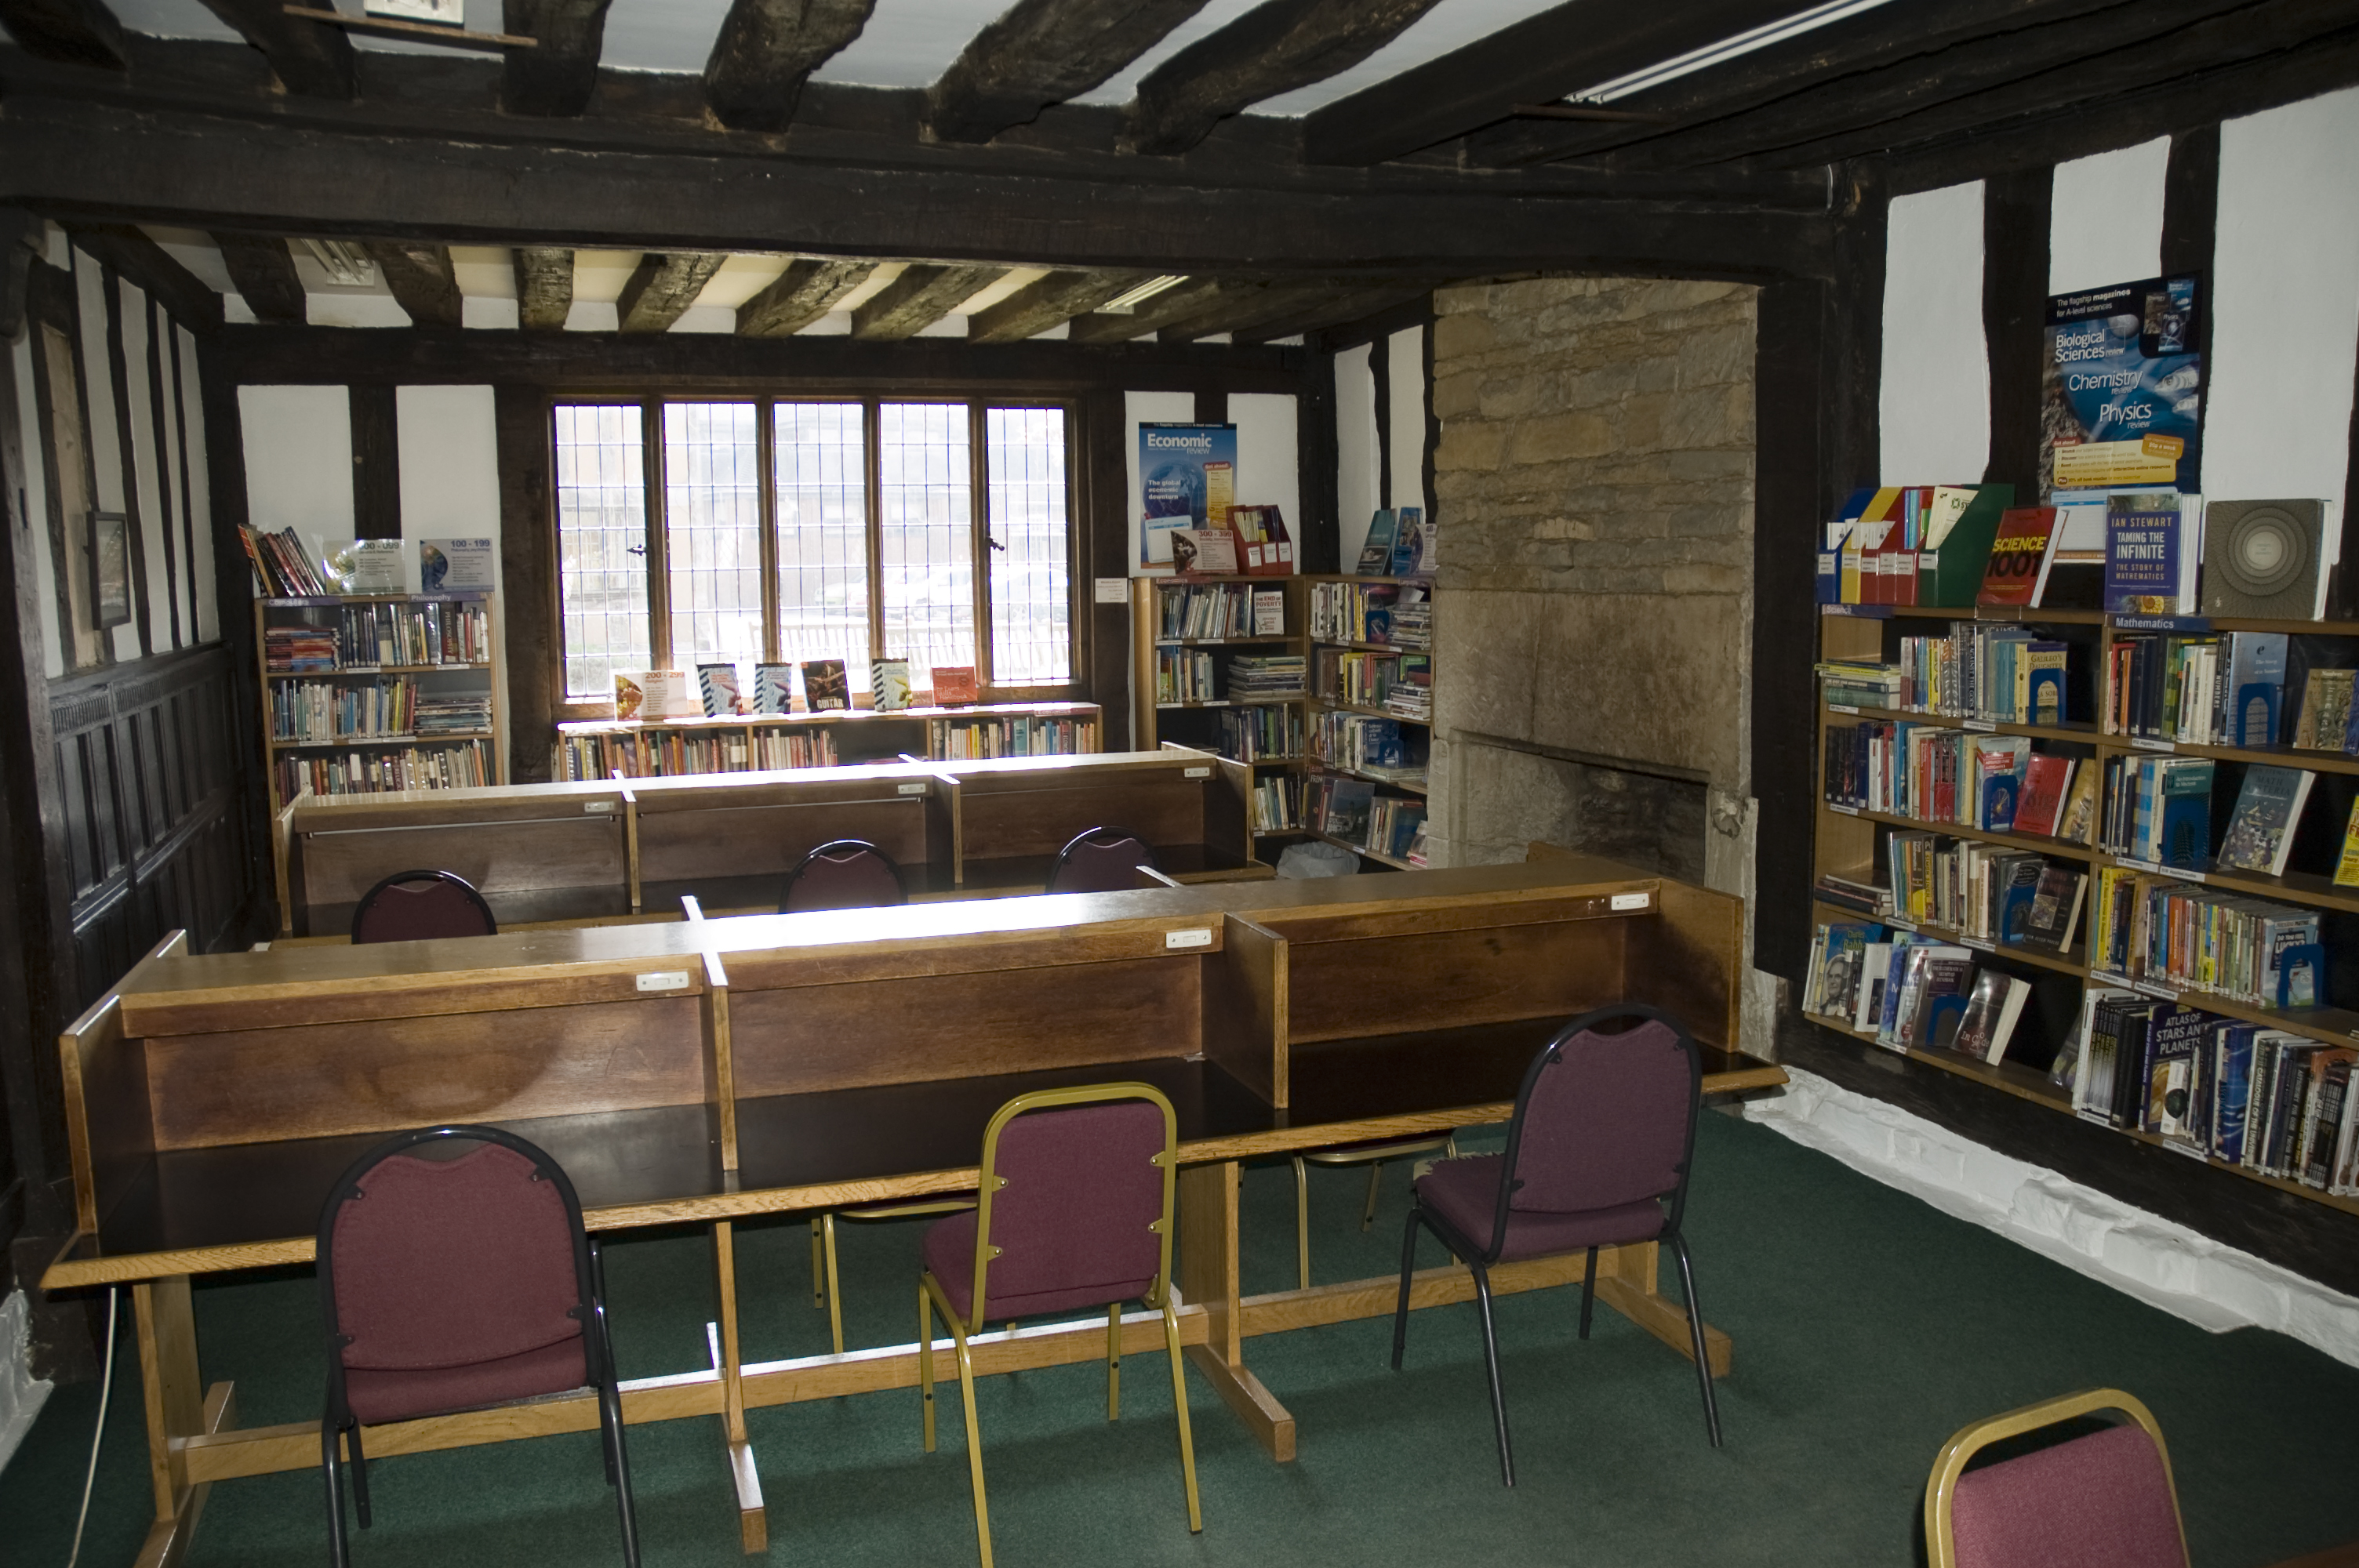
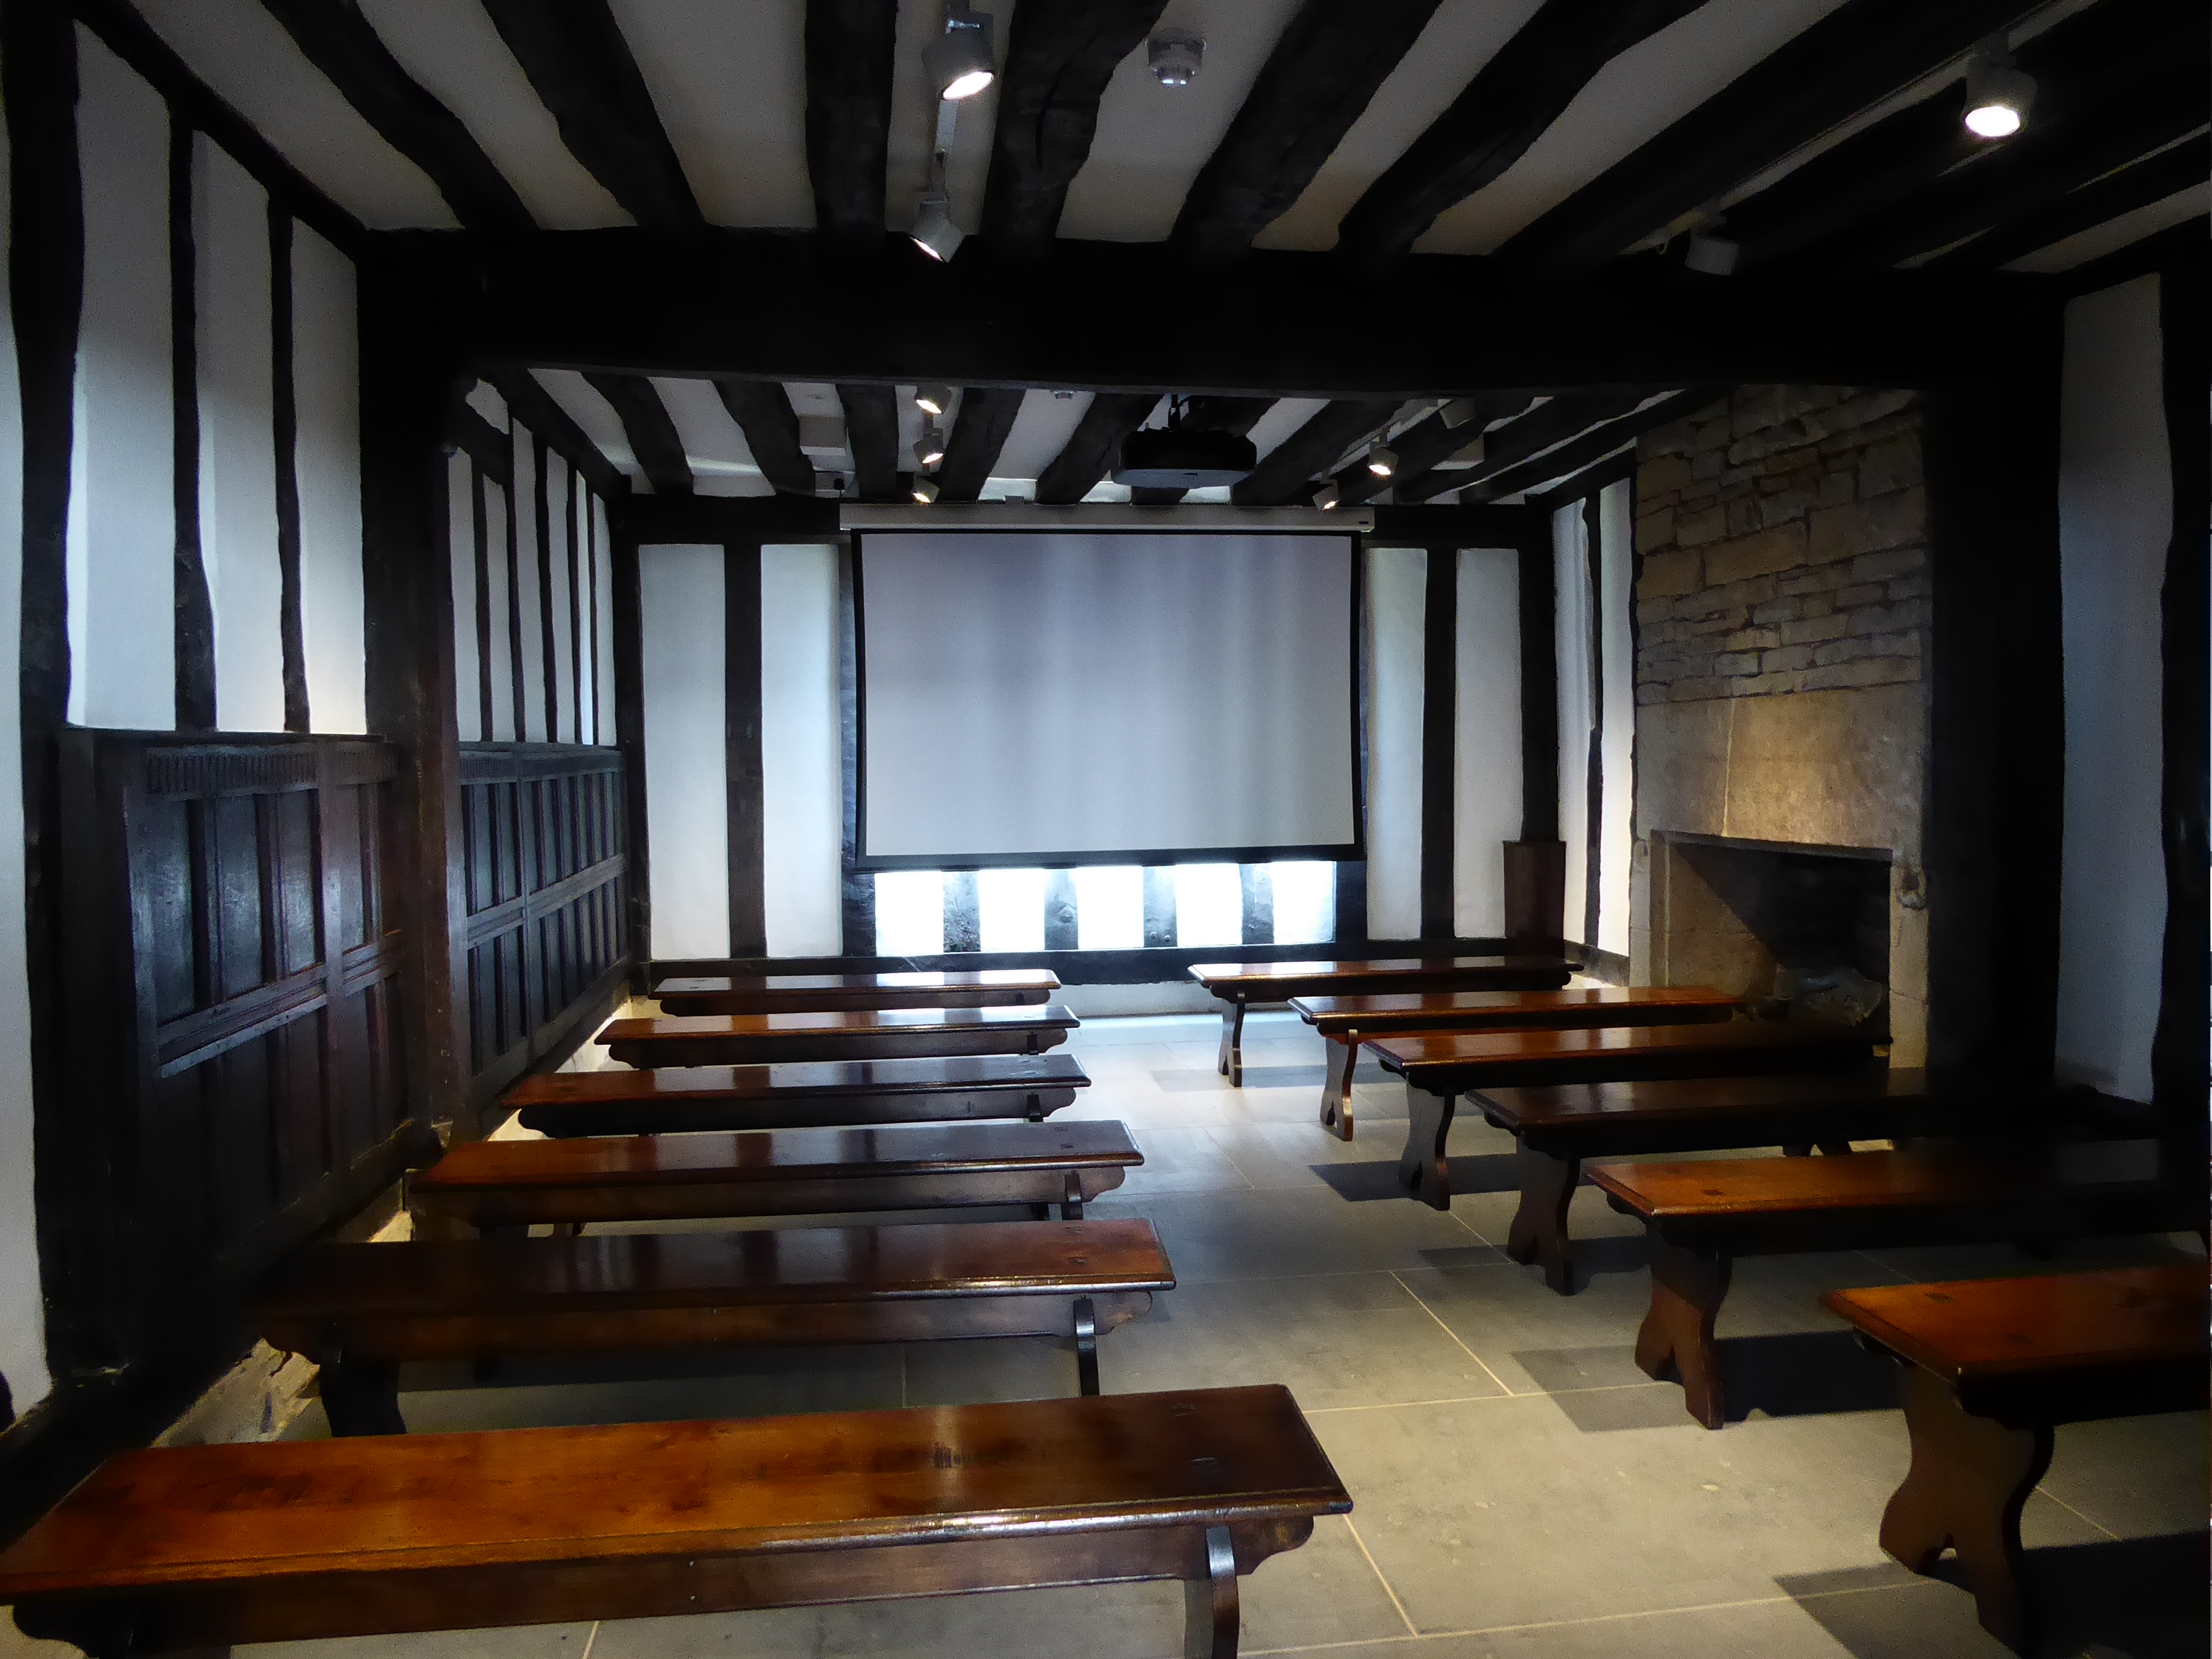
Figure 7: The Council Chamber, located in the South Wing, in use as a Library by King Edward VI Grammar School.
Figure 8: The Upper Chamber, located in the south Wing in use as a Library by King Edward VI Grammar School.
Figure 9: The Pedagogue's House, dating to c.1502/3.
Figure 10: The 'infill house' located between the Guildhall and the almshouses; the original schoolroom of c.1427.
Figure 11: The Guild Chapel, exterior, Stratford-upon-Avon.
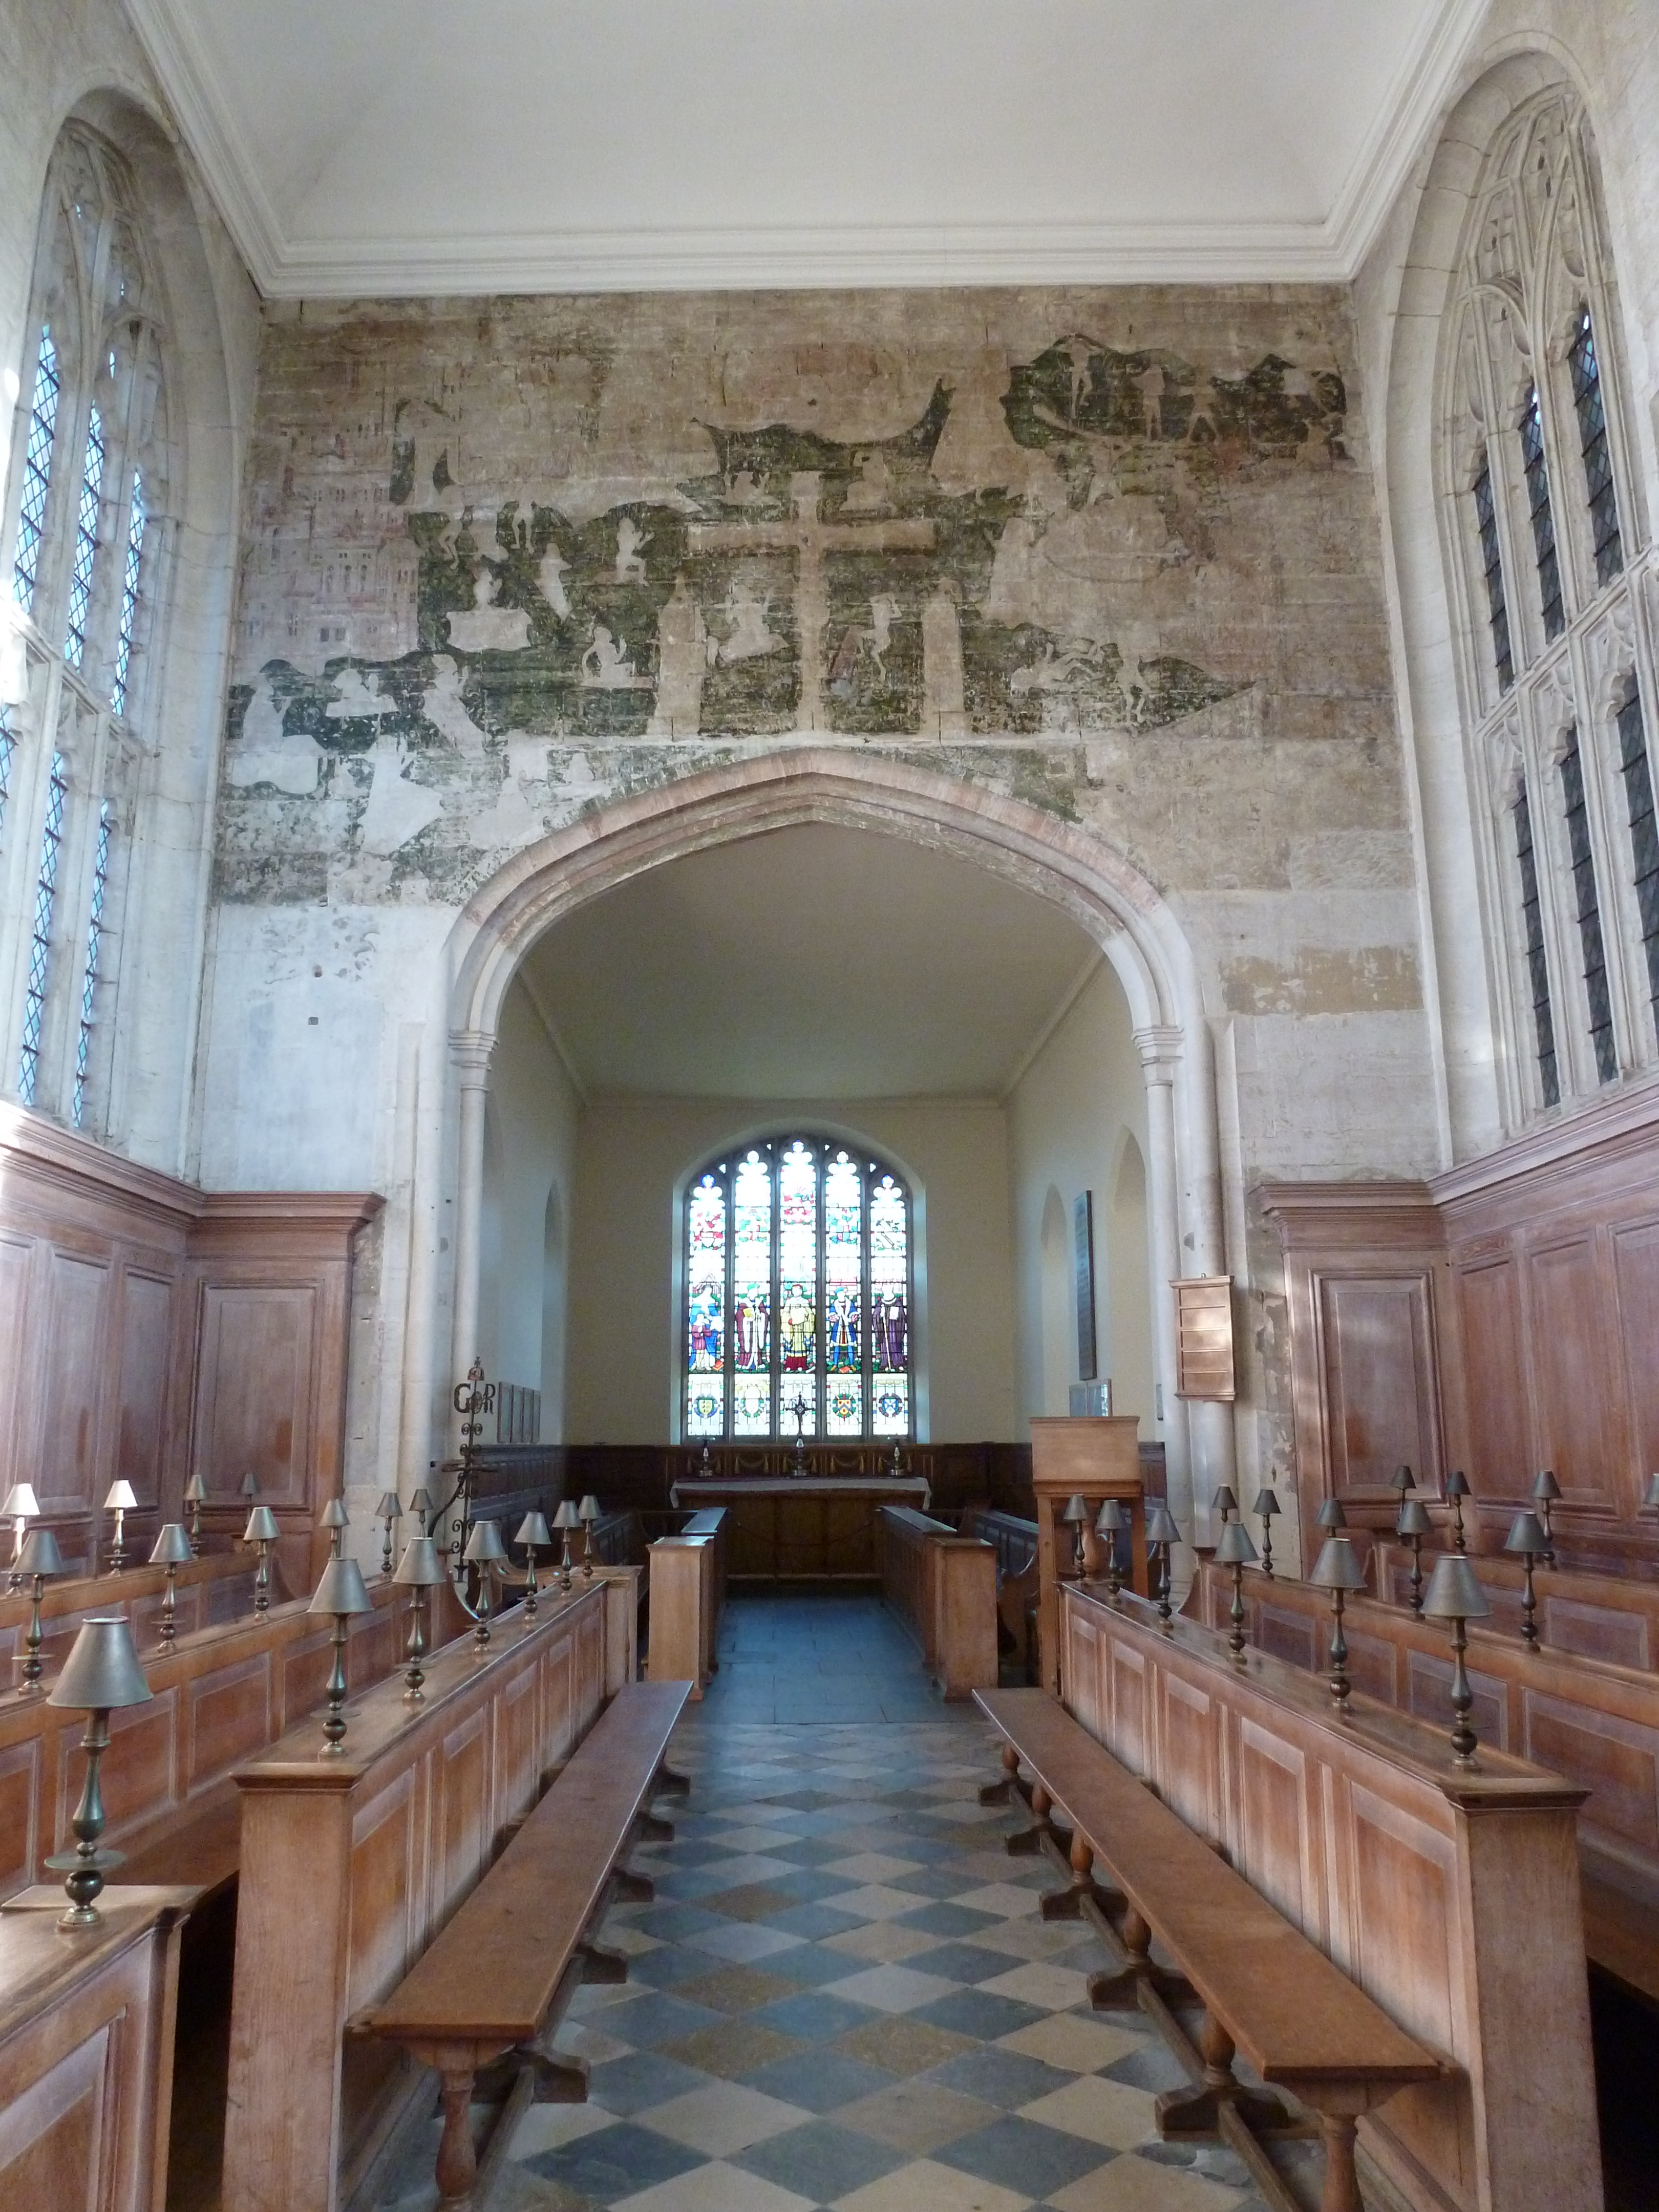
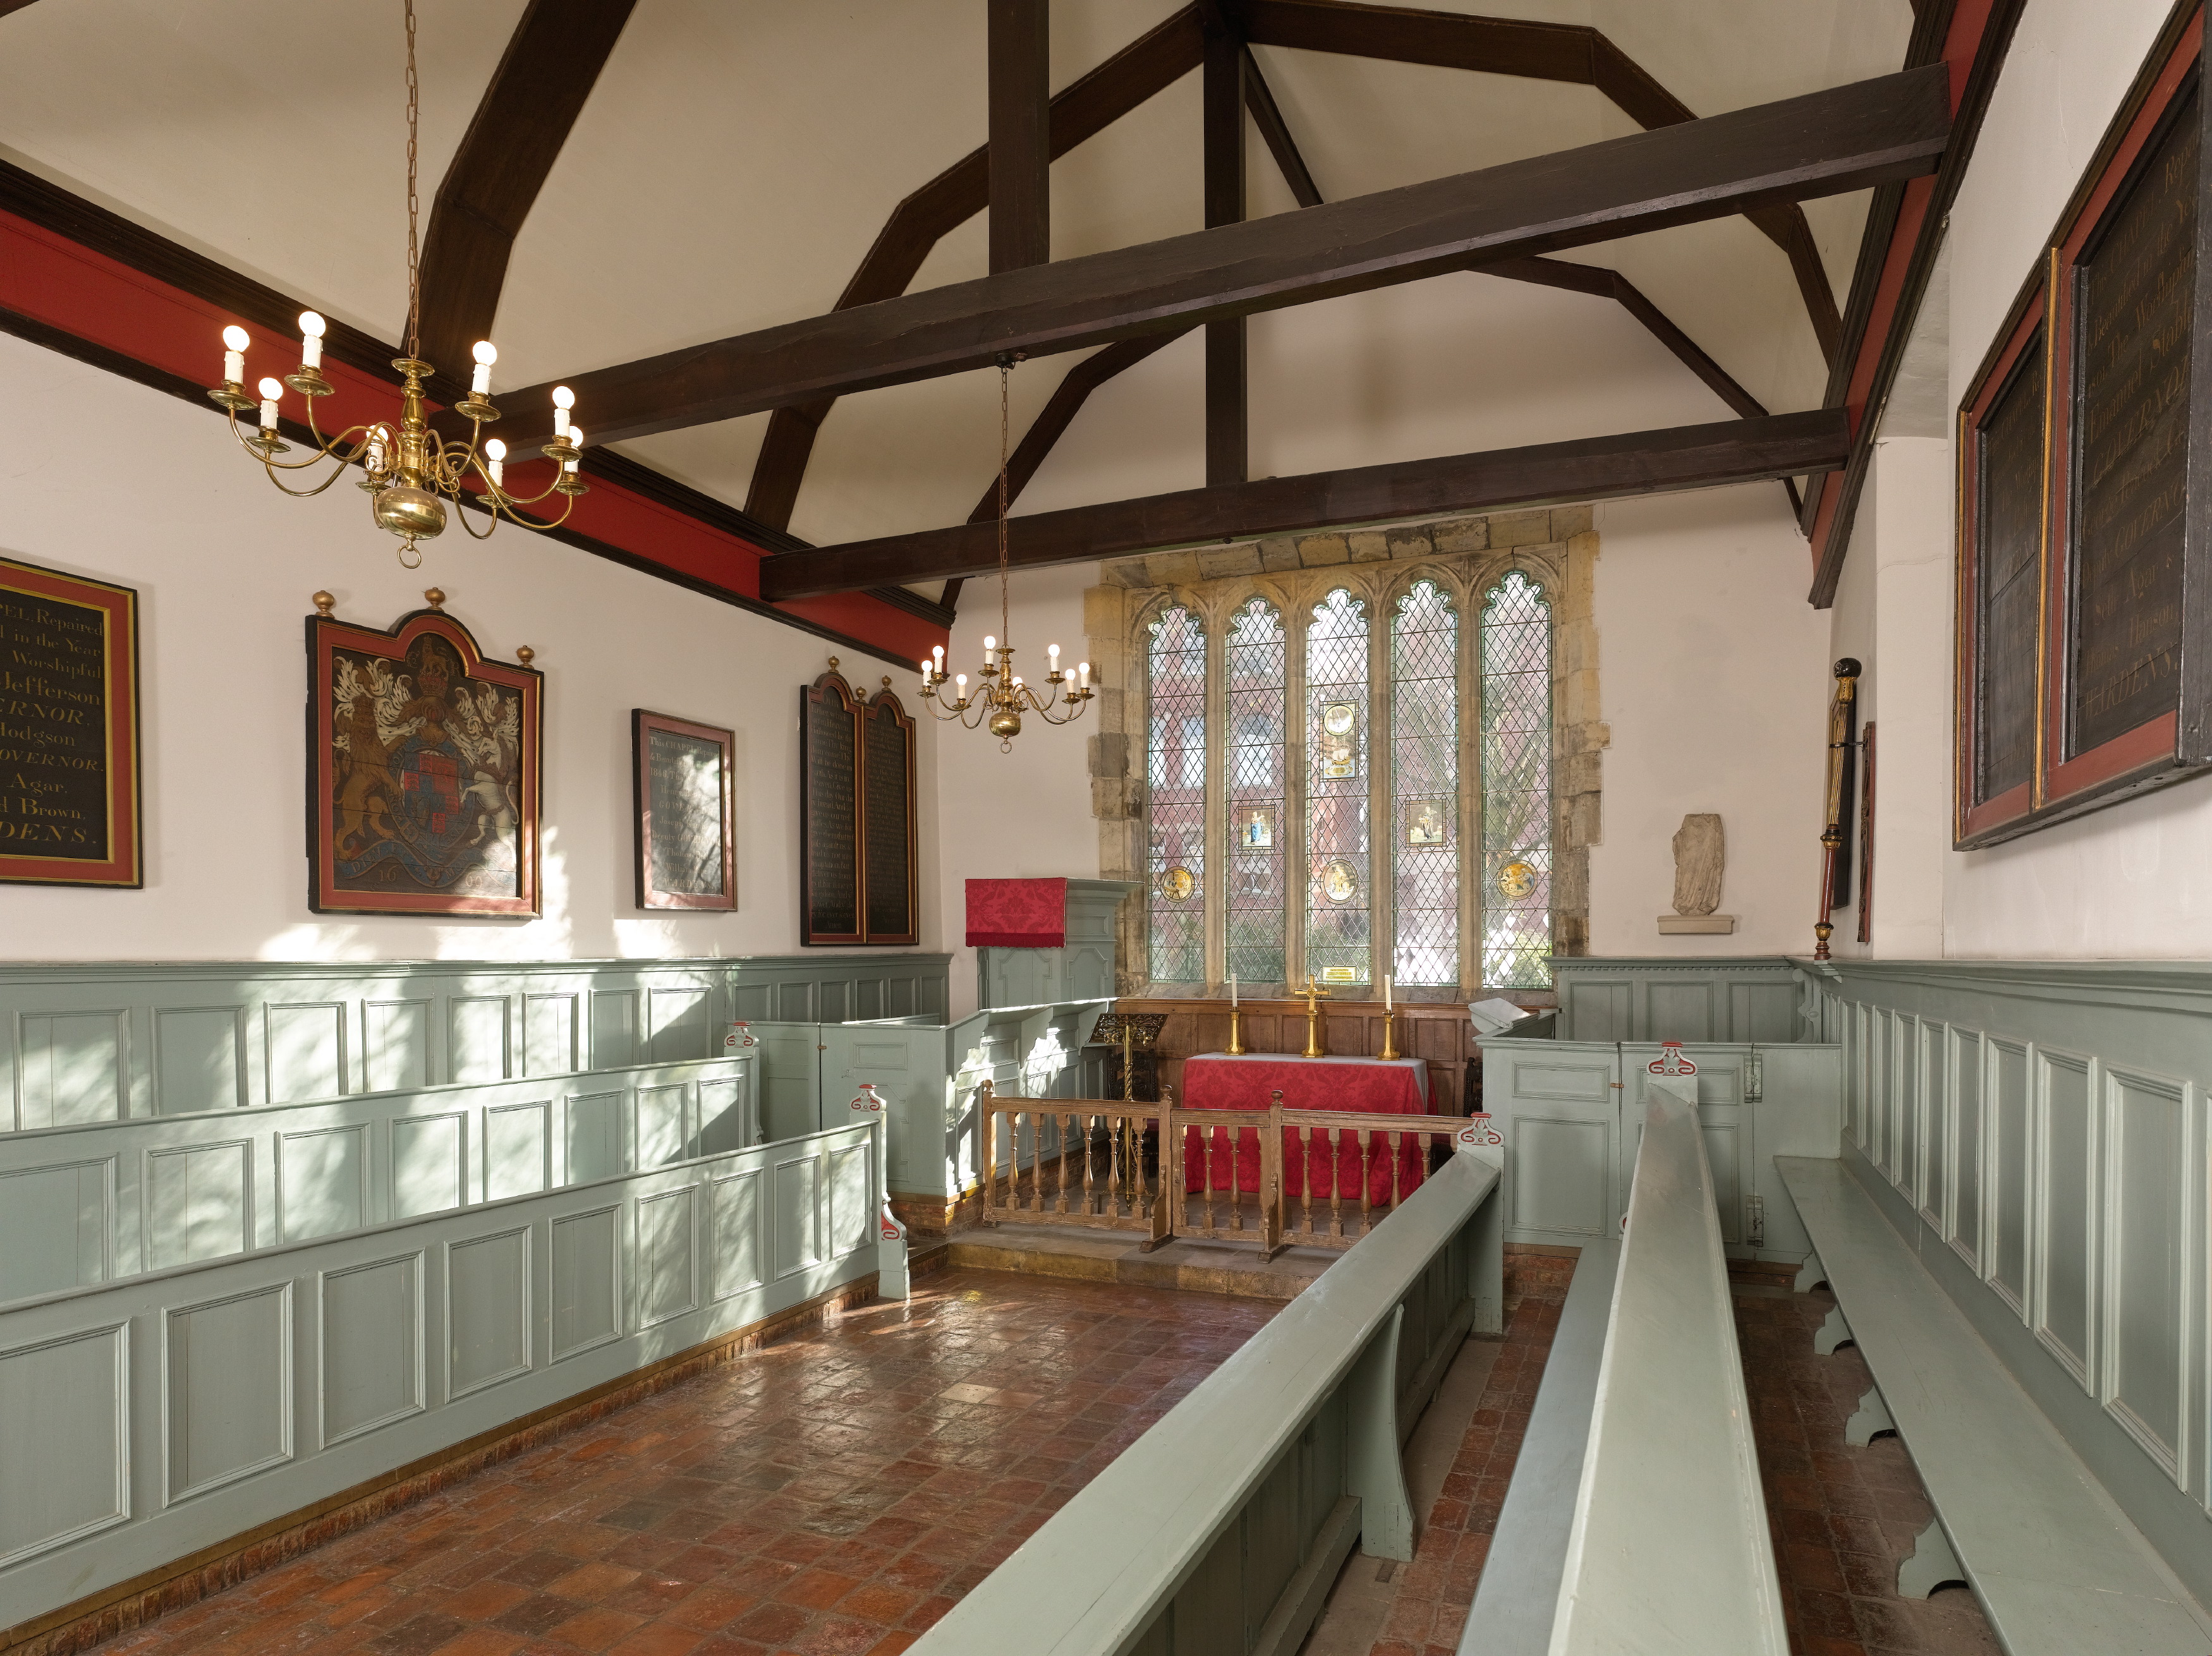
Figure 12: The Guild Chapel, interior looking east, Stratford-upon-Avon.
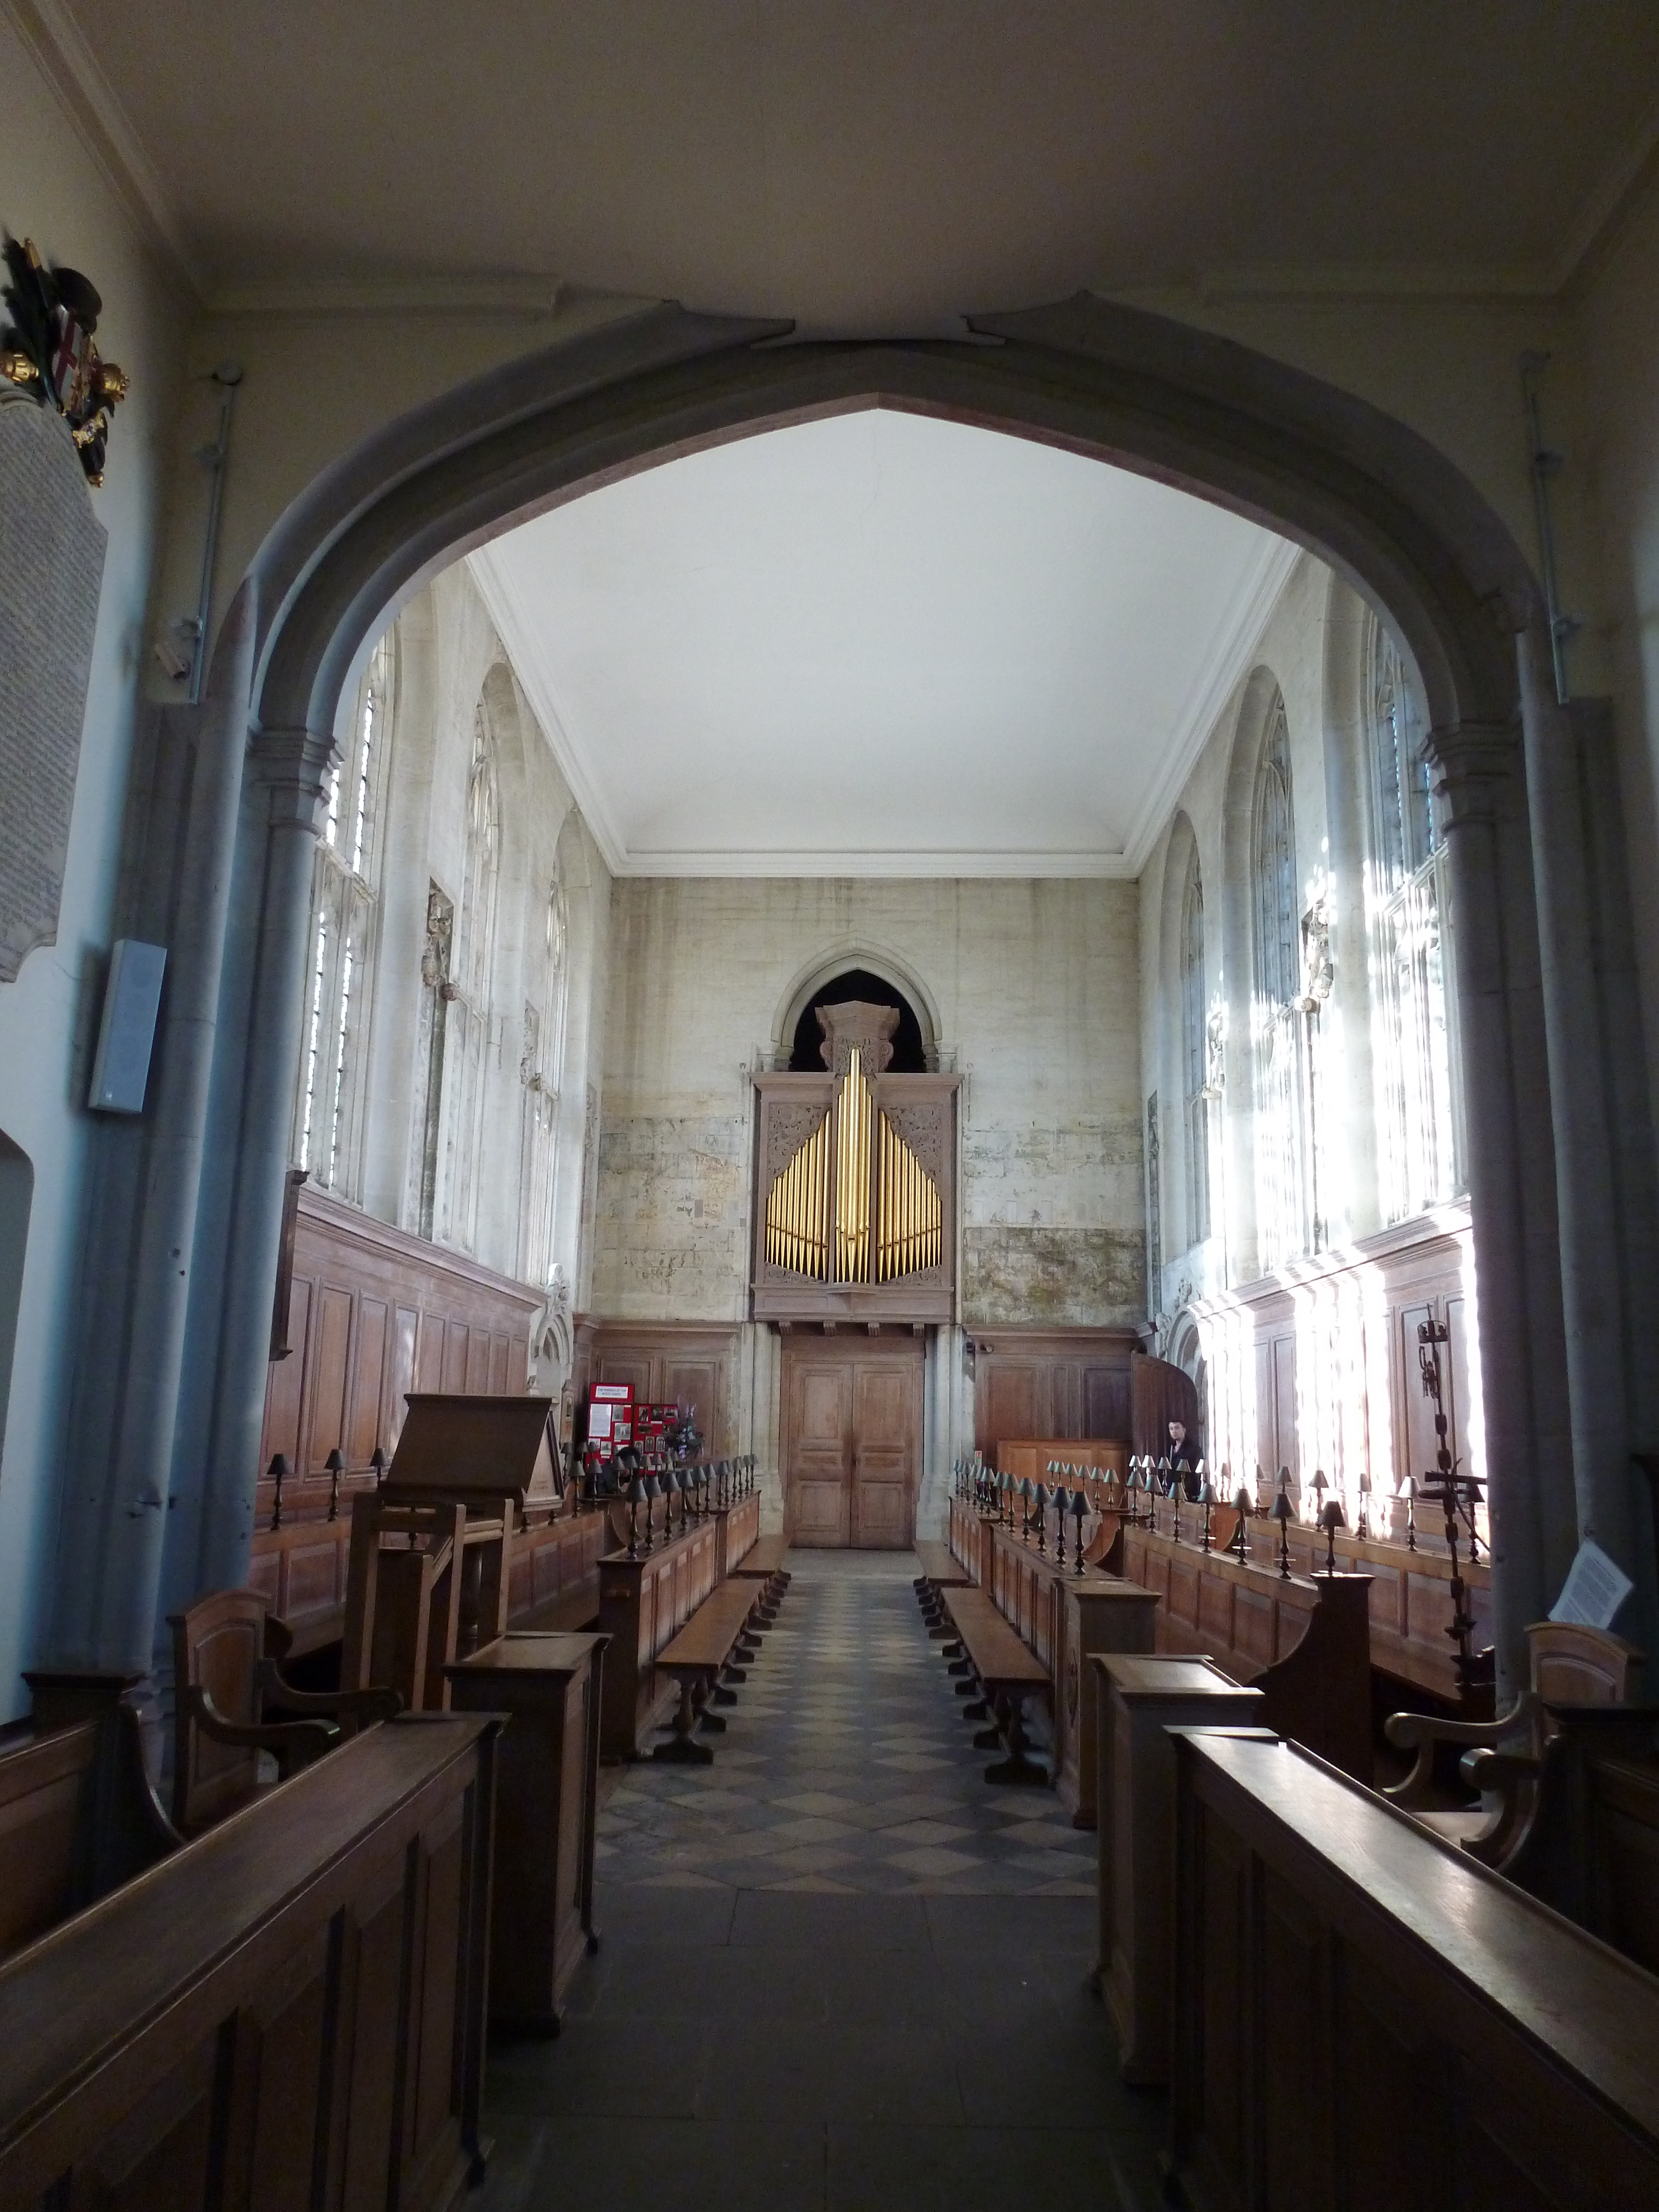
Figure 13: The Guild Chapel, interior looking west, Stratford-upon-Avon.
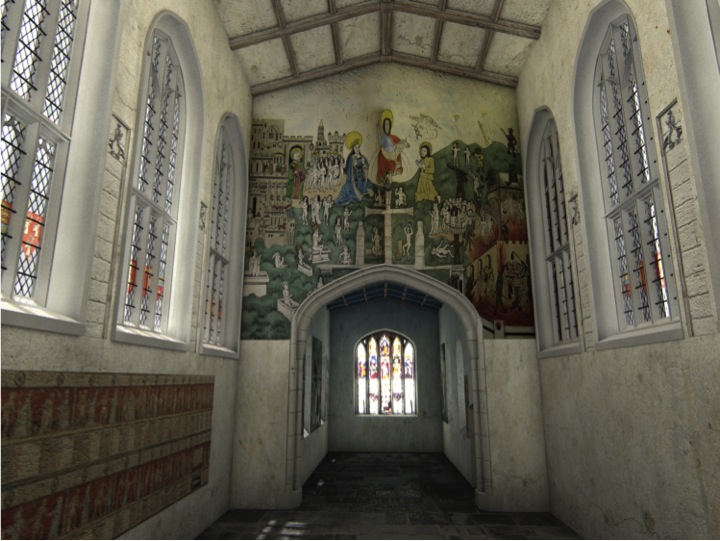
Figure 14: VR reconstruction of the Guild Chapel by Geoff Arnott and Anthony Masinton, Centre for the Study of Christianity and Culture
Figure 15: "Willingly to school with Shakespeare" an artist's impression of the reconstructed schoolroom used as part of the HLF press release, July 2015. © Imagemakers Ltd.
Figure 16: The chapel of Trinity Hall, York (the Merchant Adventurers' Hall) © The Company of Merchant Adventurers
Figure 17: The Guildhall Chapel the Guildhall, Stratford-upon-Avon. The space occupied by the chapel is indicated by the traces of its former decorative scheme across the south and east walls. The Chapel was probably partitioned from the remainder of the lower hall, using semi-permanent lath and plaster partitions or moveable screens. A more permanent partition exists between the Guildhall Chapel and the adjacent Council Chamber. The 19th-century platform visible here probably replicates a raised floor level supporting the altar, as evidenced by mortices in the sill beams.
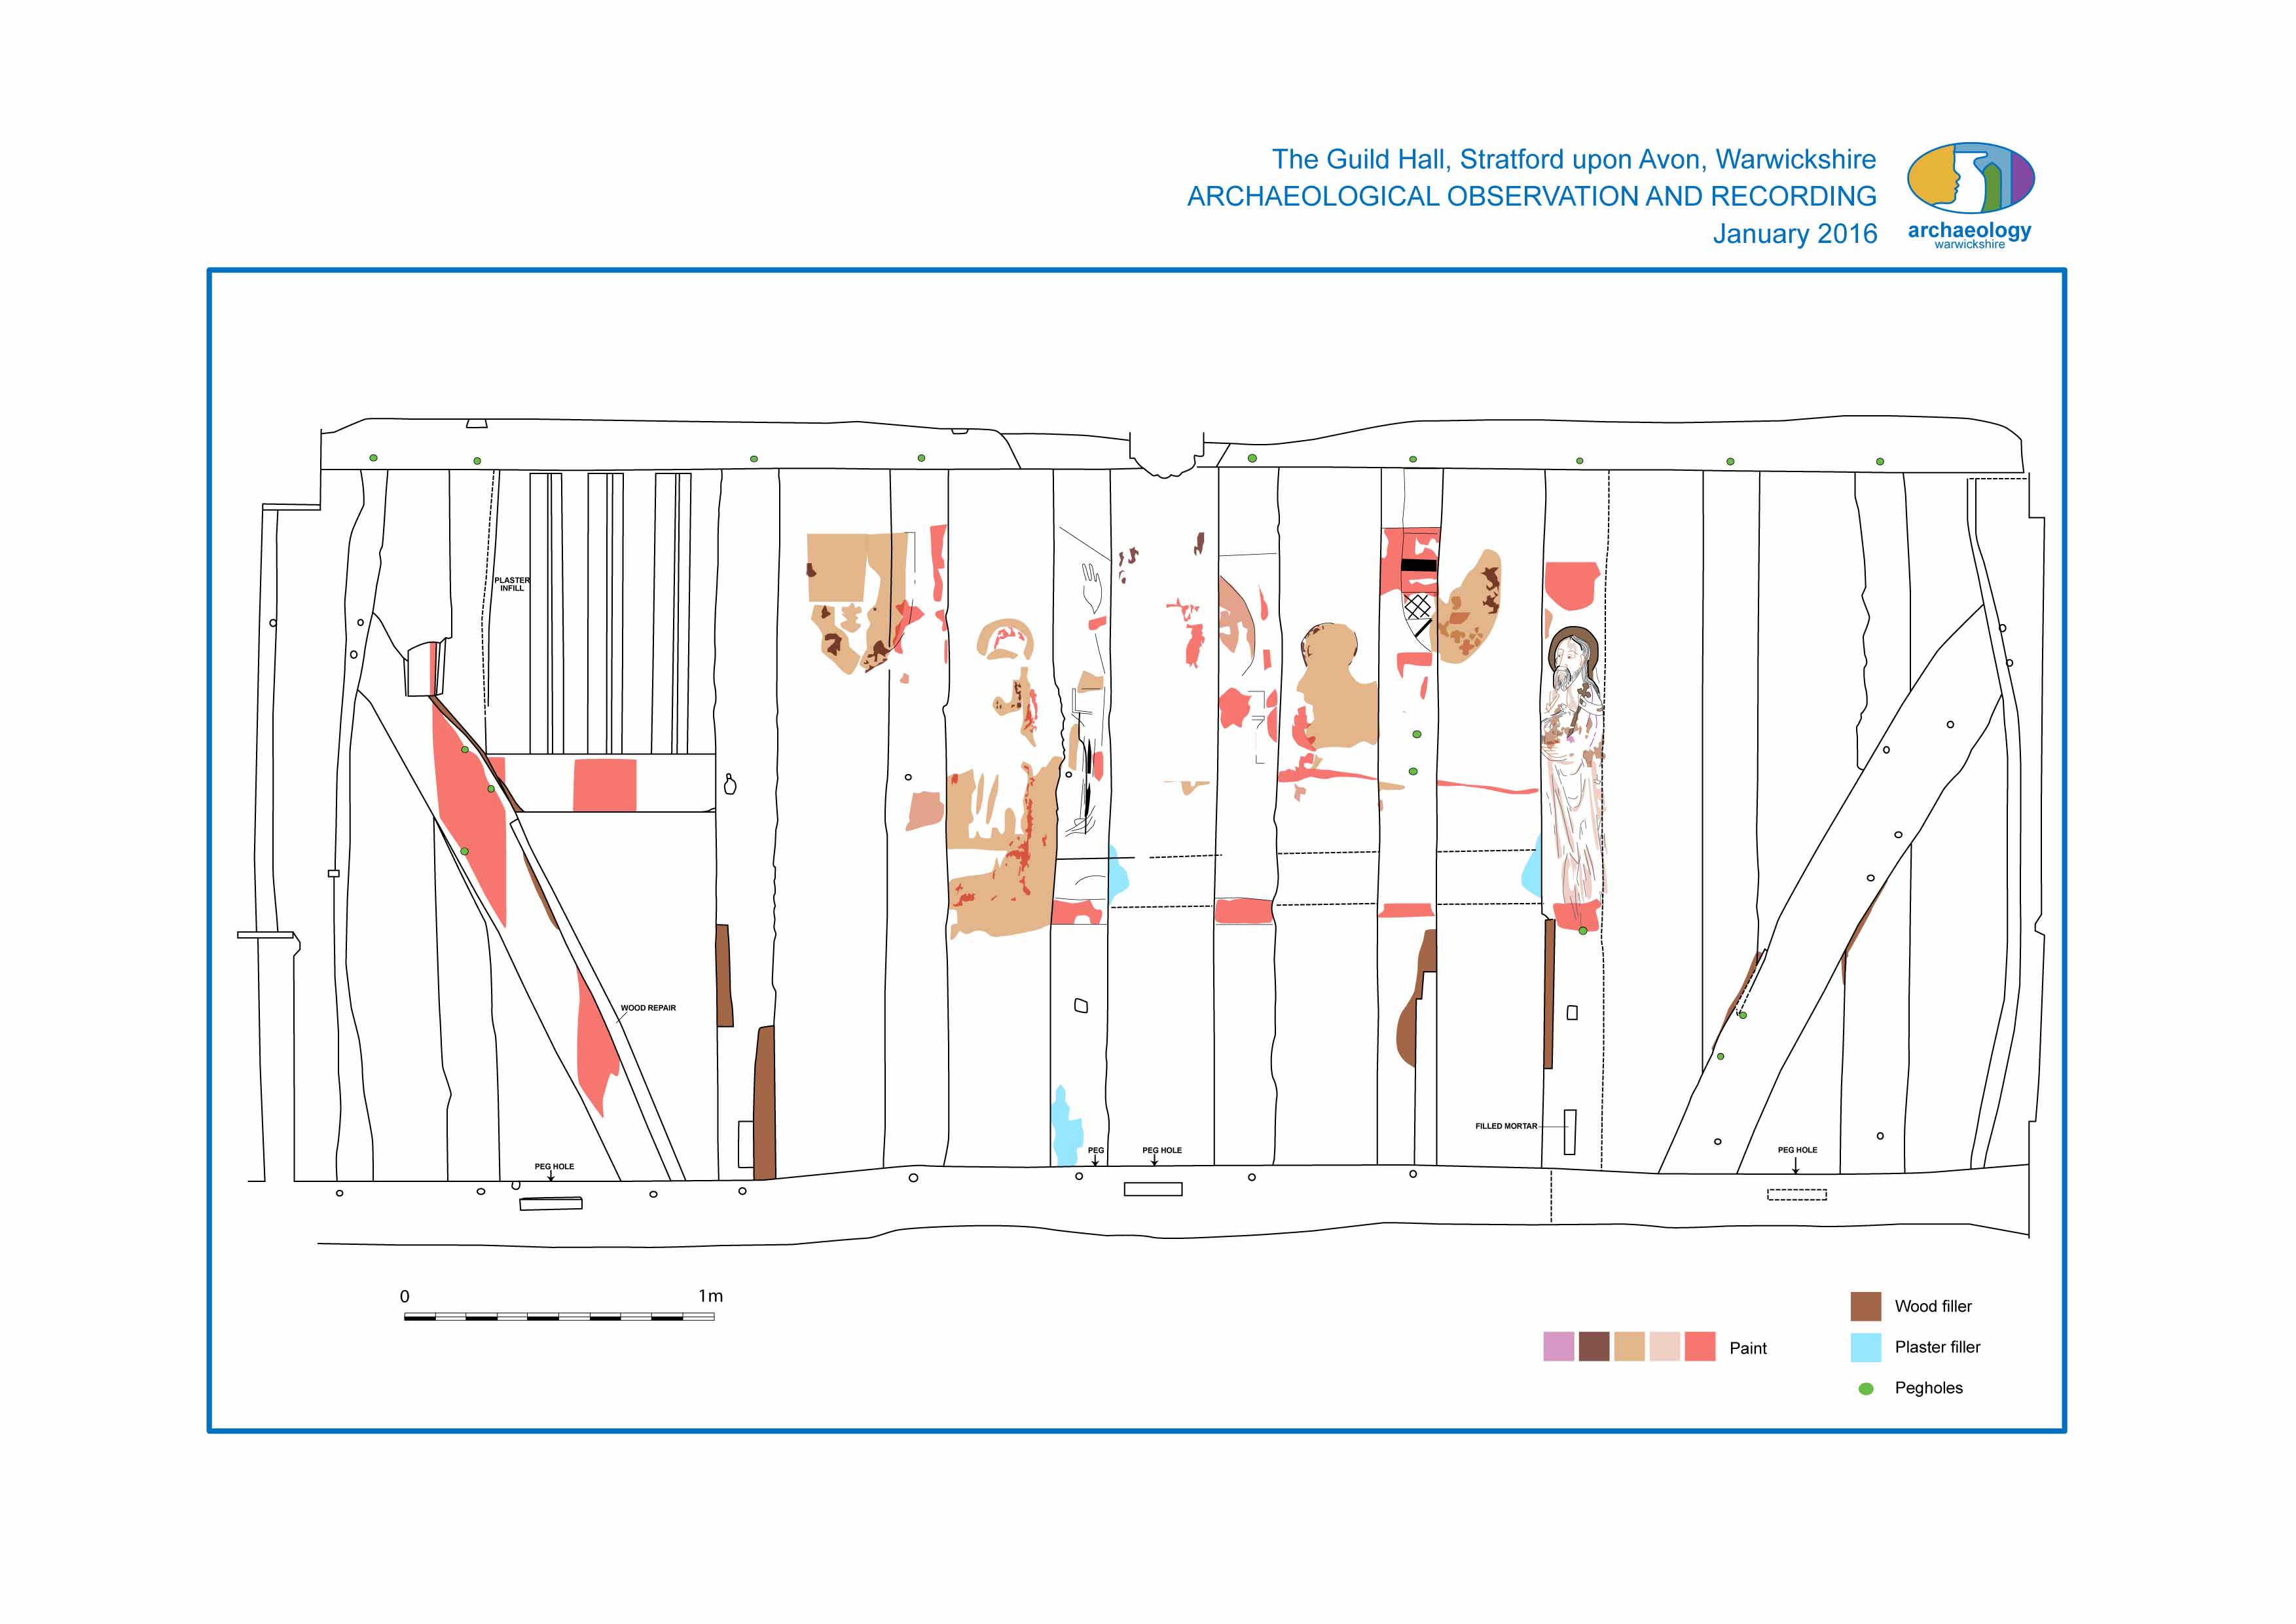
Figure 18: Evidence for a platform, altar and window in the south wall of the Guildhall Chapel, the Guildhall, Stratford-upon-Avon. Published with permission © Warwickshire Archaeology
Figure 19: The Guildhall Chapel. East wall prior to conservation. © The Perry Lithgow Partnership
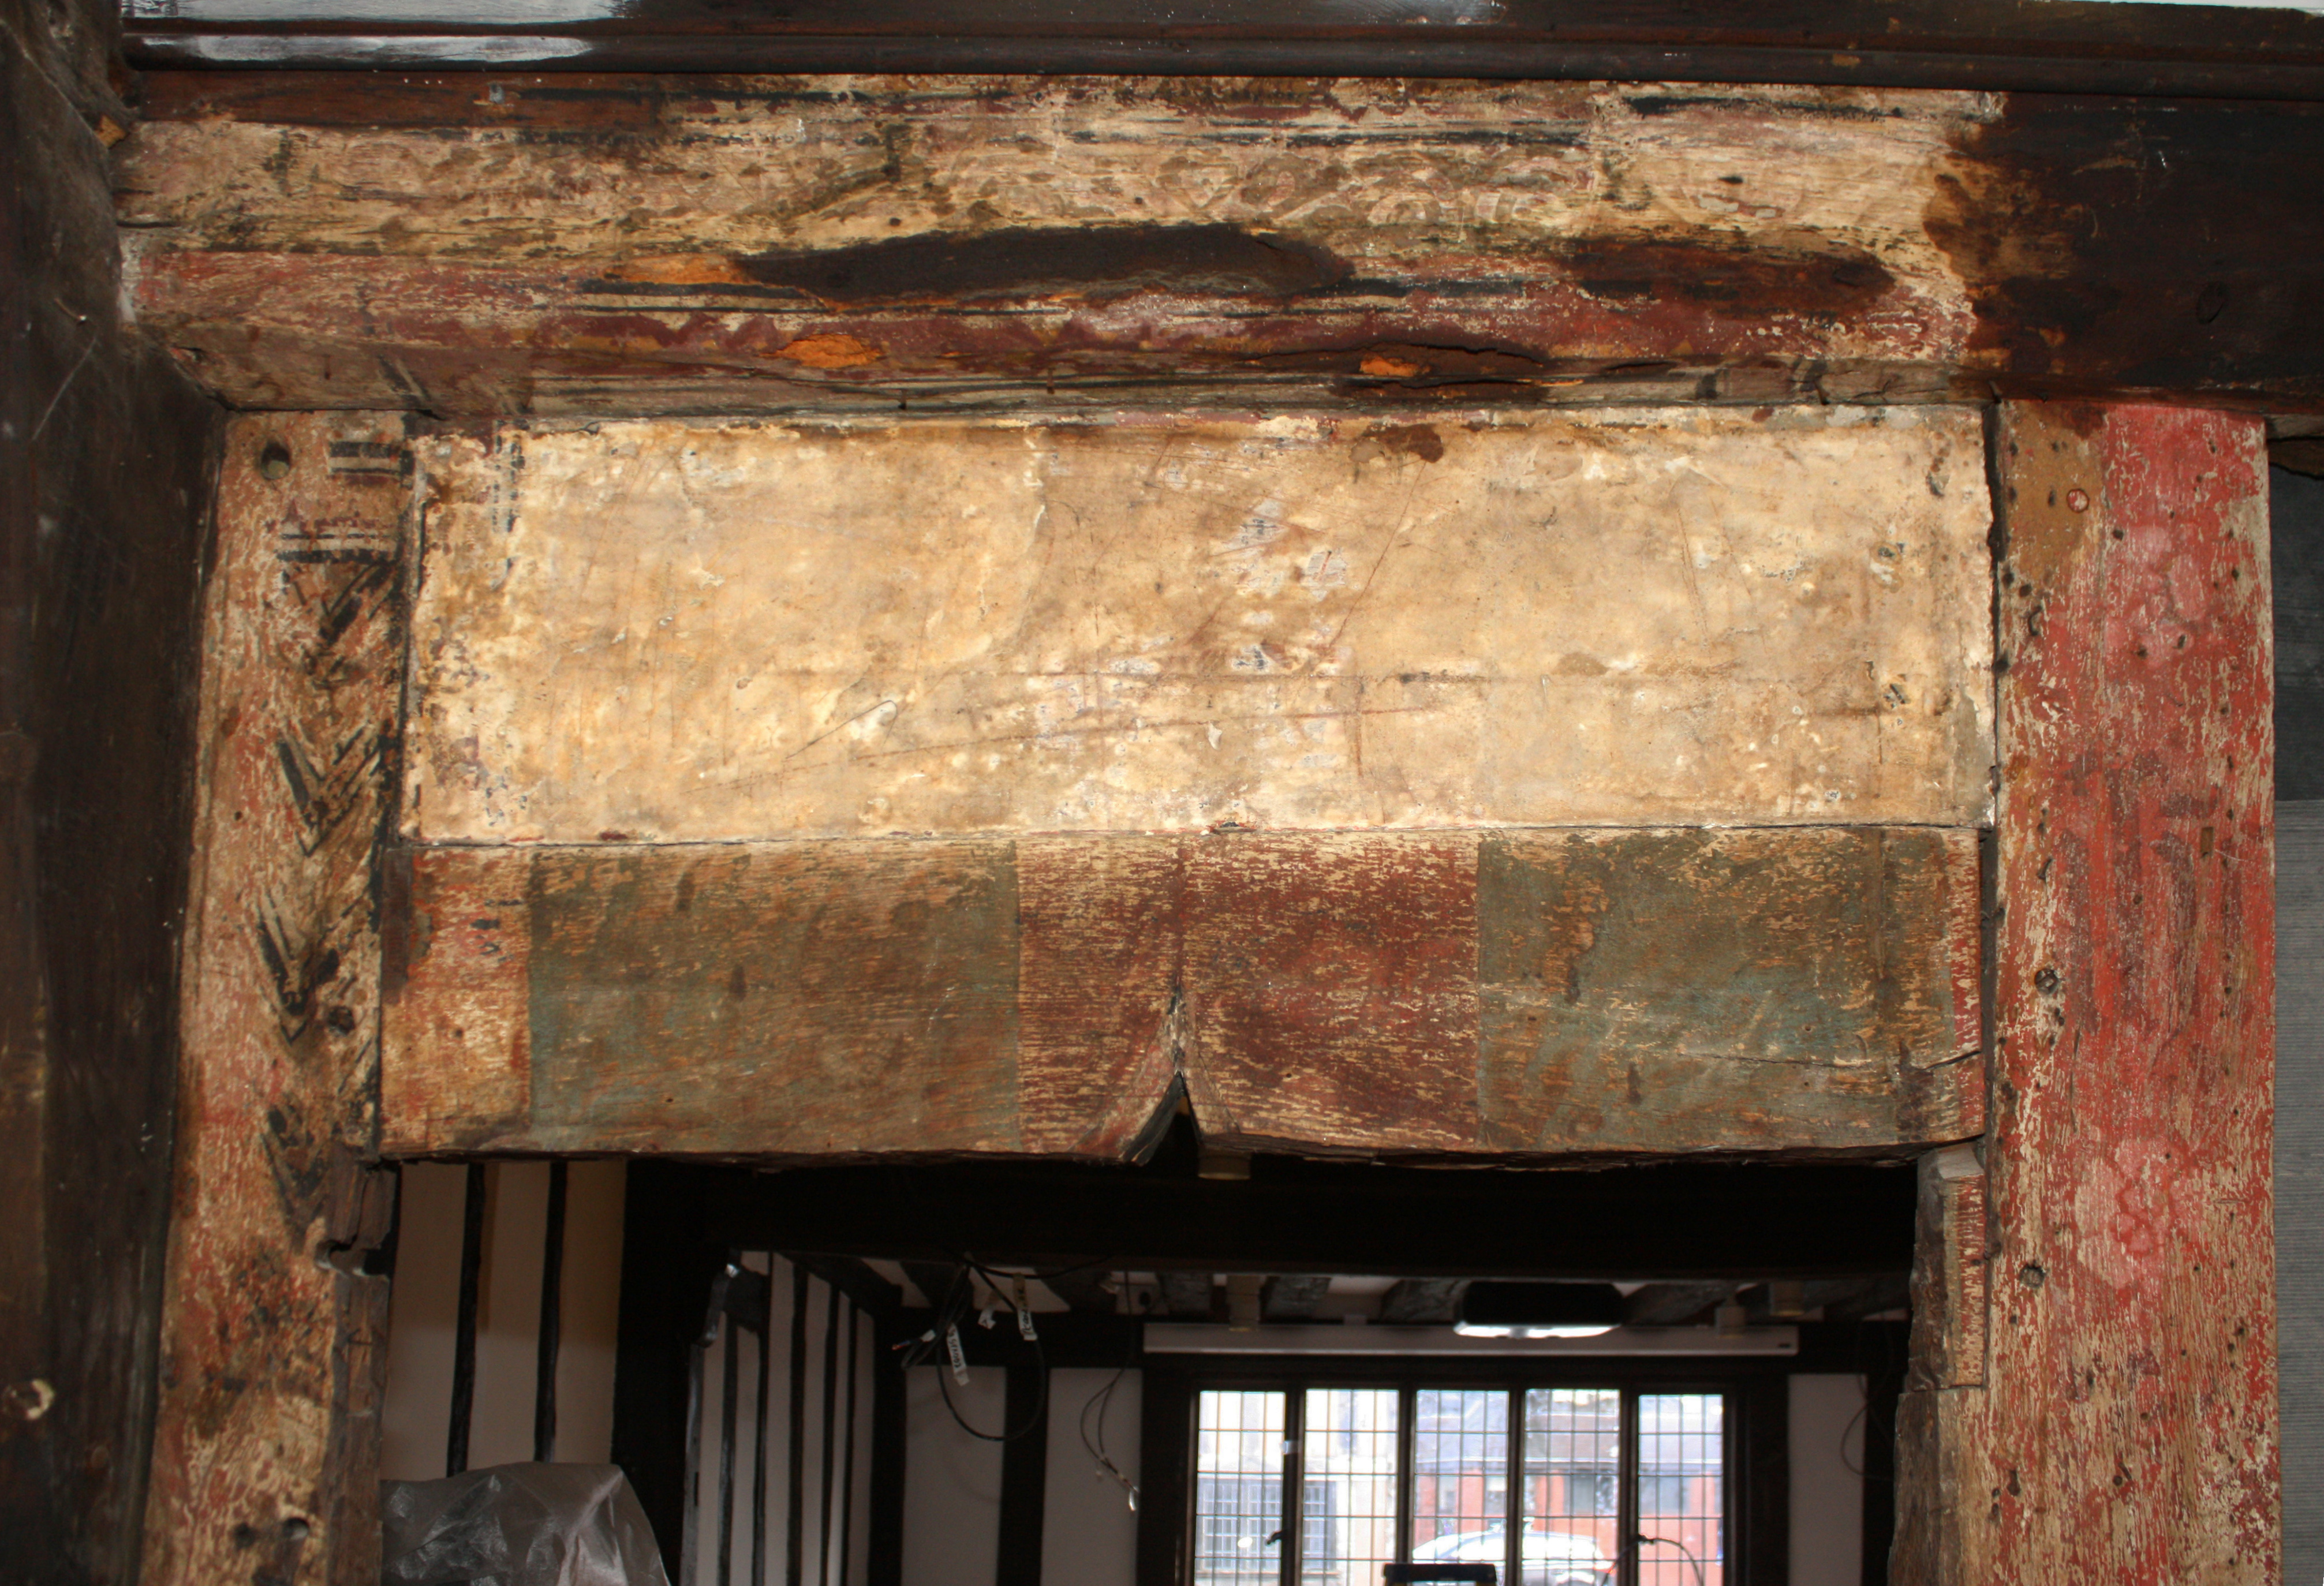
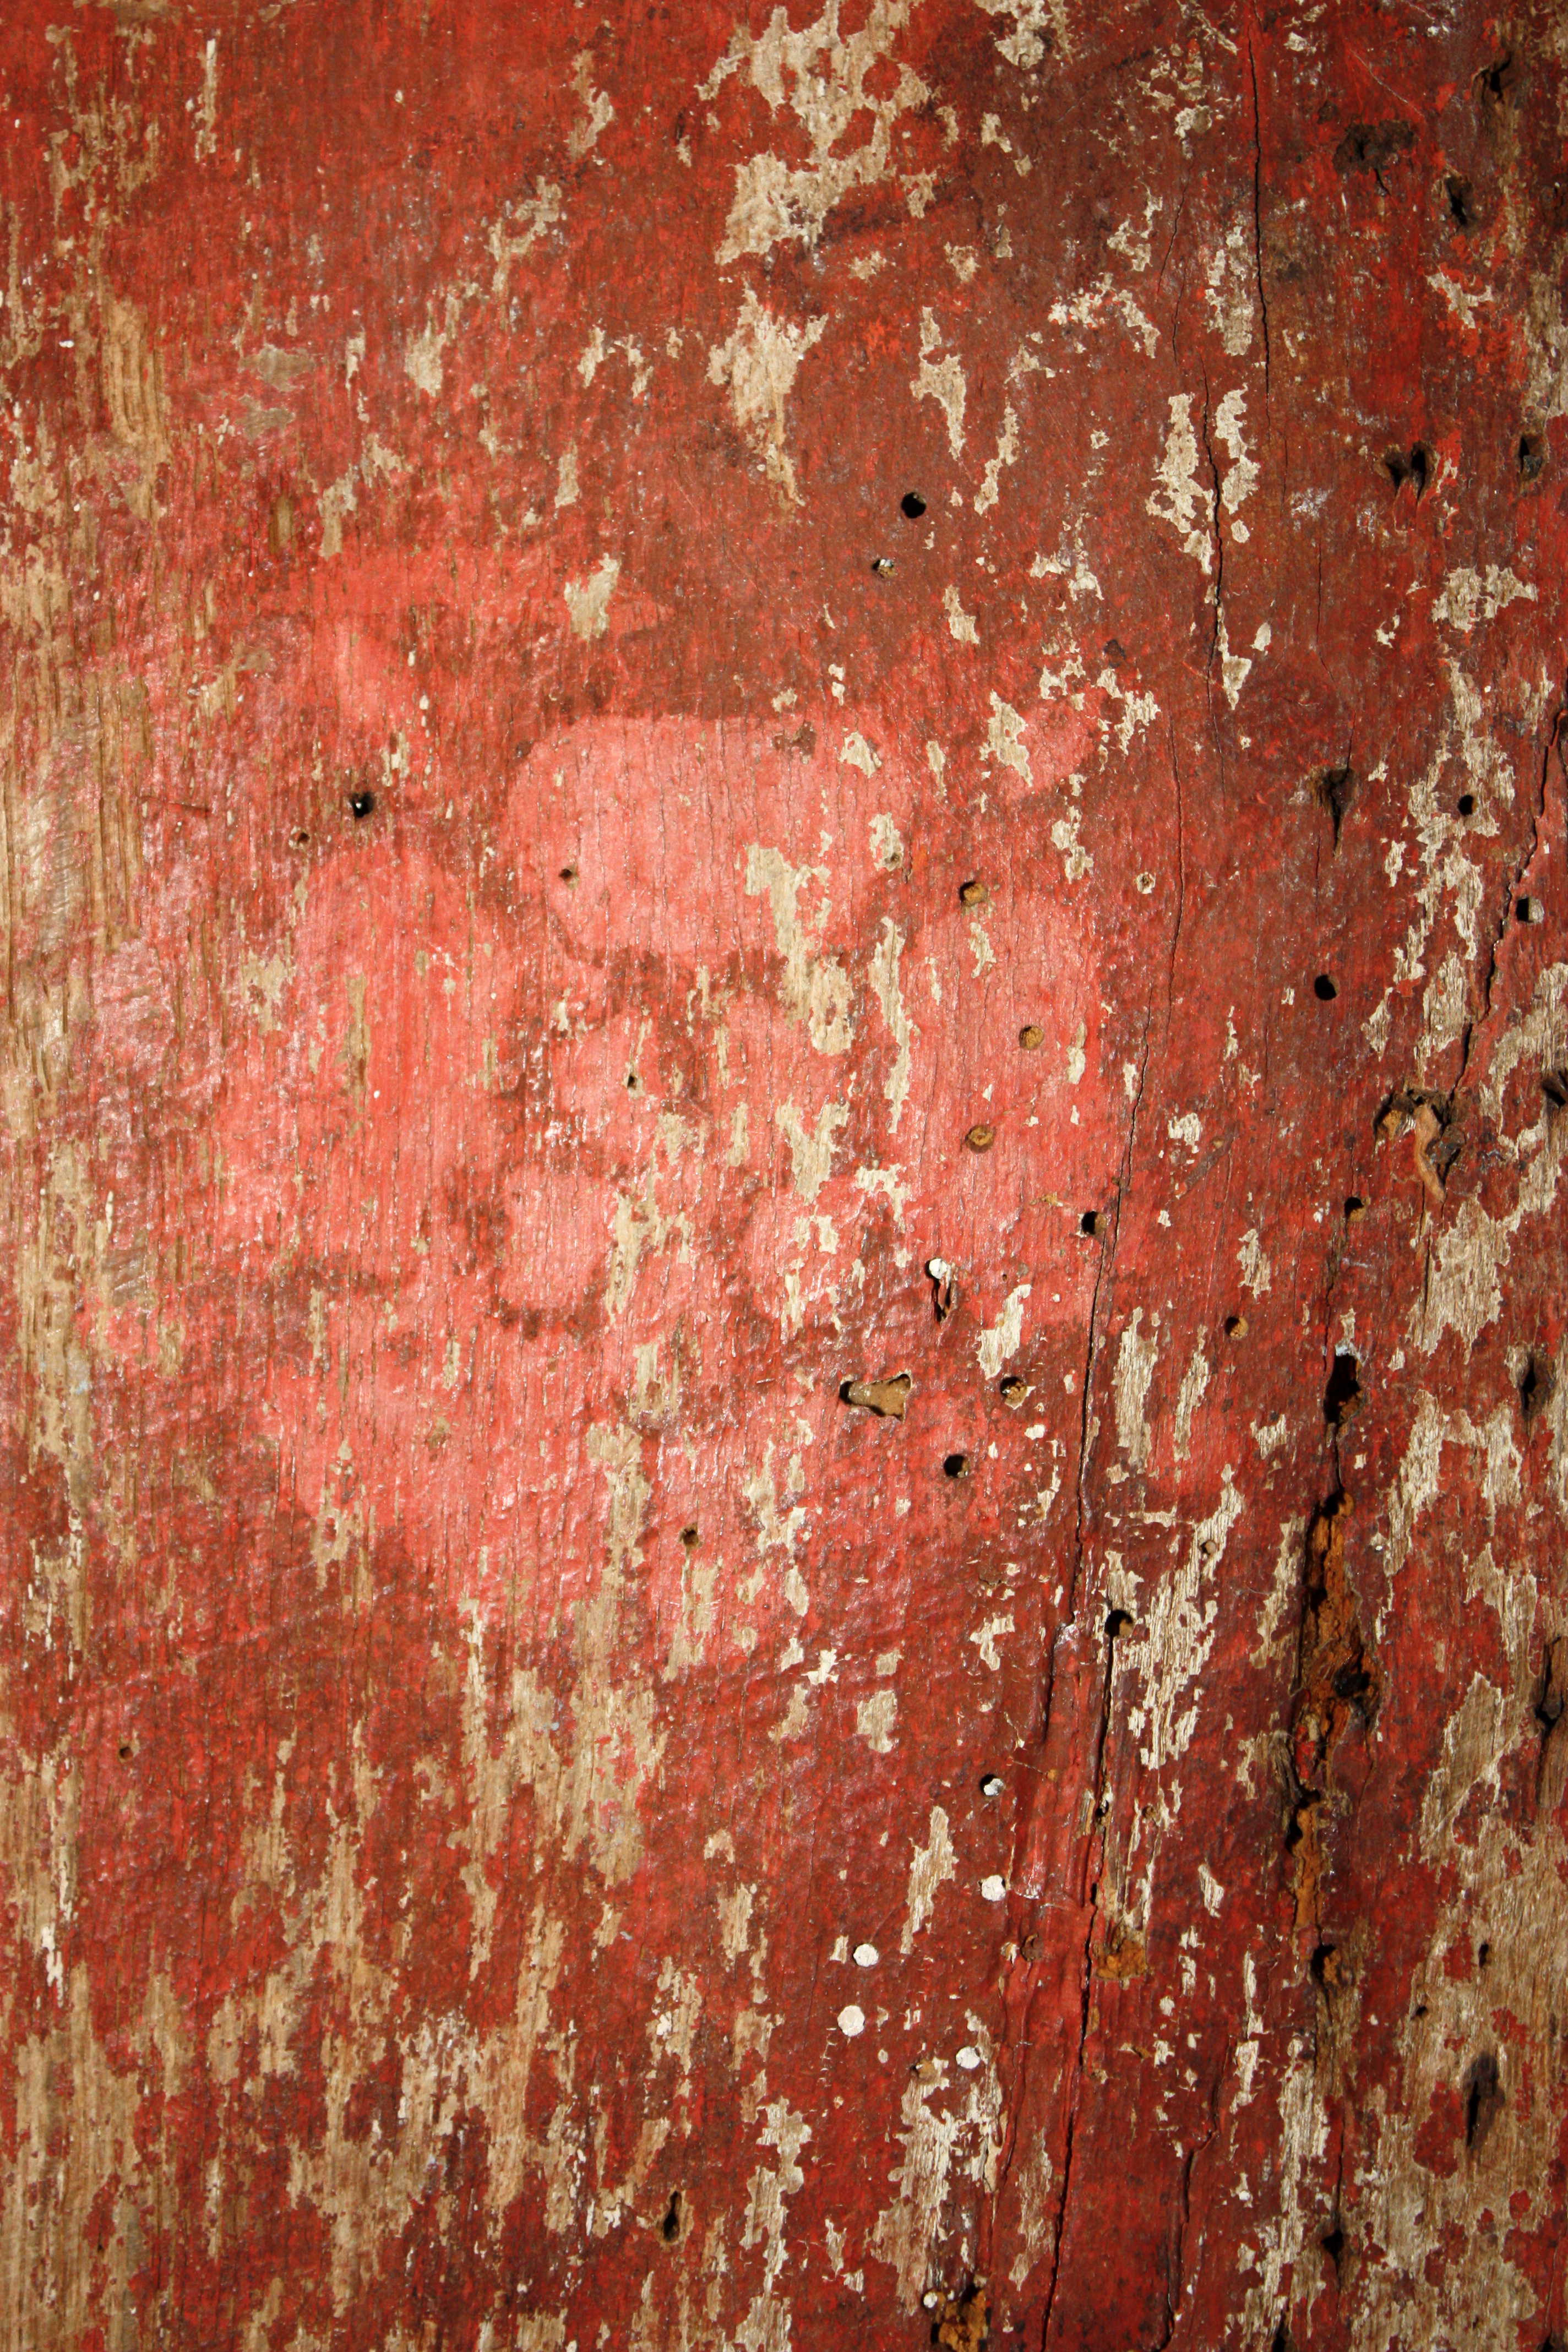
Figure 20: The Guildhall Chapel. South wall prior to conservation. © The Perry Lithgow Partnership
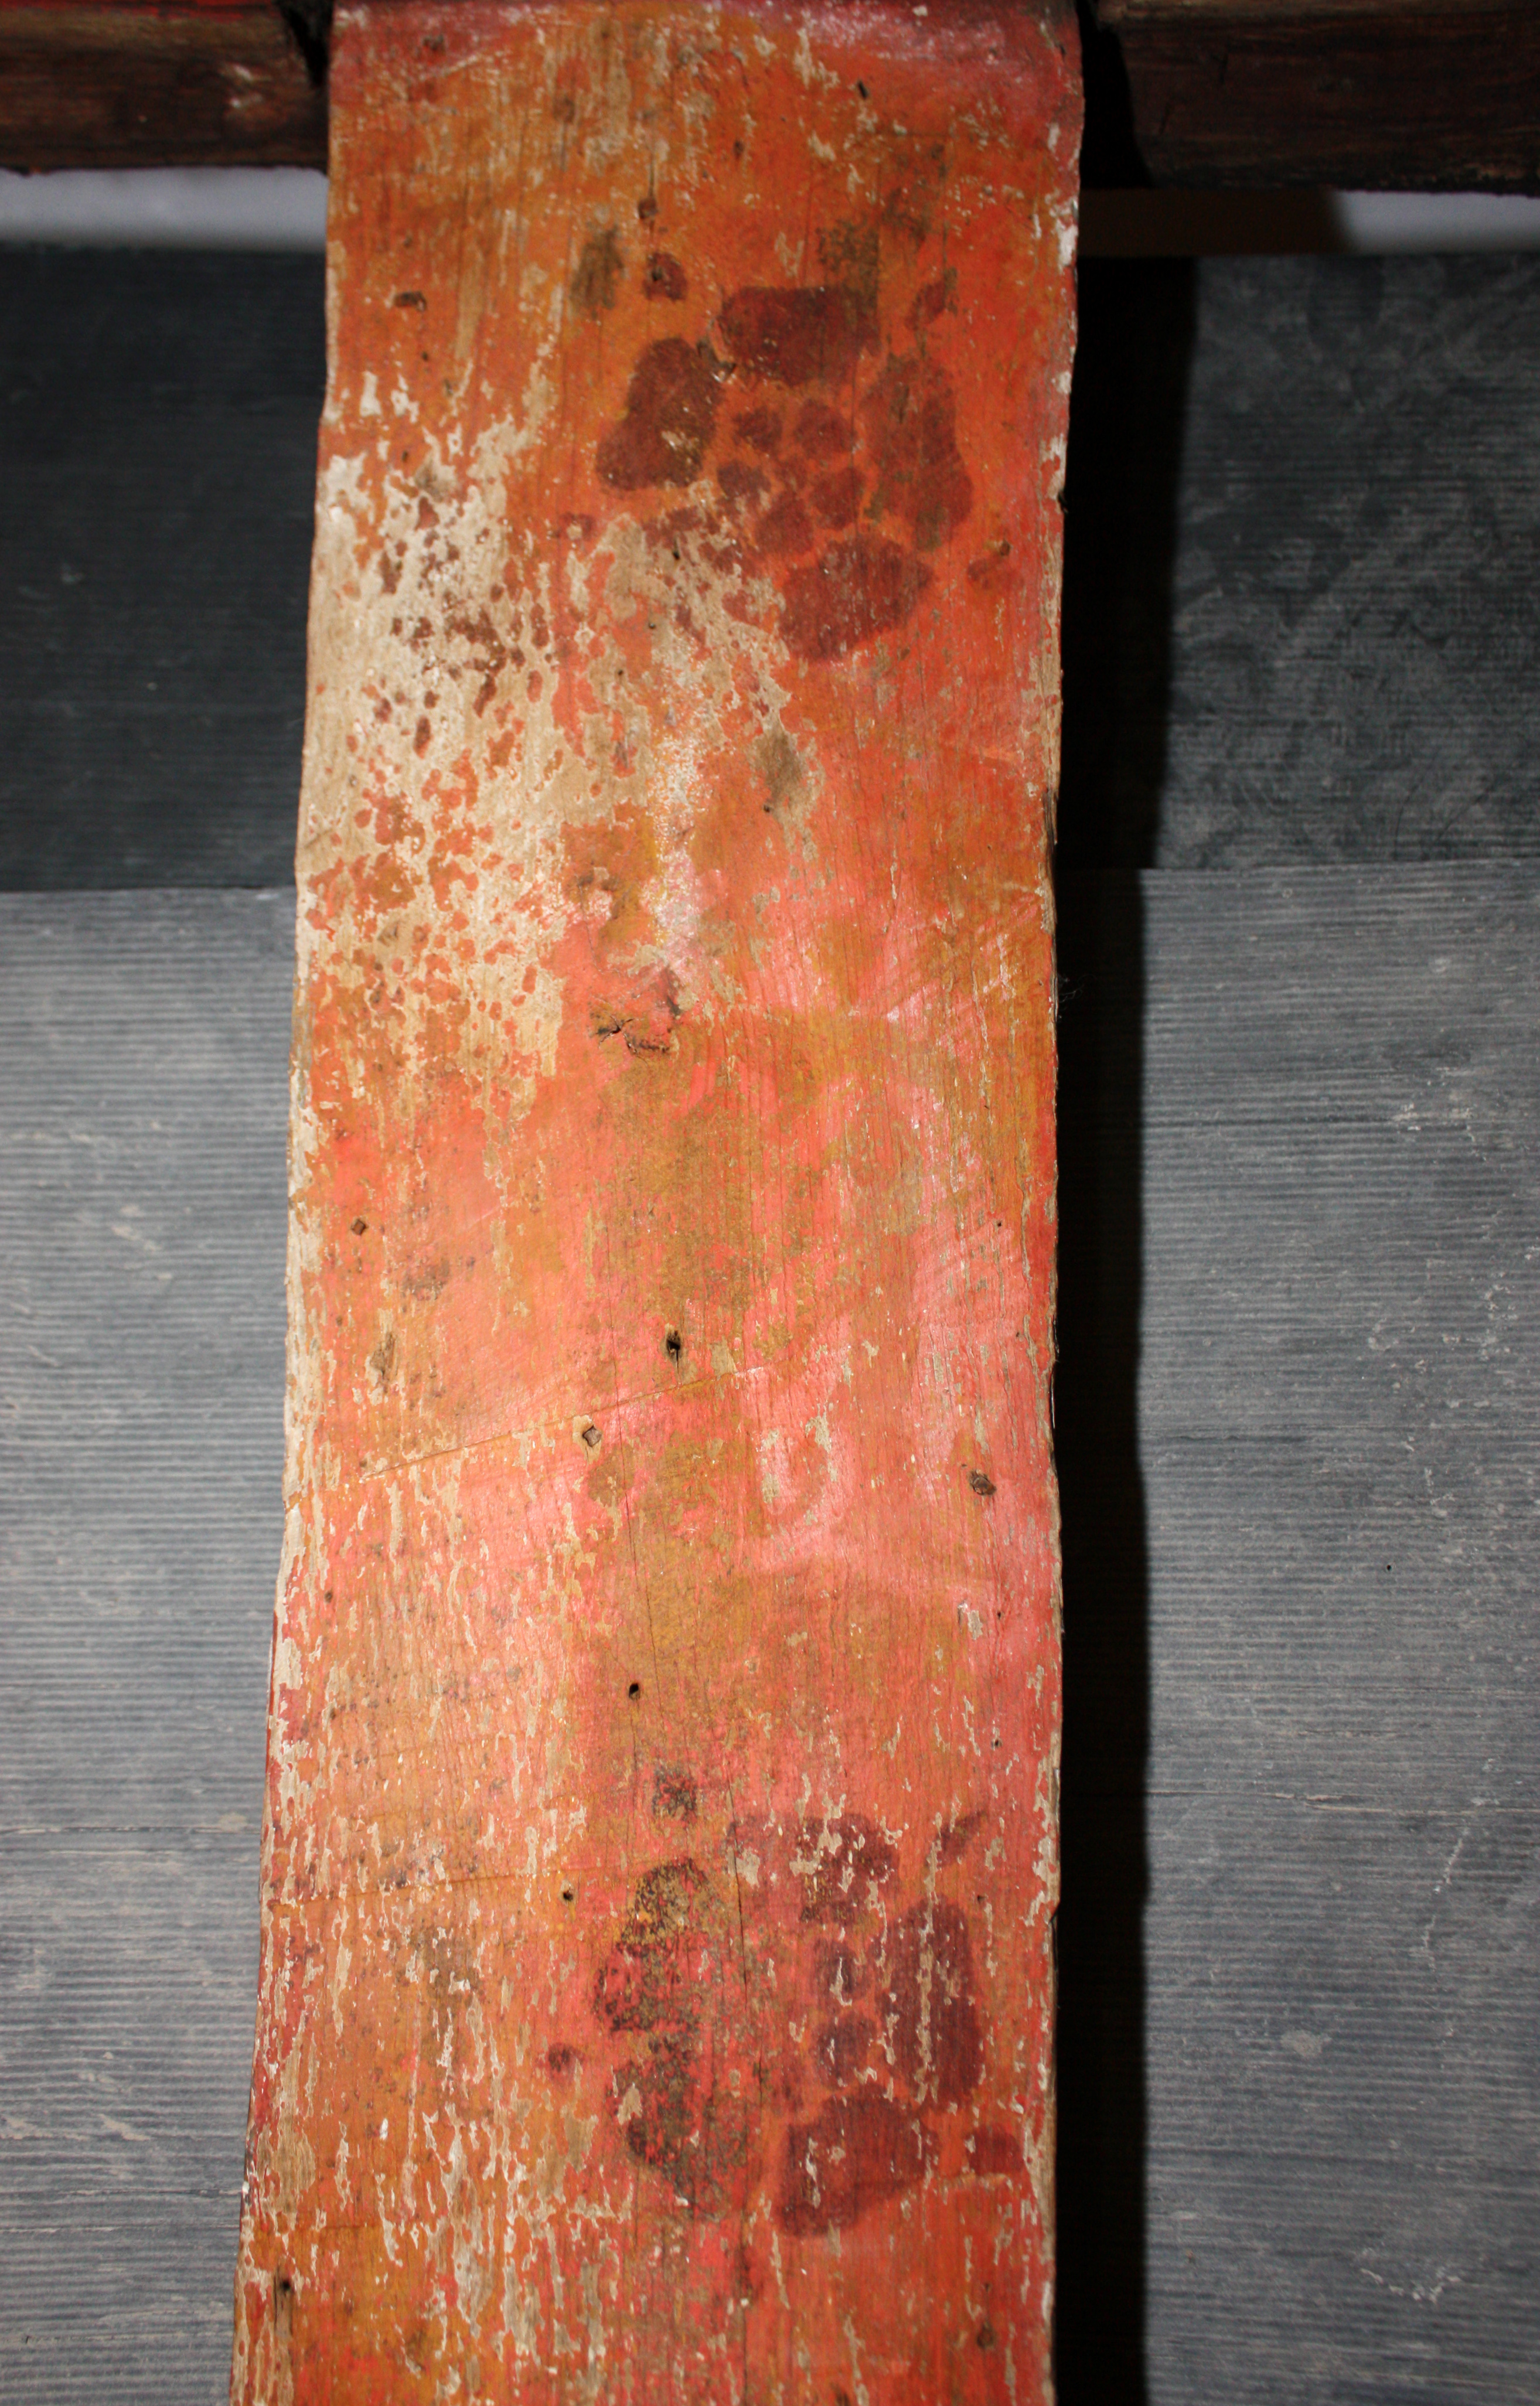
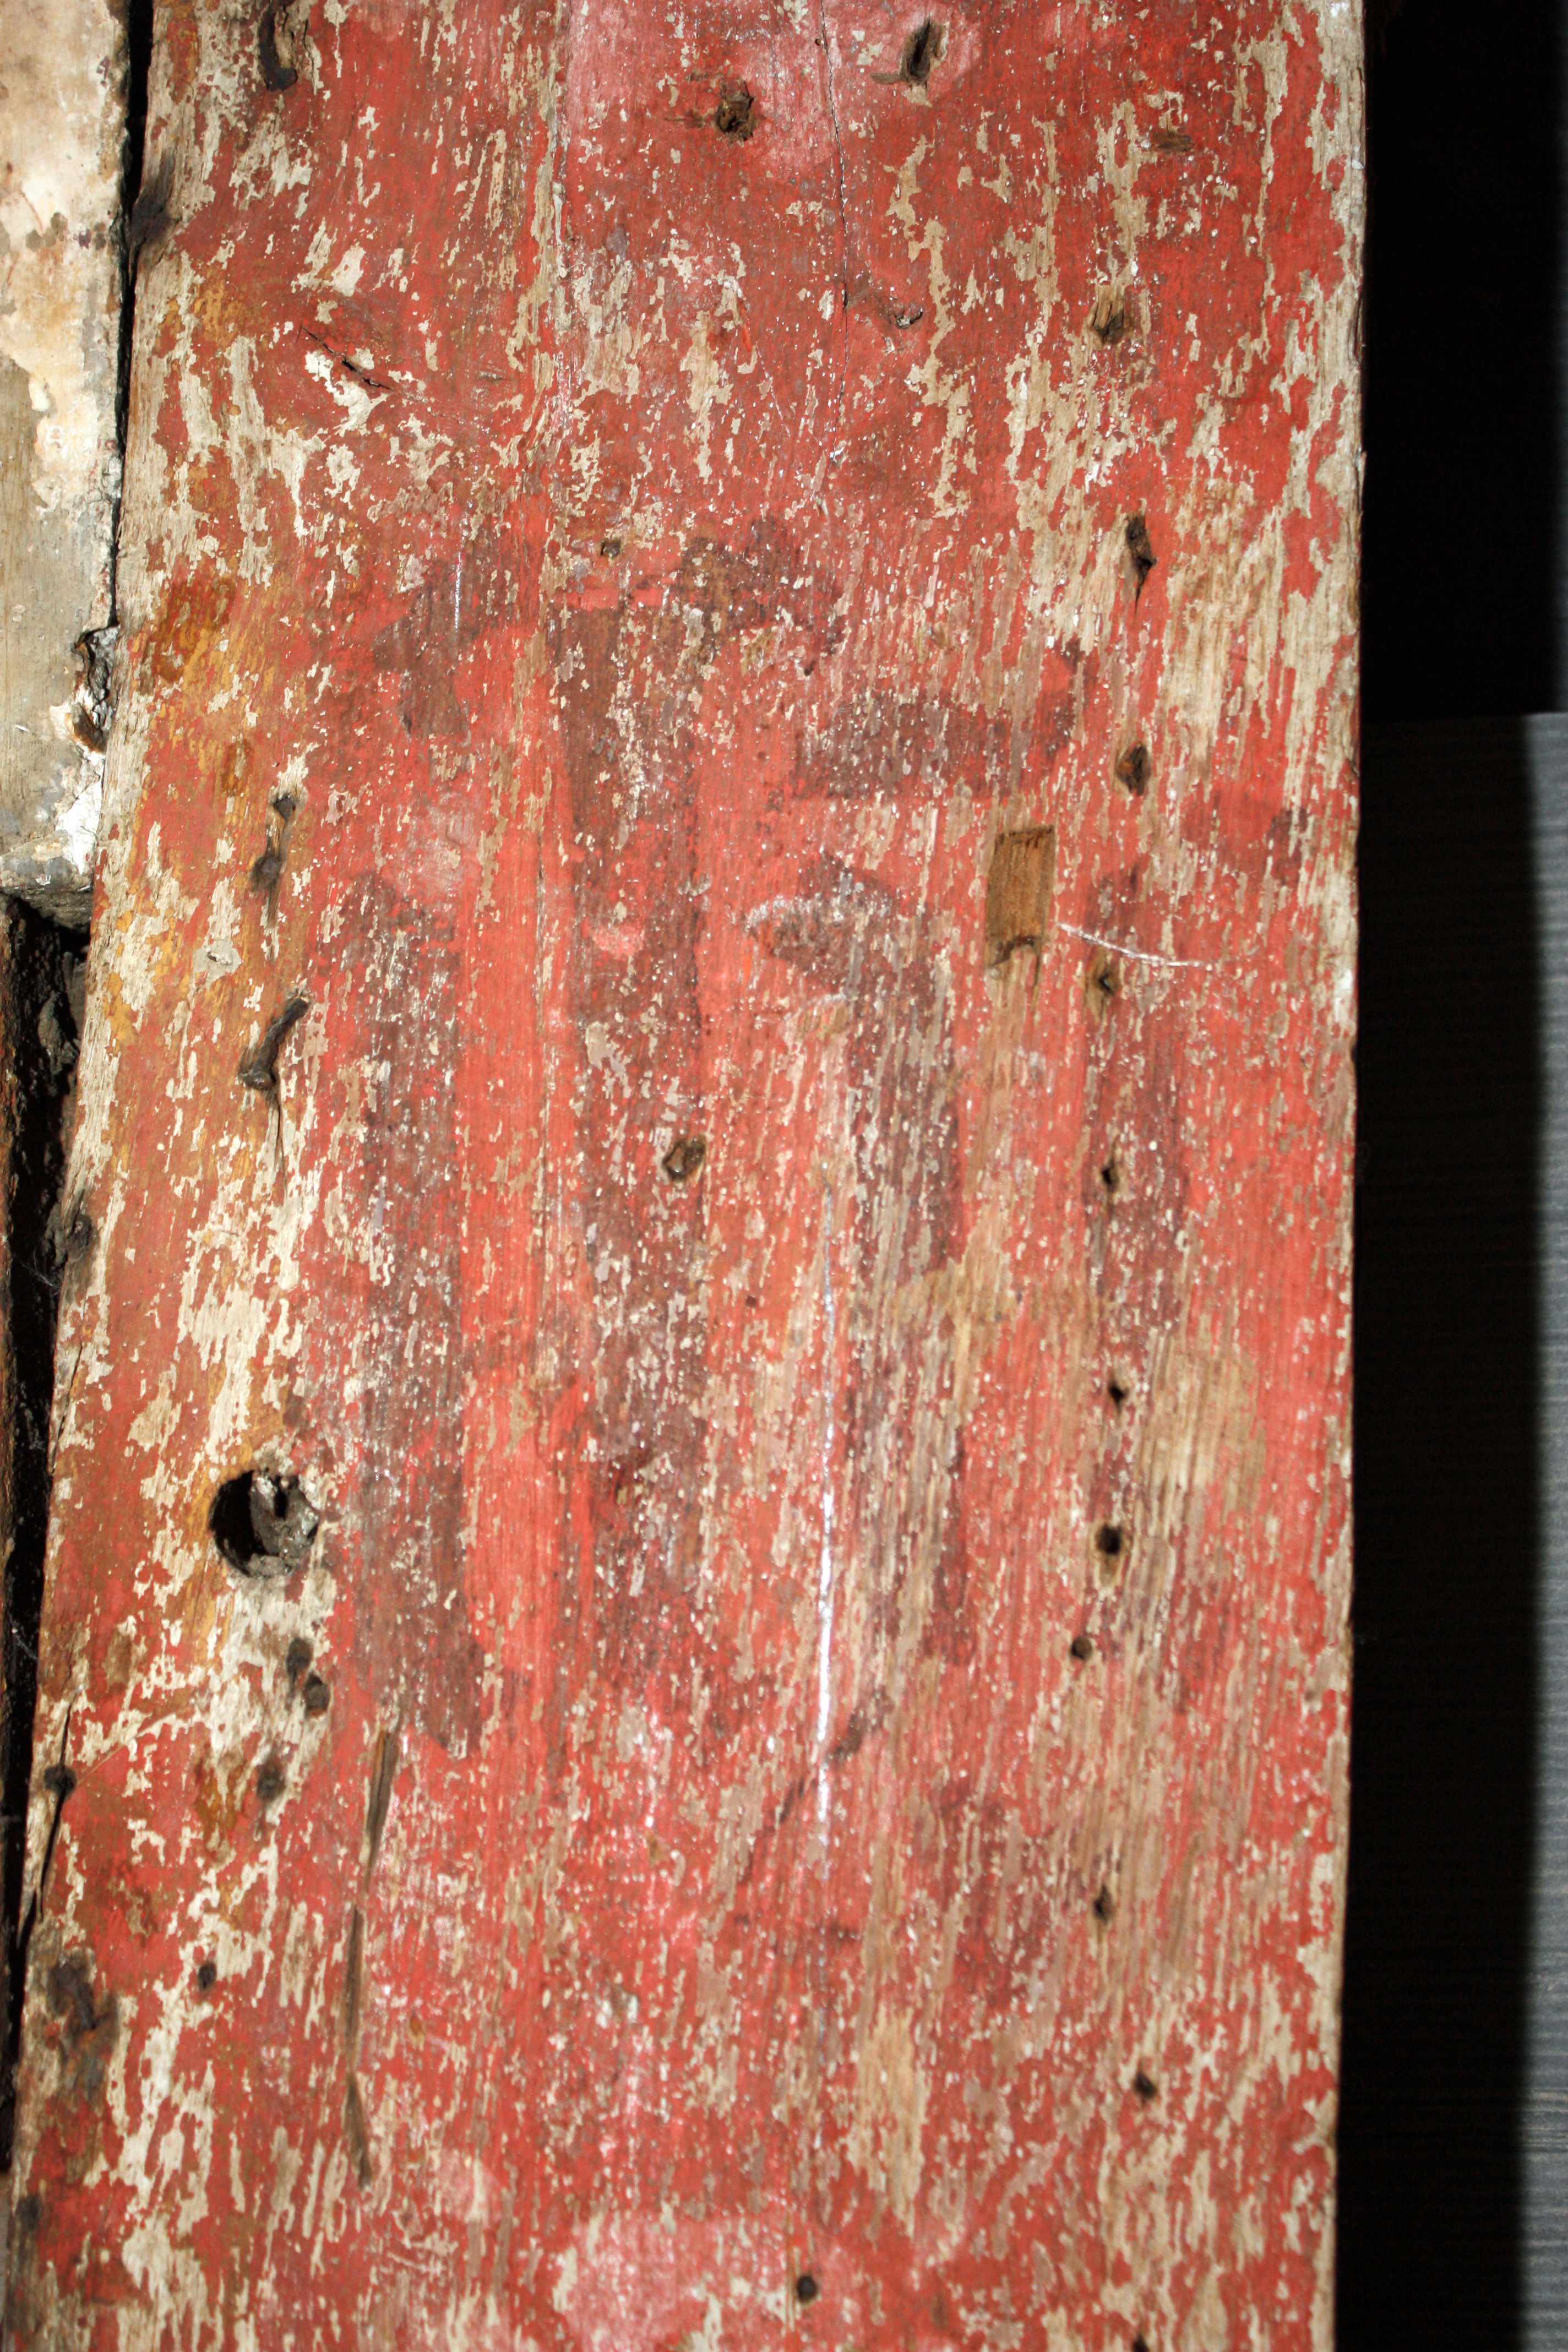
Figure 21: G. Bailey's drawing of the Guildhall Chapel painting, showing St. John the Baptist to the left of the Crucifixion and the Virgin to the right. From Bailey 1898, 293-98.
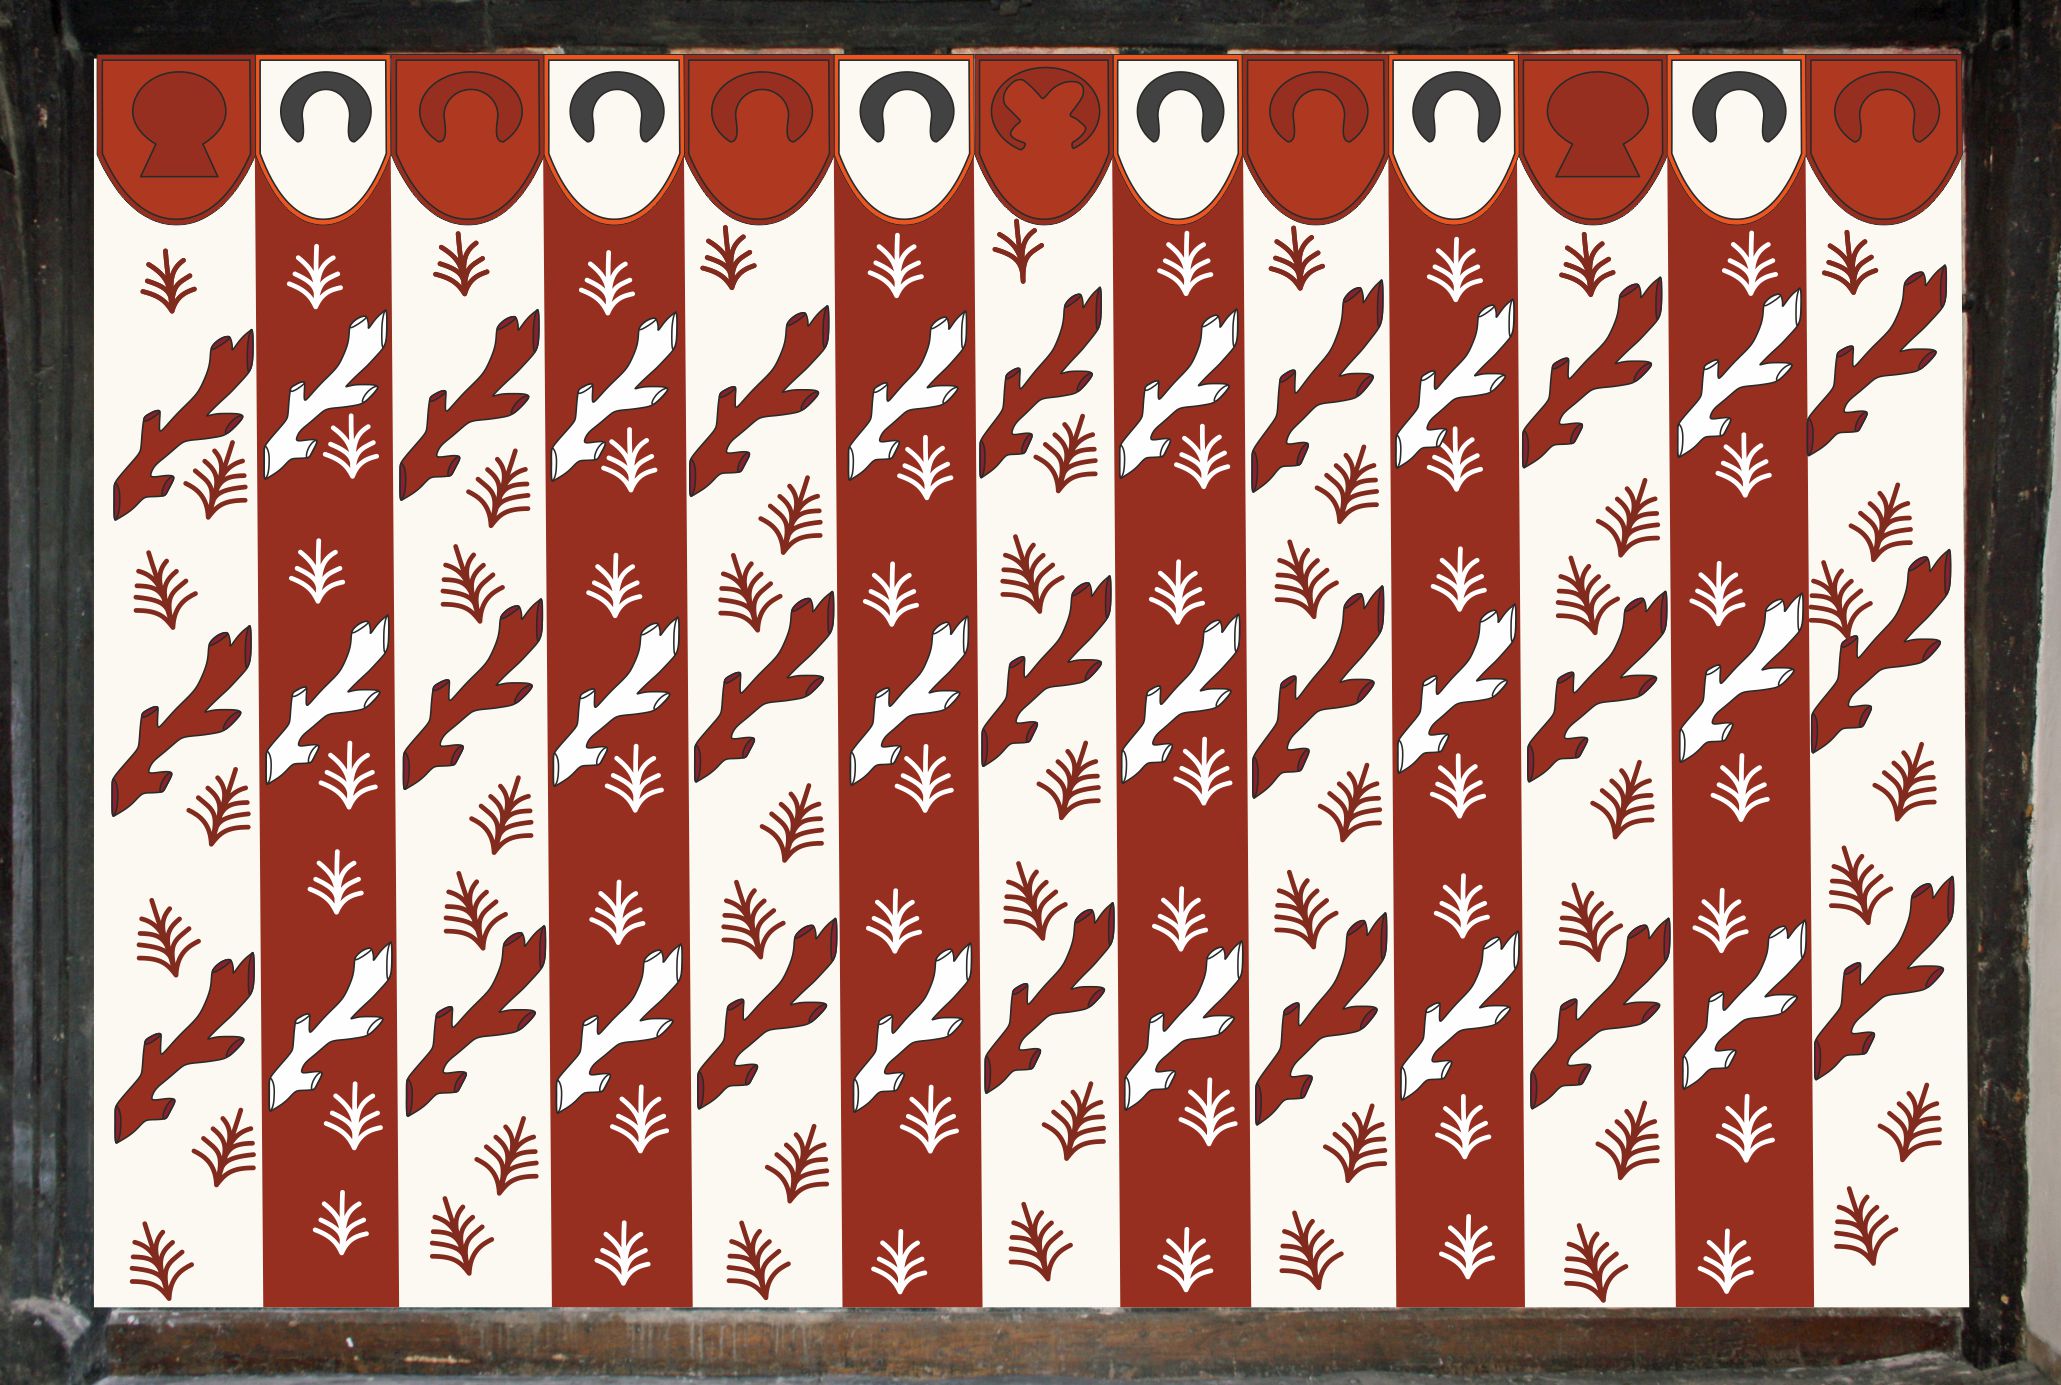
Figure 22: The seal matrix of the Guild of the Holy Cross, Stratford-upon-Avon British Museum (Museum number 1838, 1232.21). © The British Museum. The matrix is bronze, with traces of gilding. It has a hexagonal conical handle. The image depicts the Crucifixion with images of the Virgin and St. John the Baptist carrying the 'Agnus Dei'. The legend with raised borders and sprays between the words reads 'sigillum comune gilde sce crucis de stratford super auen'. © KES School
Figure 23: The south wall. Rectified photographic recording, University of York. © University of York
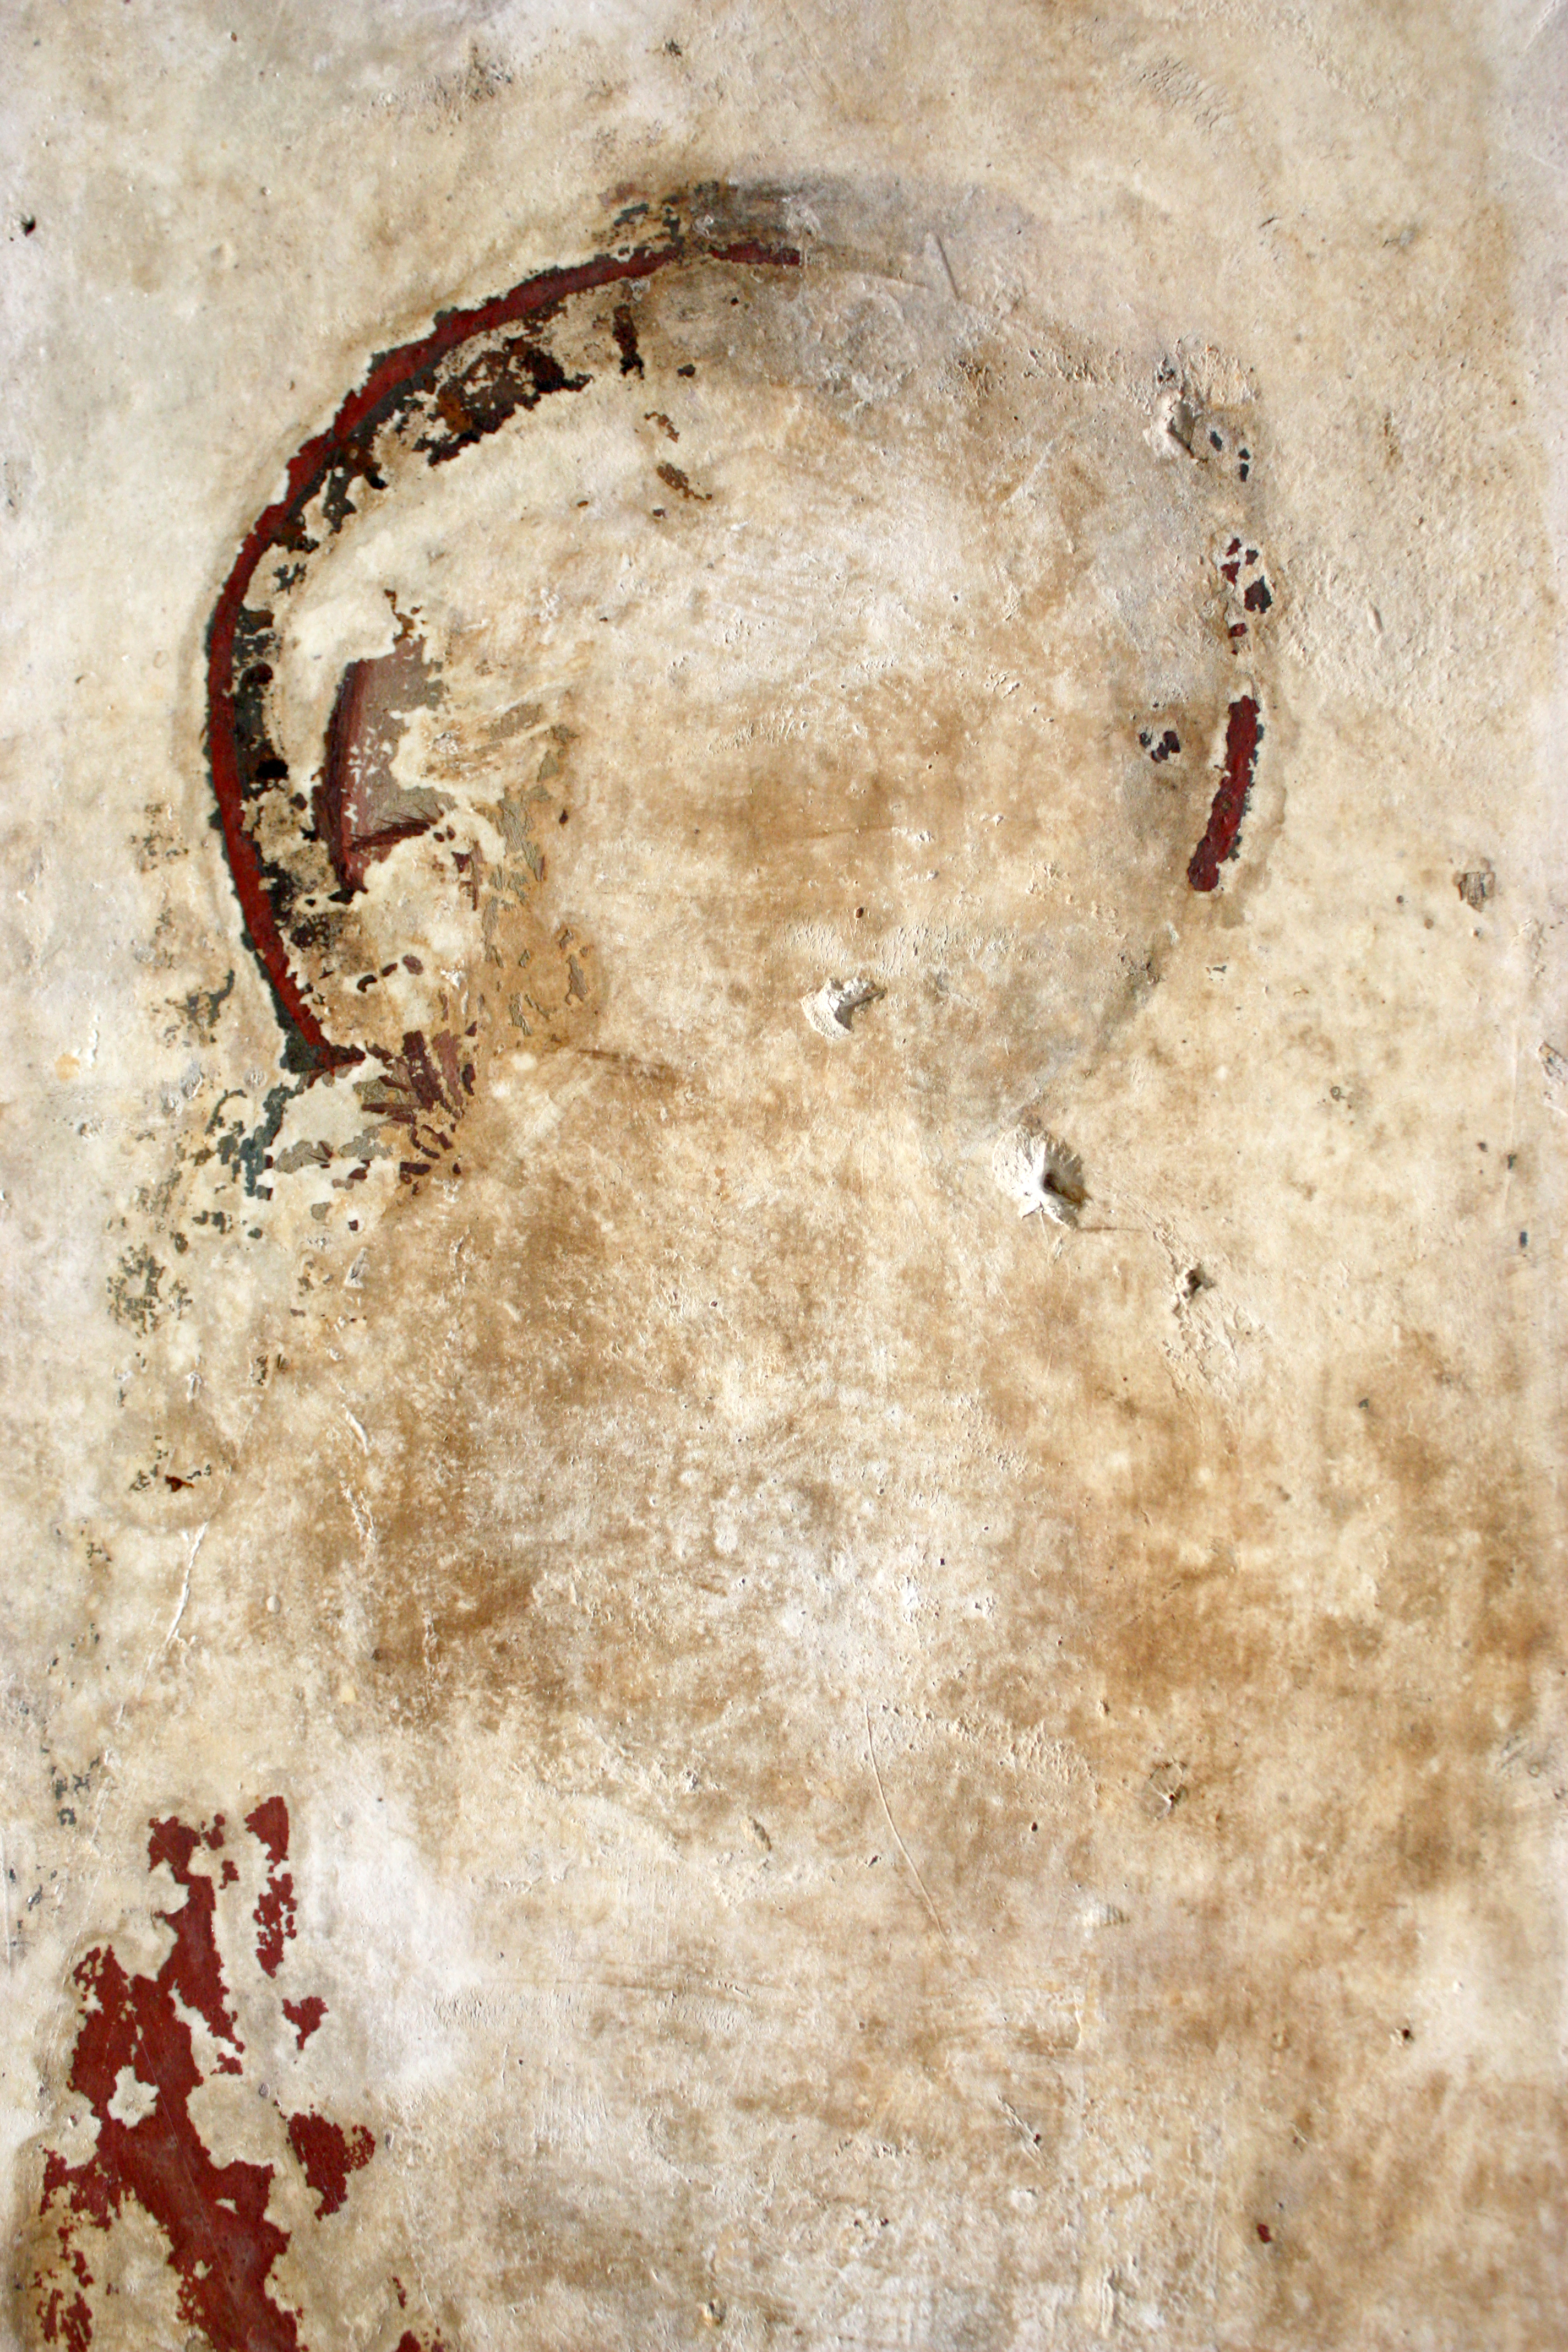
Figure 24 a-b: The south wall evidence for the Trinity emerging during conservation. © The Perry Lithgow Partnership
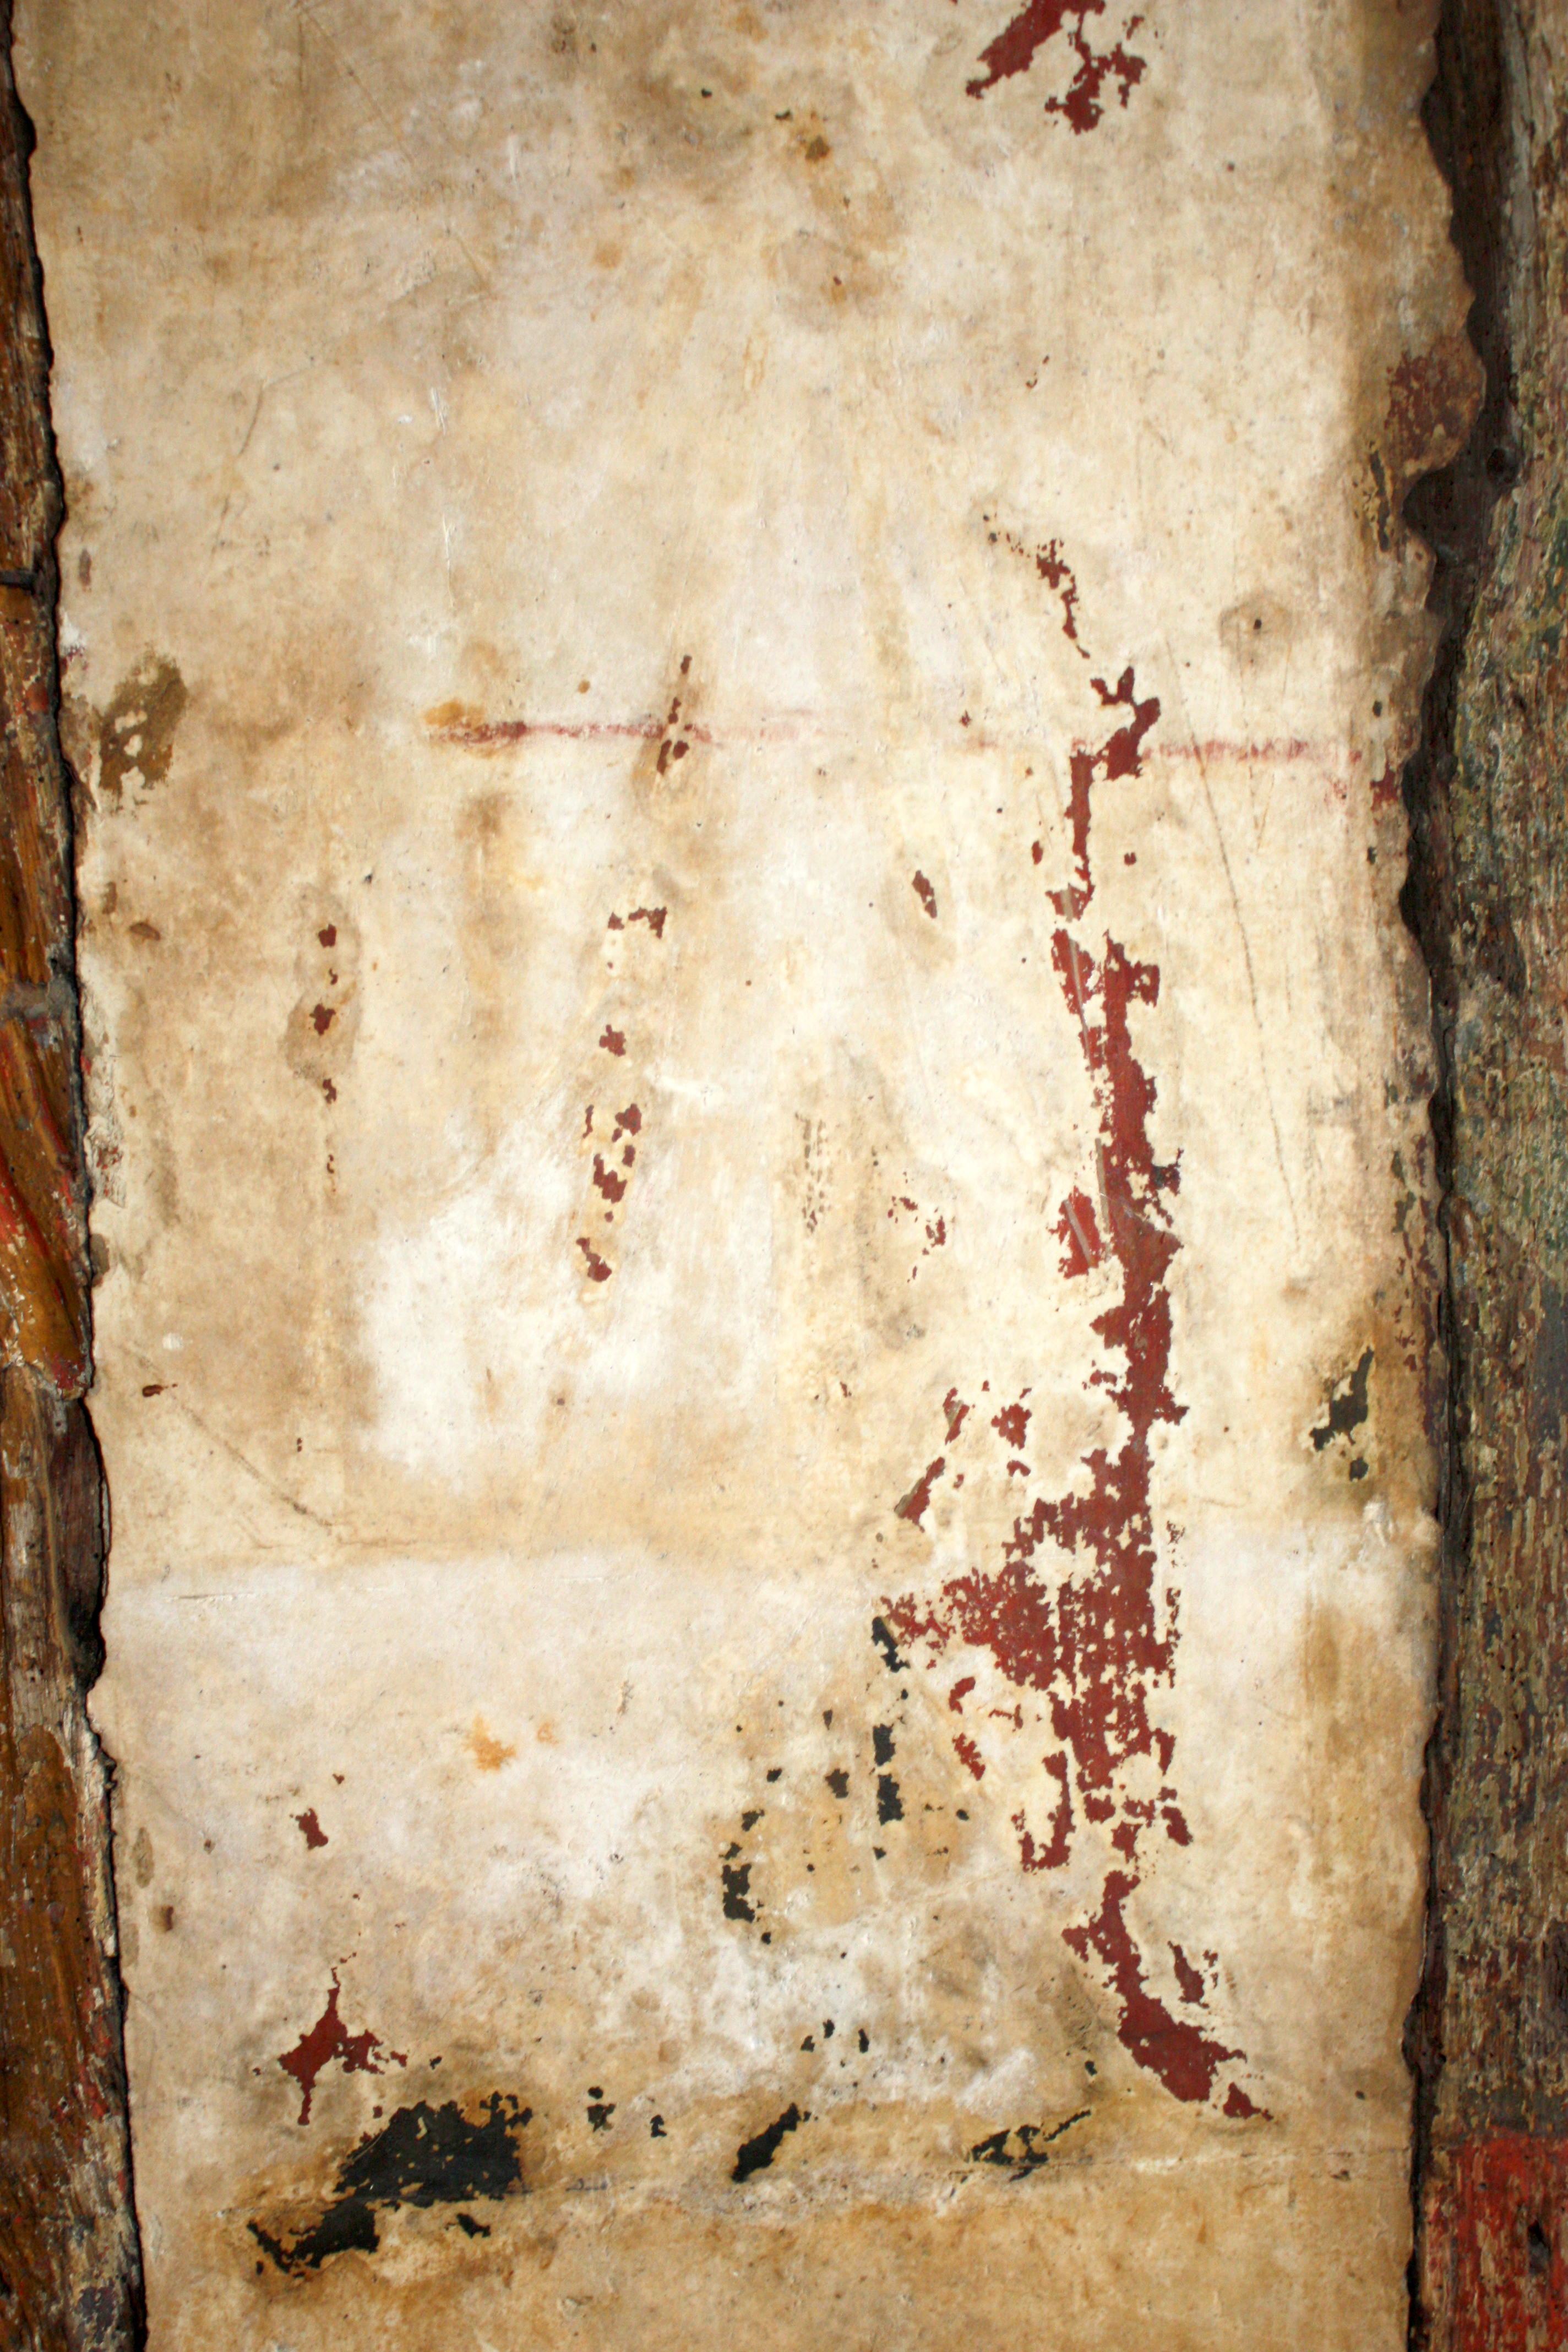
Figure 25 a-b: The south wall evidence for the Blessed Virgin Mary emerging during conservation. © The Perry Lithgow Partnership
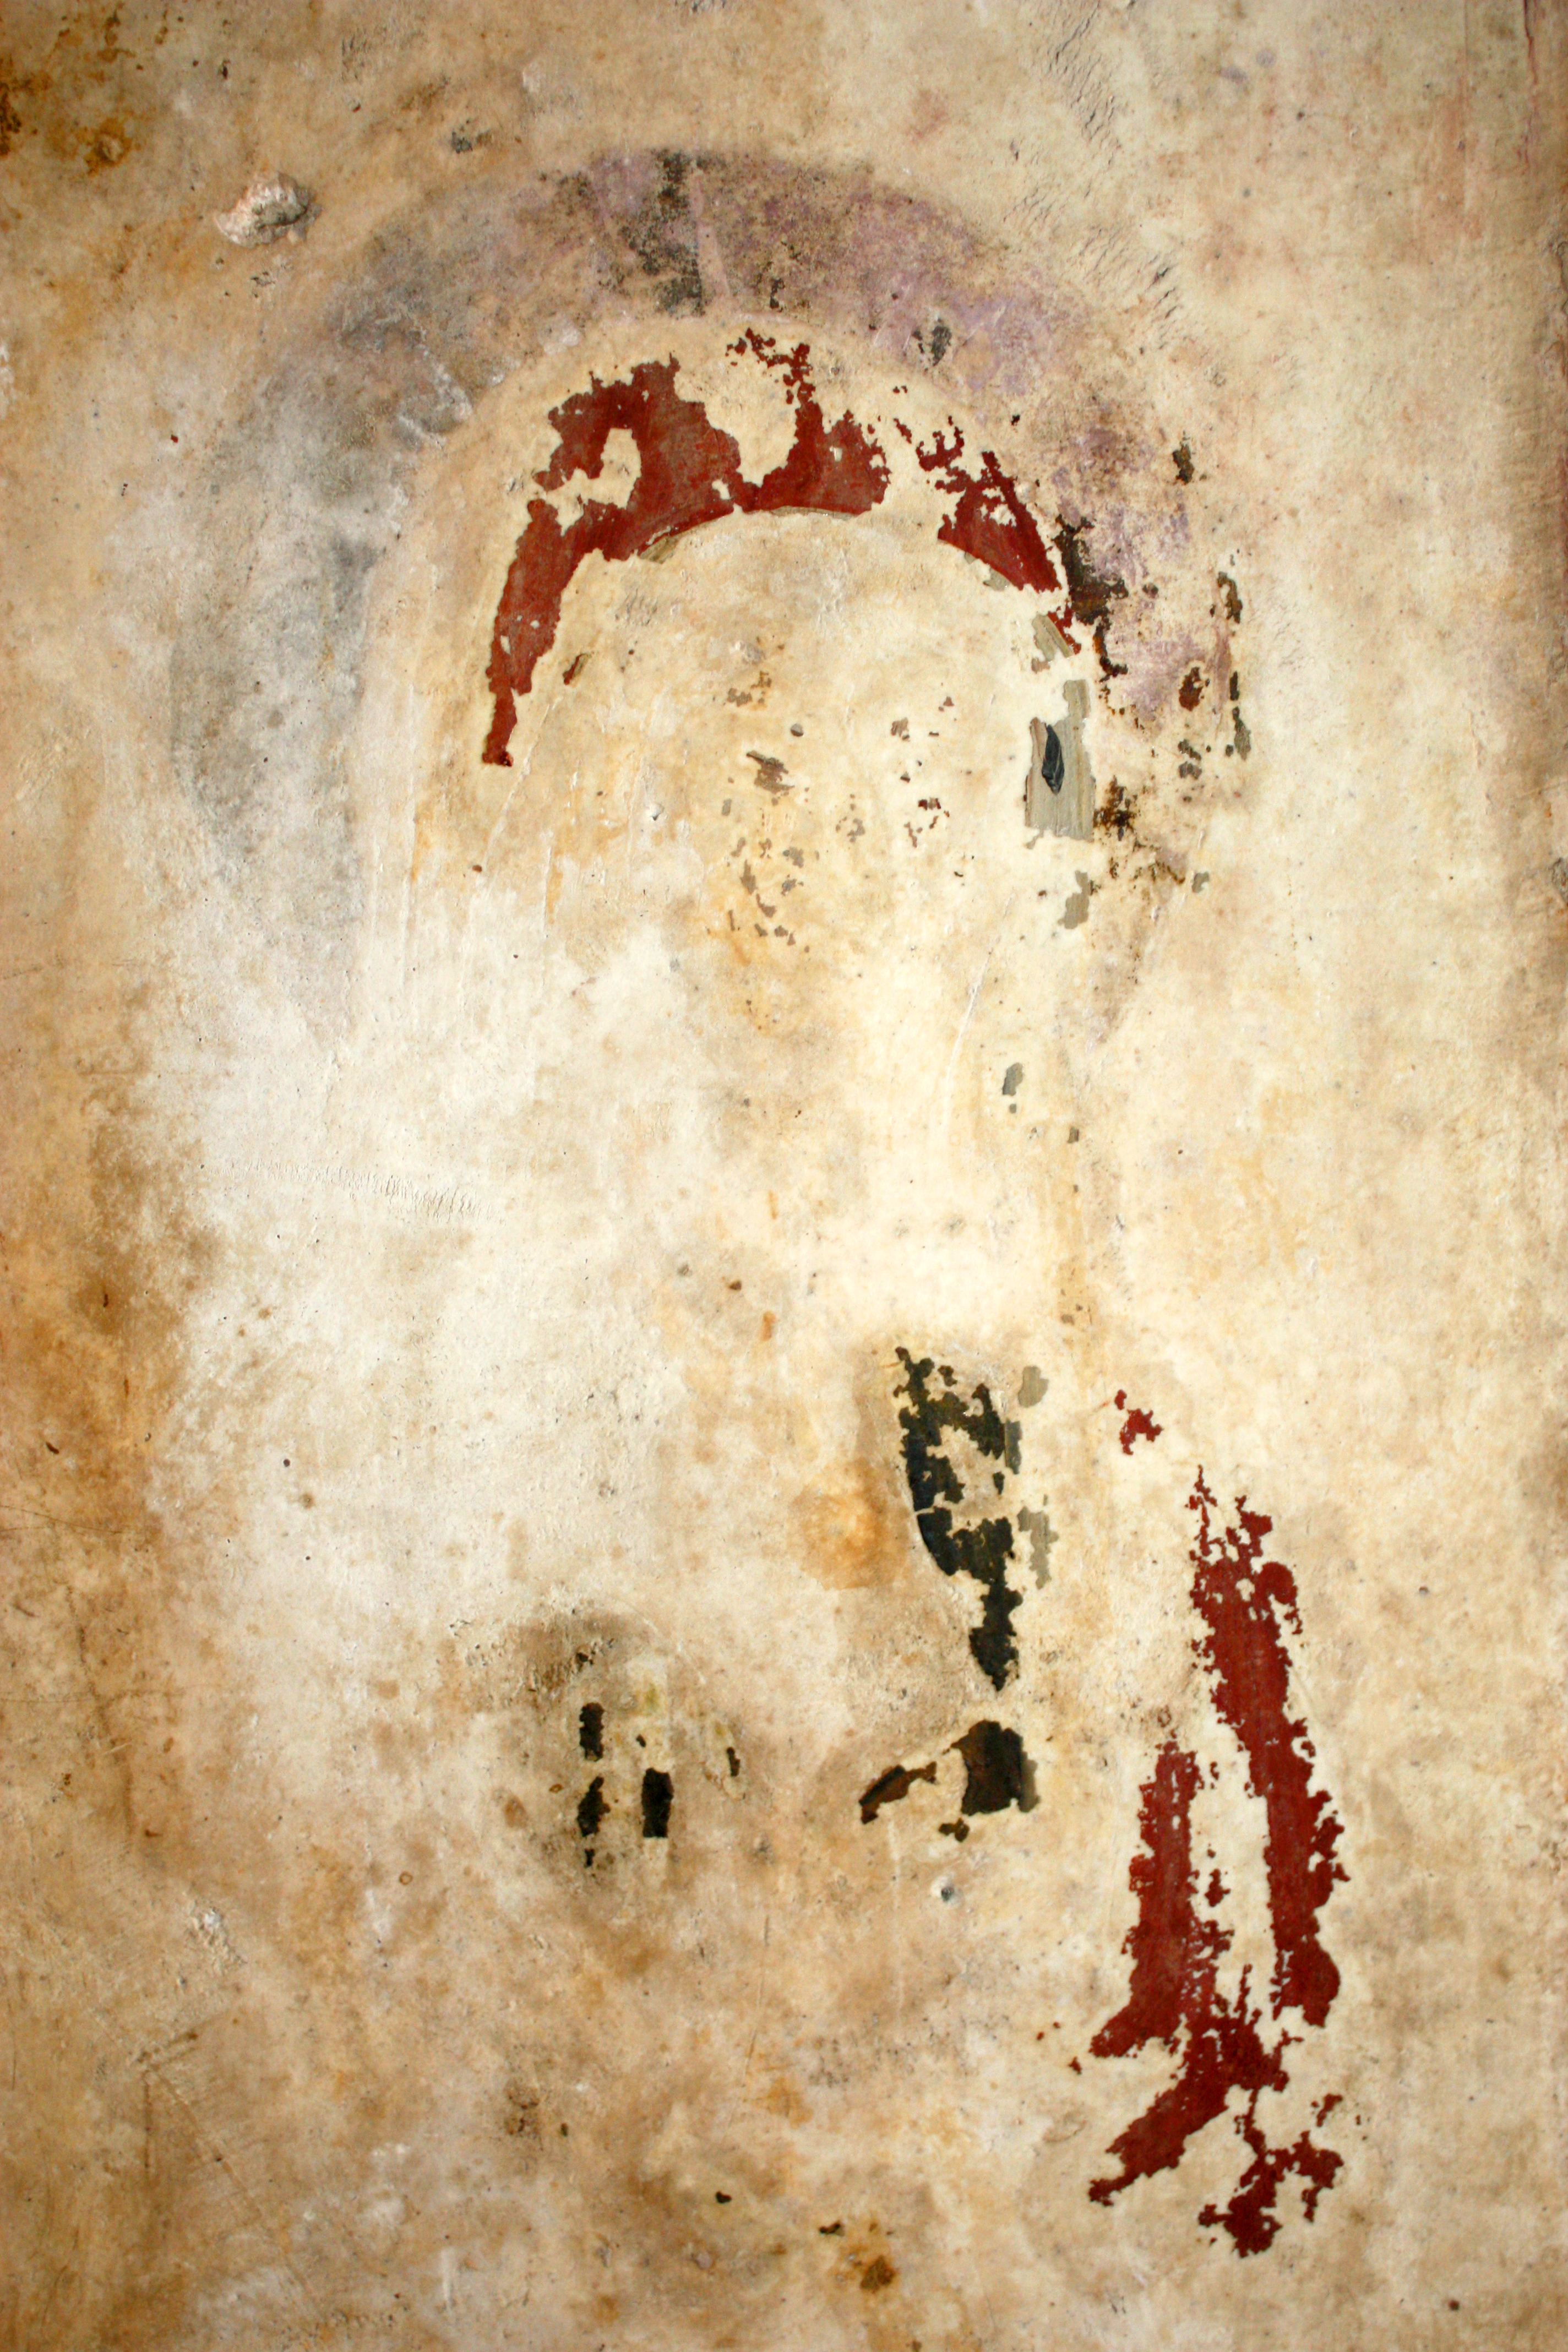
Figure 26 a-b: The south wall evidence for St. John emerging during conservation. © The Perry Lithgow Partnership
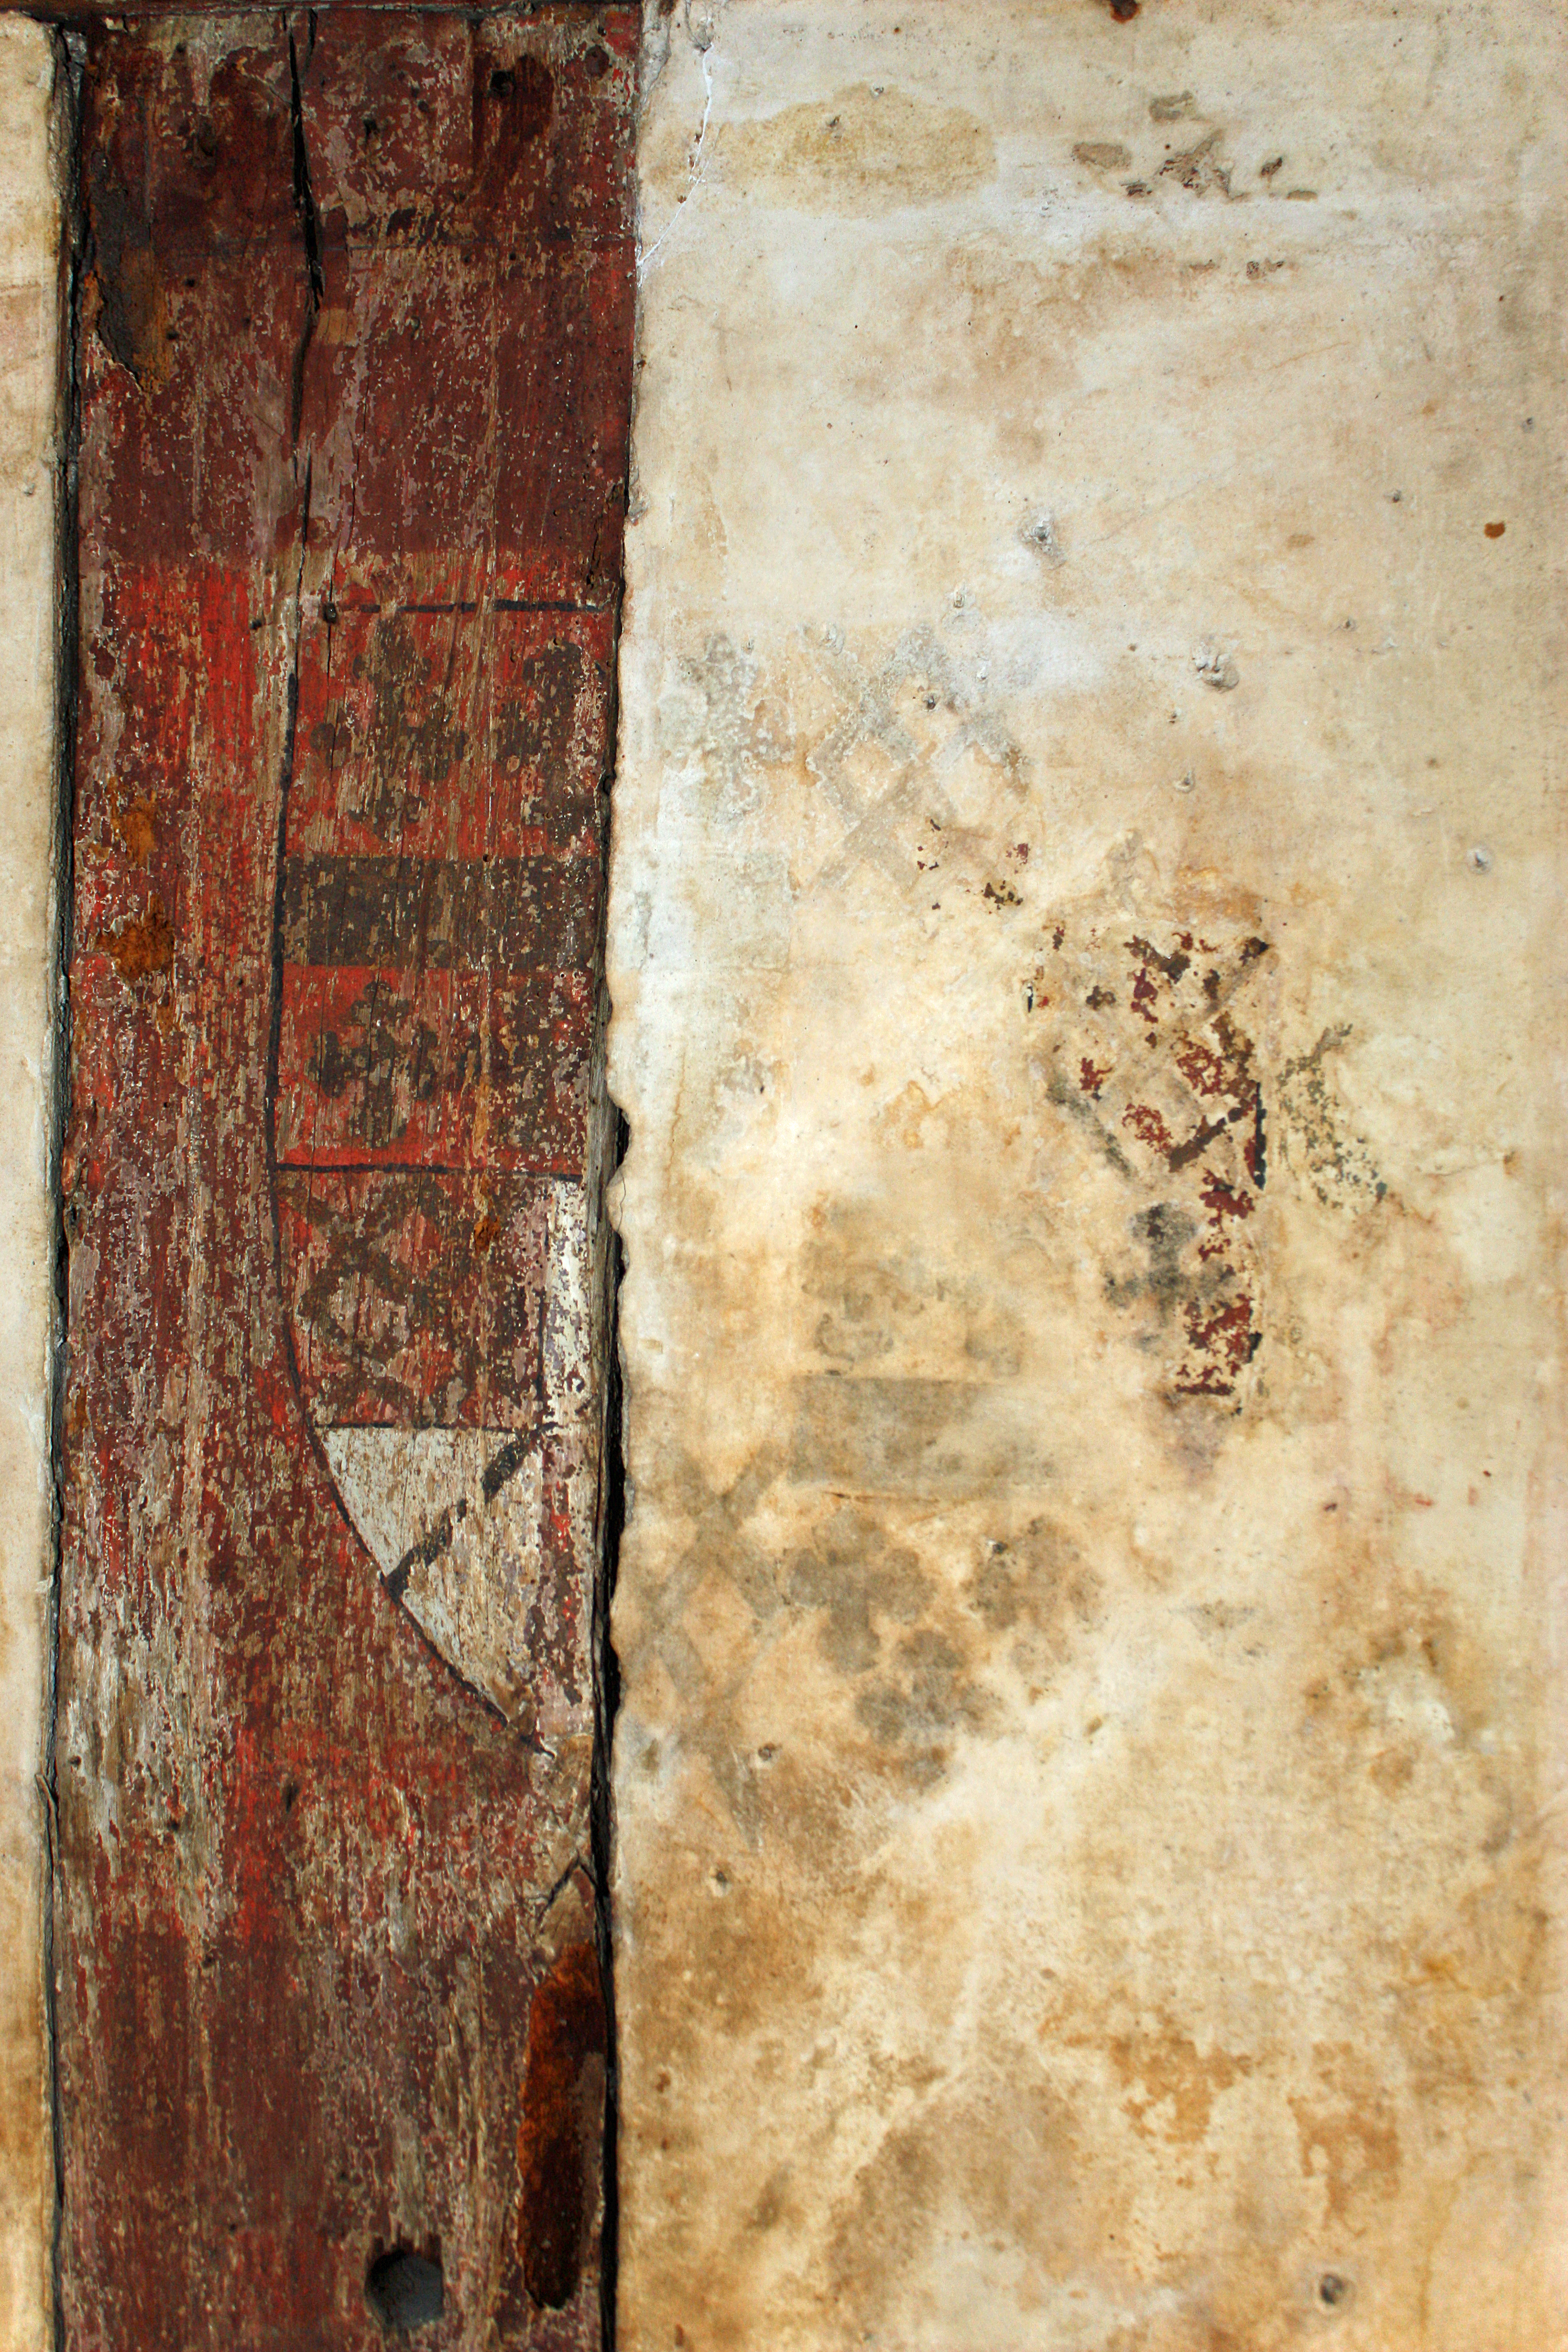
Figure 27 a-b: The south wall. Evidence for the Royal coat of arms (1405-1603) and the arms of the Beauchamp/Despencer family emerging during conservation.
Figure 28: The south wall, showing traces of a late 16th-early 17th century painted scheme of red and yellow ochre. Selected areas of this paint were removed, with the permission of Historic England to reveal the extent of the medieval painted scheme beneath © The Perry Lithgow Partnership
Figure 29 a-b: The east wall. Evidence for 17th-18th century painted scheme, reconstructed by Perry Lithgow. © The Perry Lithgow Partnership
Figure 30 a, b, c, d, e: The east wall after conservation, with details of the original medieval decoration
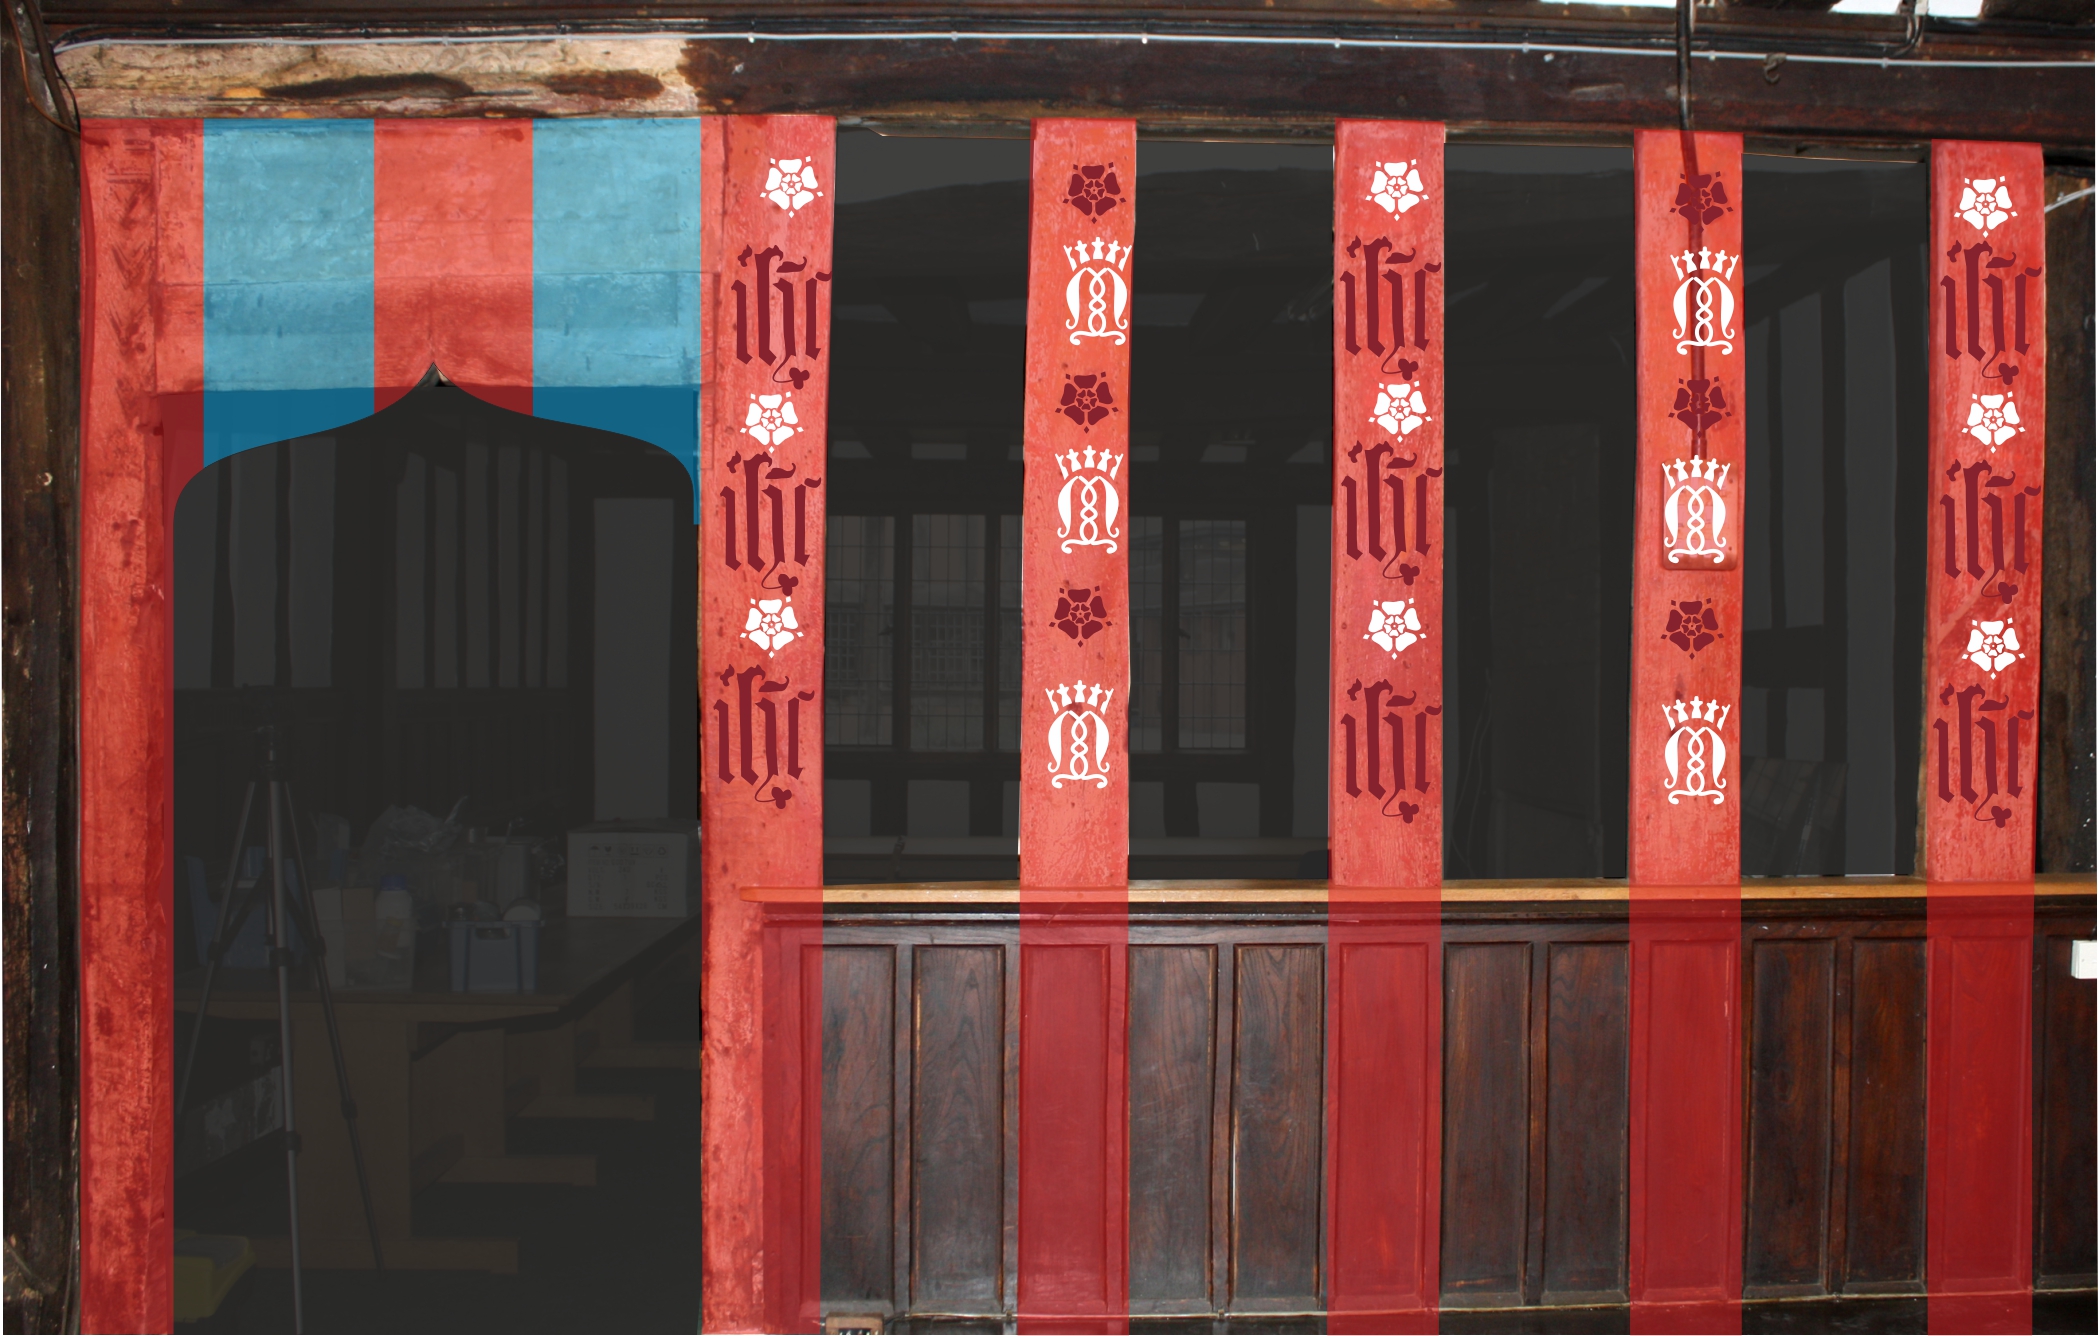
Figure 31: The east wall reconstruction of medieval appearance by Richard Lithgow. © The Perry Lithgow Partnership
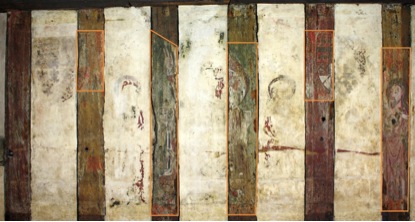
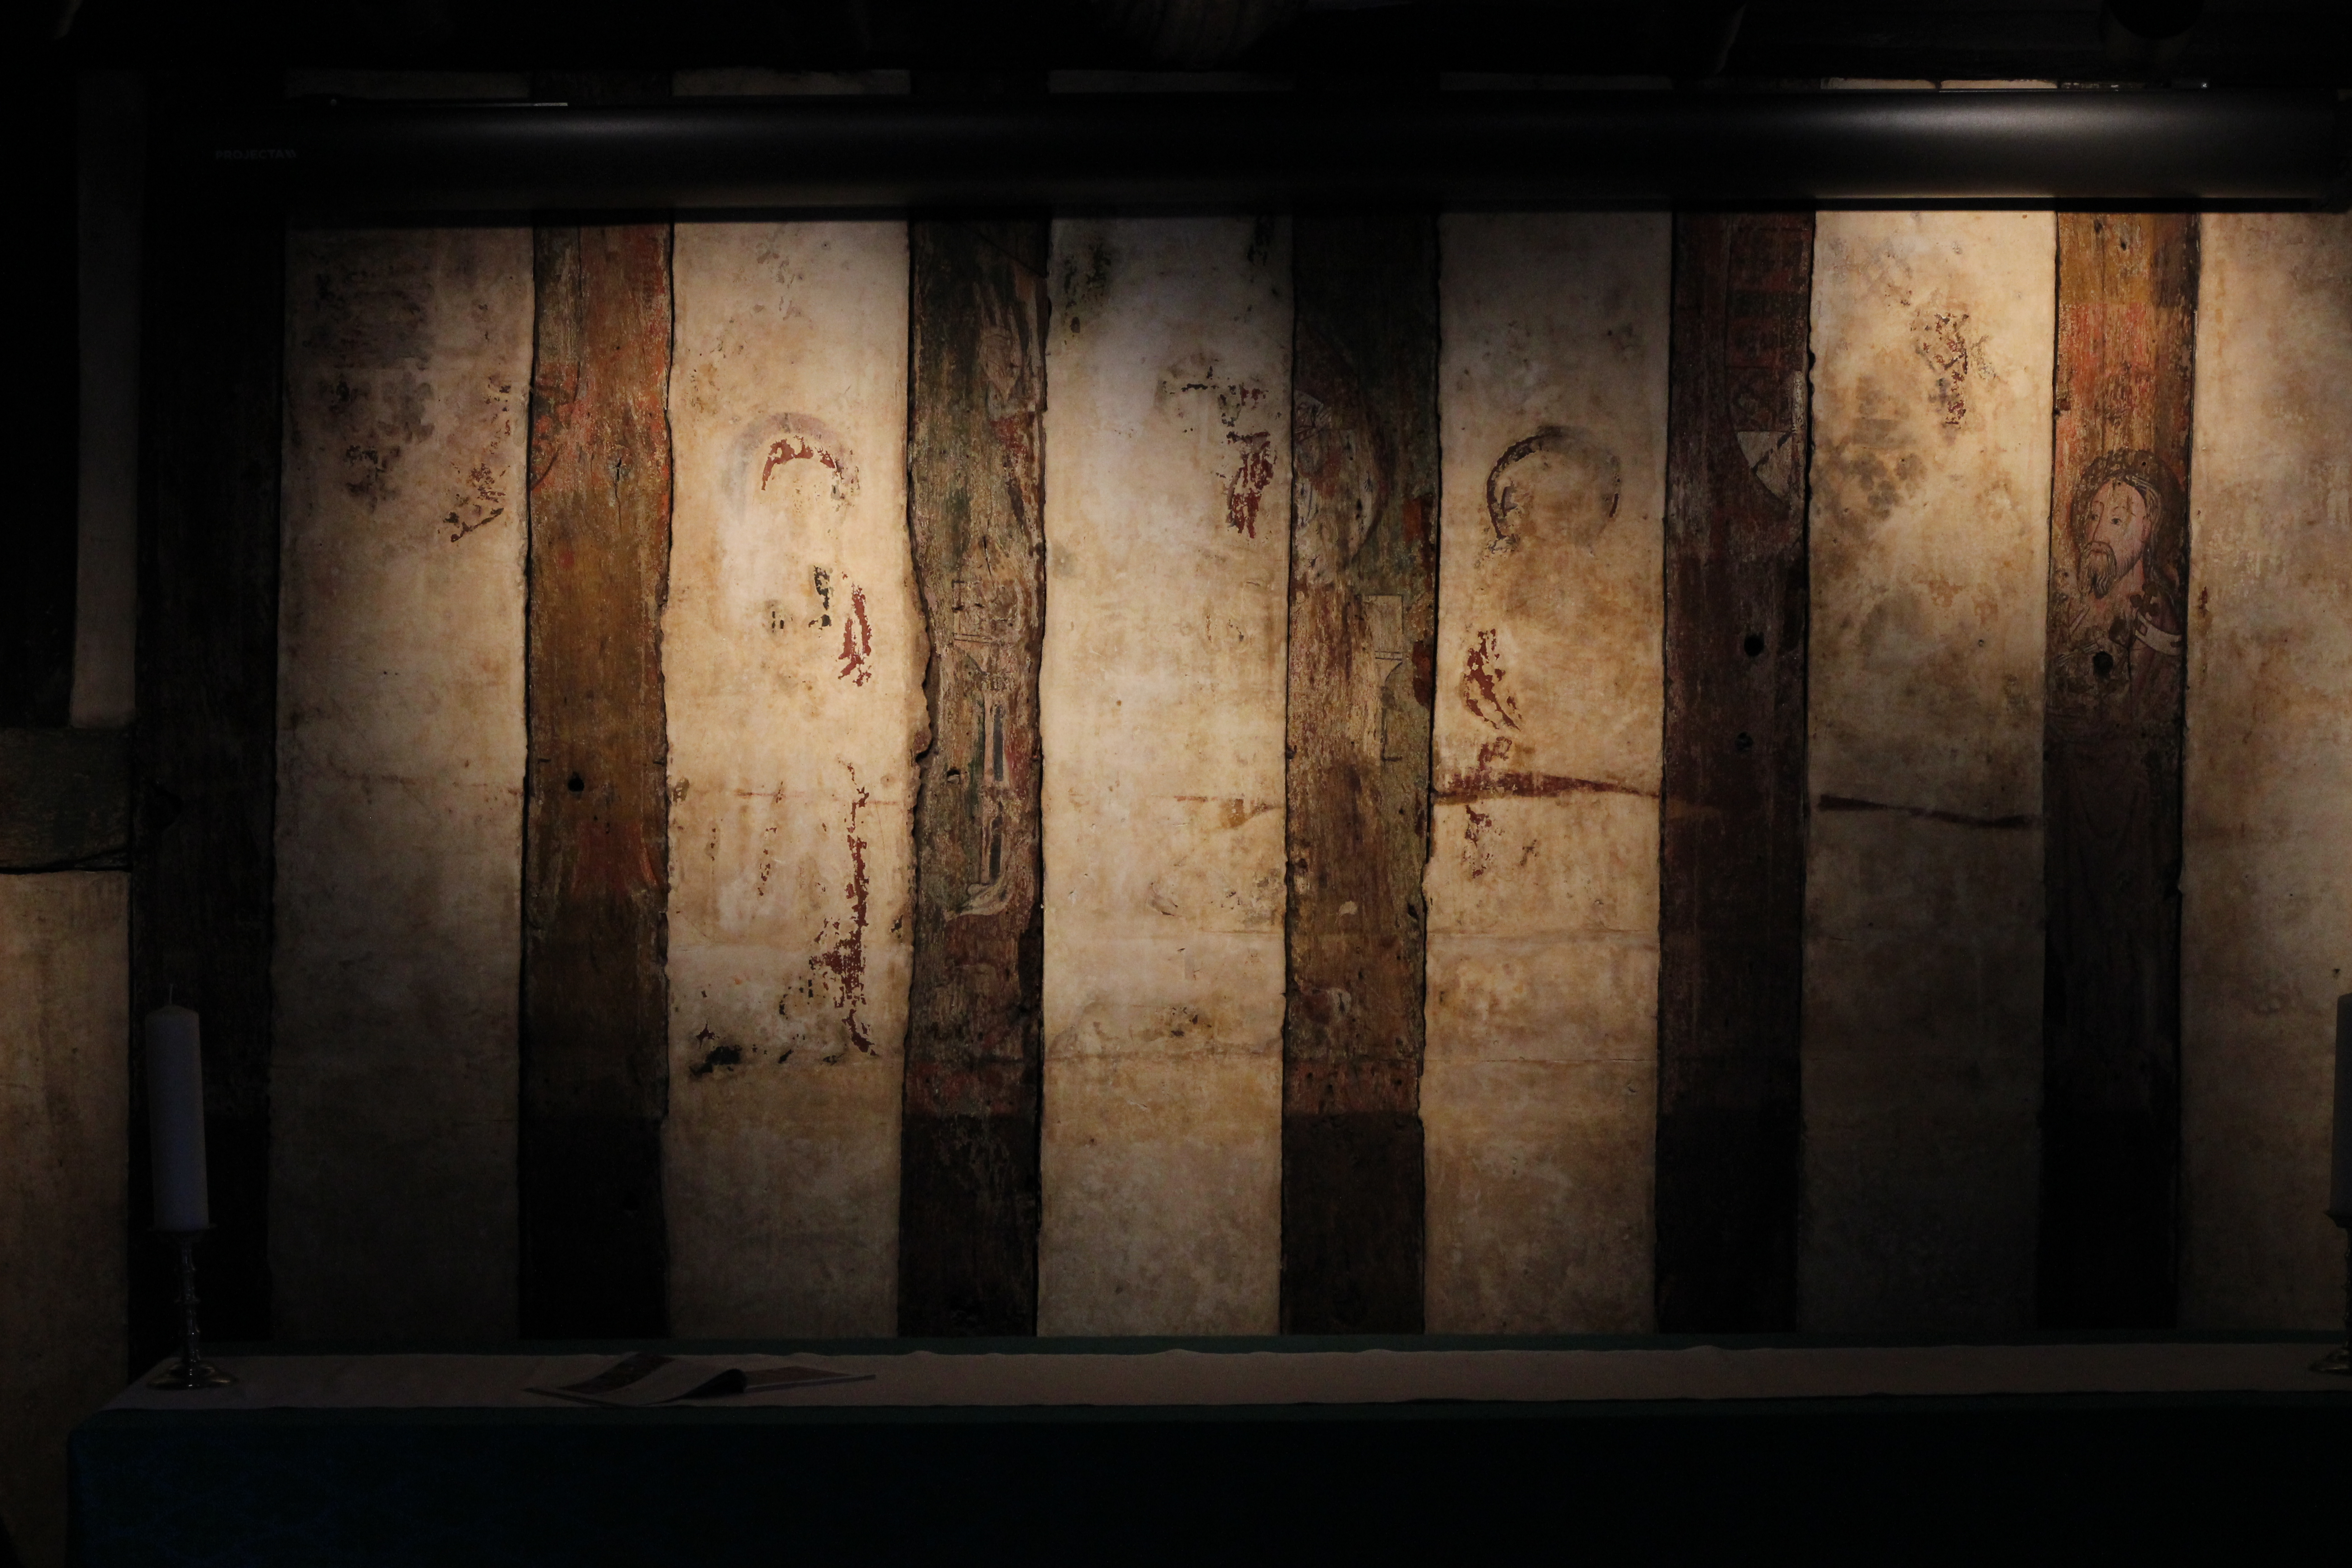
Figure 32: The south wall after conservation. © The Perry Lithgow Partnership
Figure 33: The initial reconstruction drawing by Dom Andrews. © Dominic Andrews
Figure 34: The south wall. St. John the Baptist, emerging from beneath yellow ochre. © The Perry Lithgow Partnership
Figure 35: The revised reconstruction drawing by Dom Andrews. © Dominic Andrews.
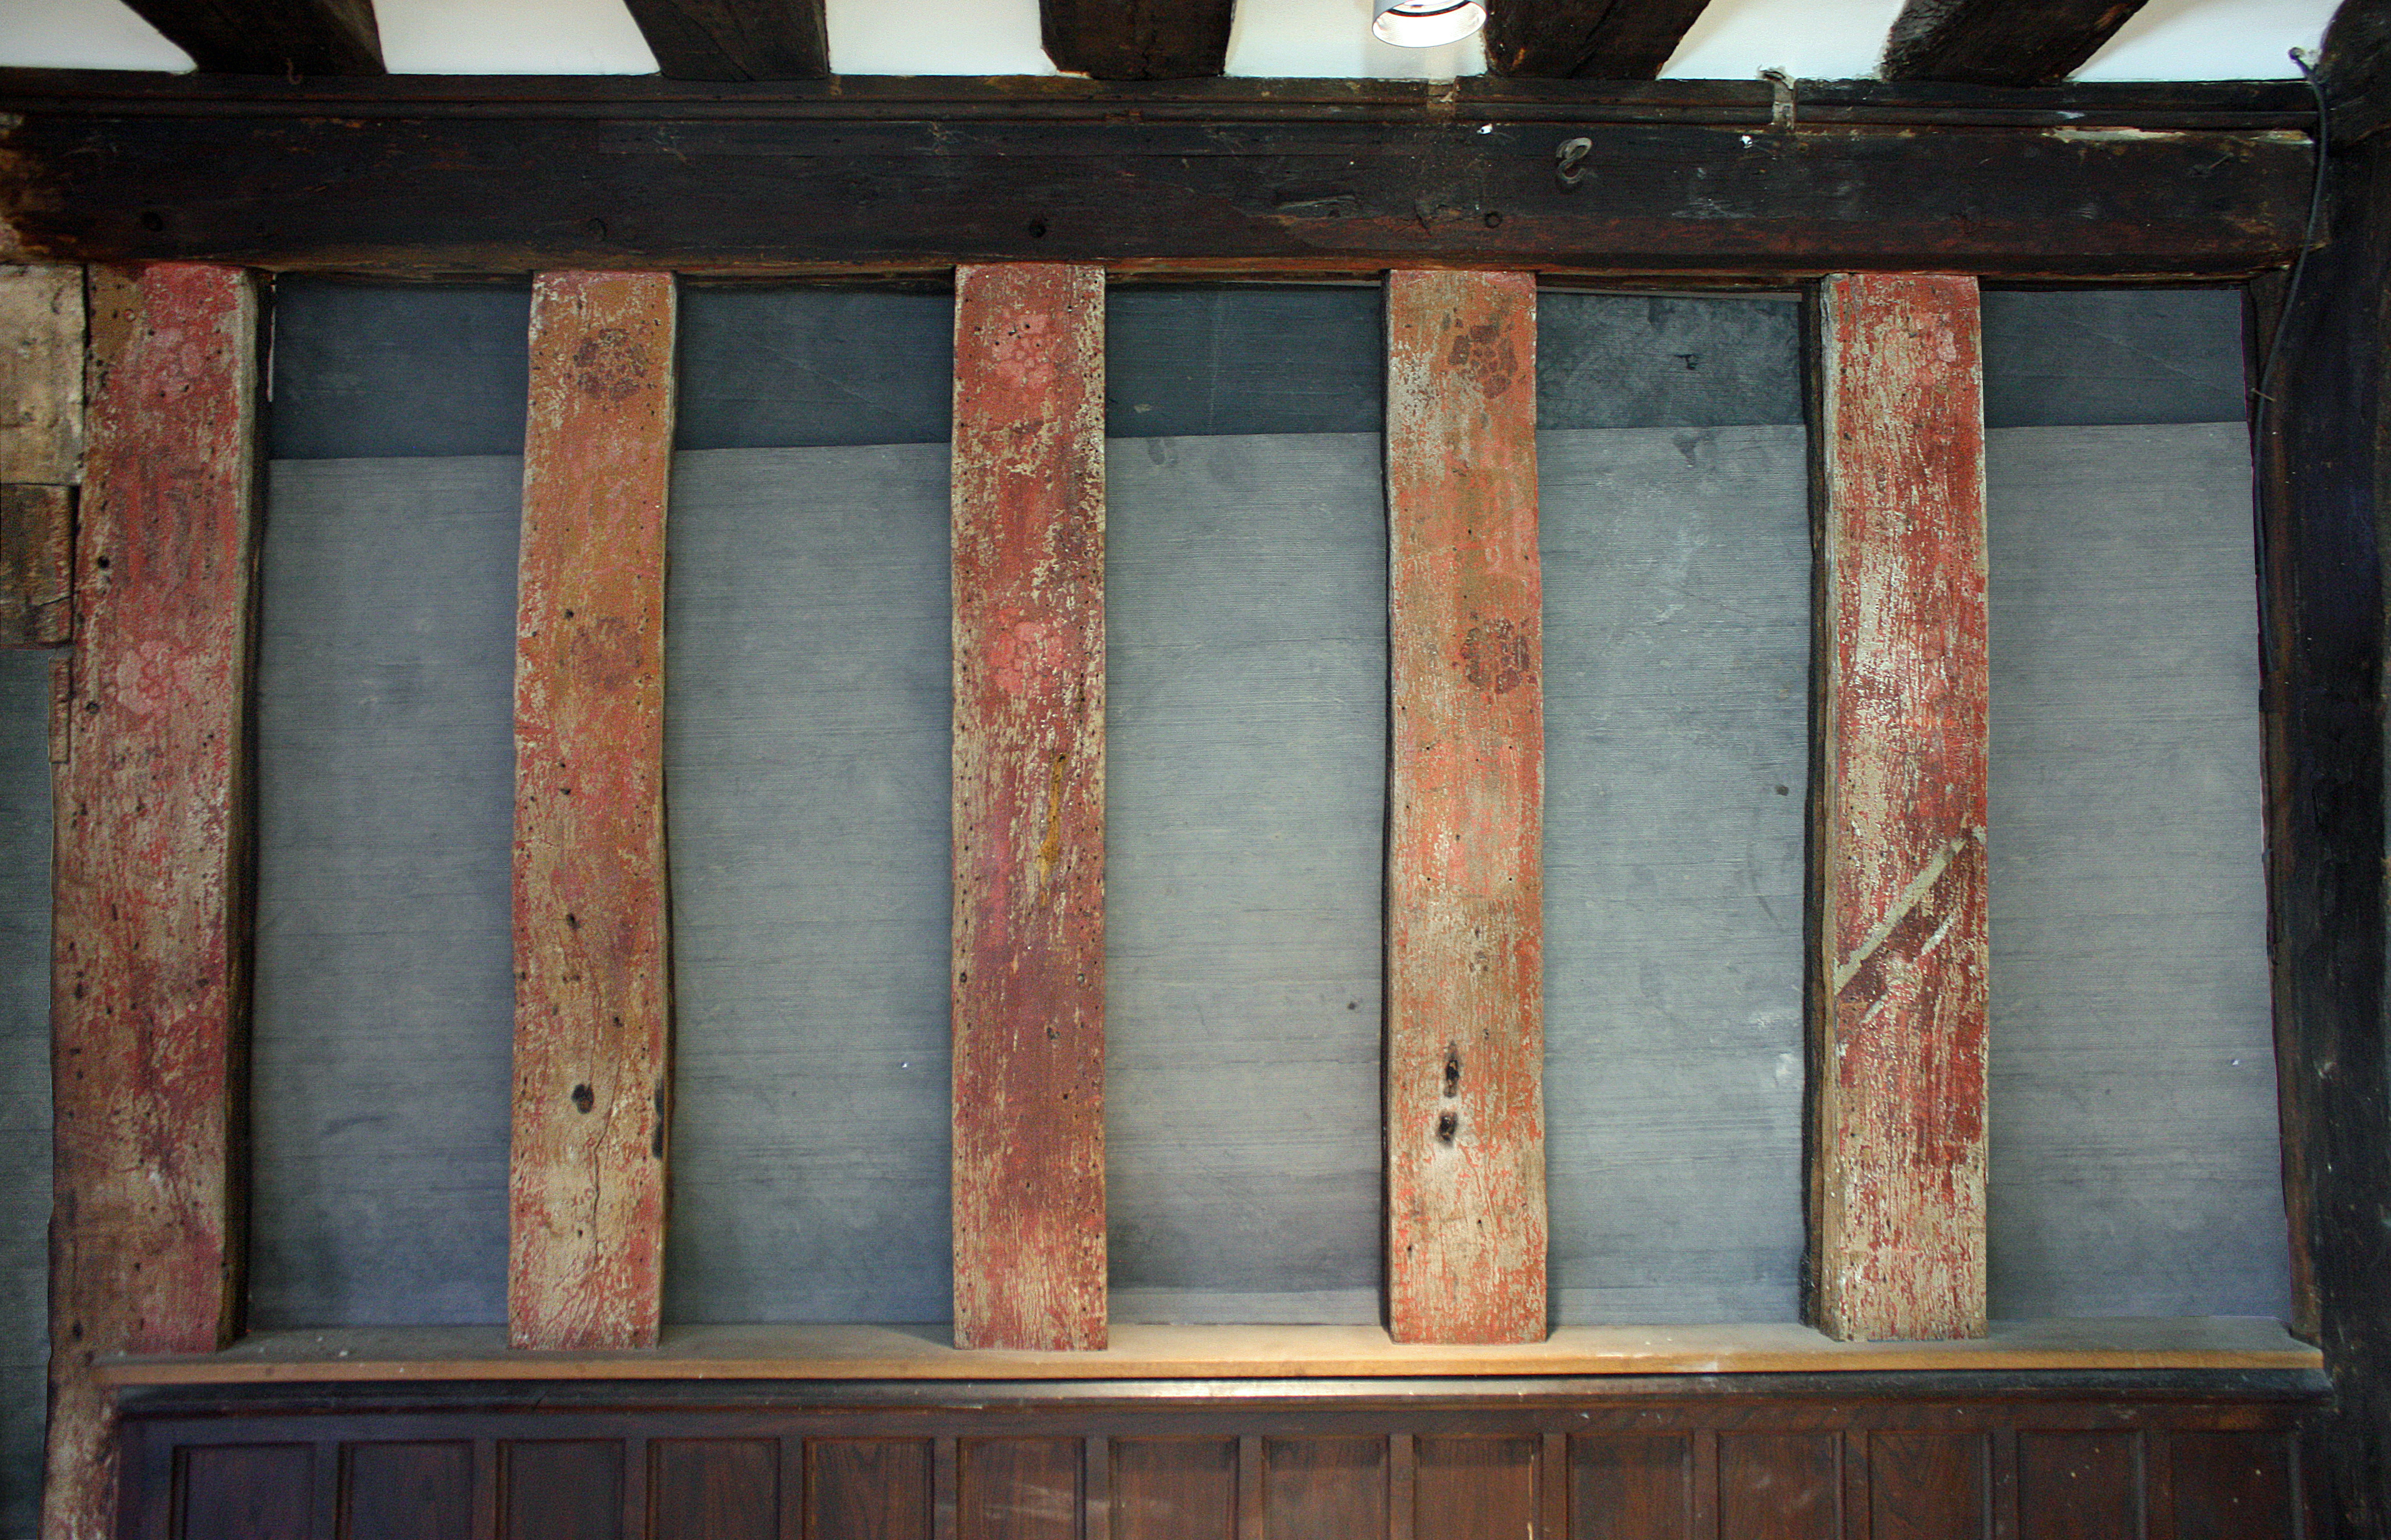
Figure 36 a-b: The South Wing. Upper chamber, early 16th century, painted scheme mimicking contemporary textile design (a) after conservation and (b) reconstruction drawing. © The Perry Lithgow Partnership
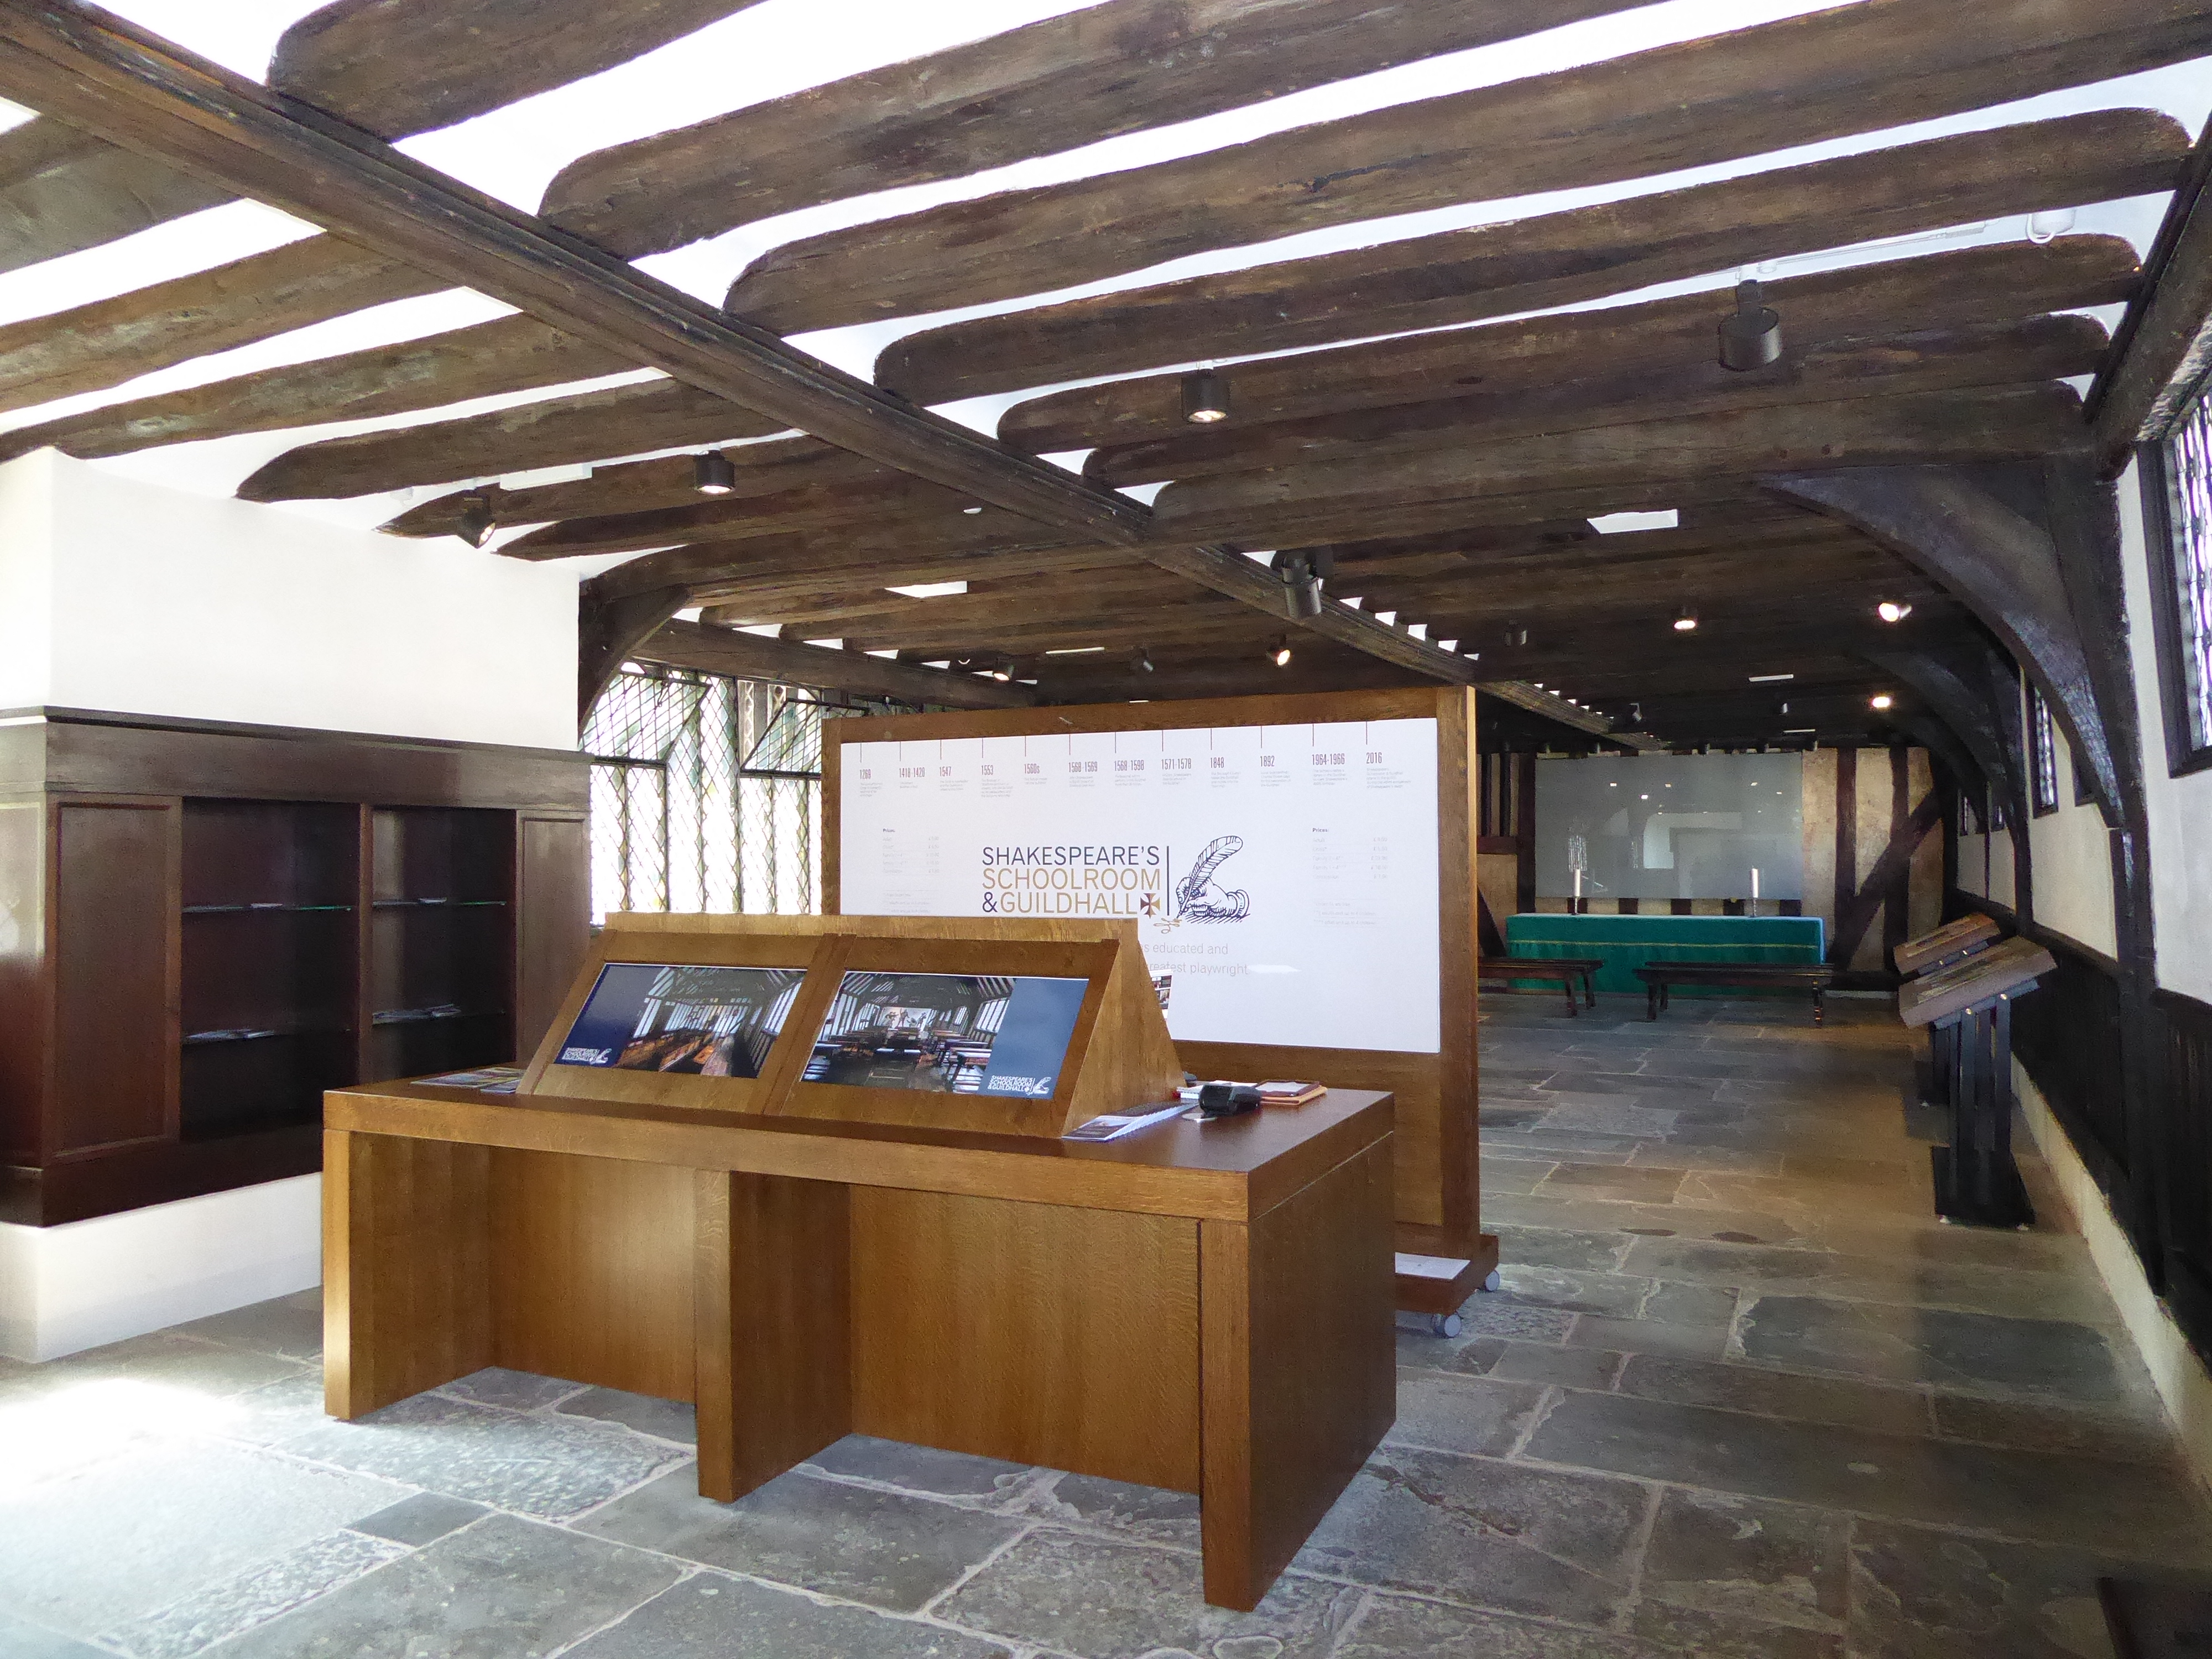
Figure 37: The 'Shakespeare's Schoolroom and Guildhall' visitor experience from outside the Guildhall.
Figure 38: The Lower Guildhall visitor entrance
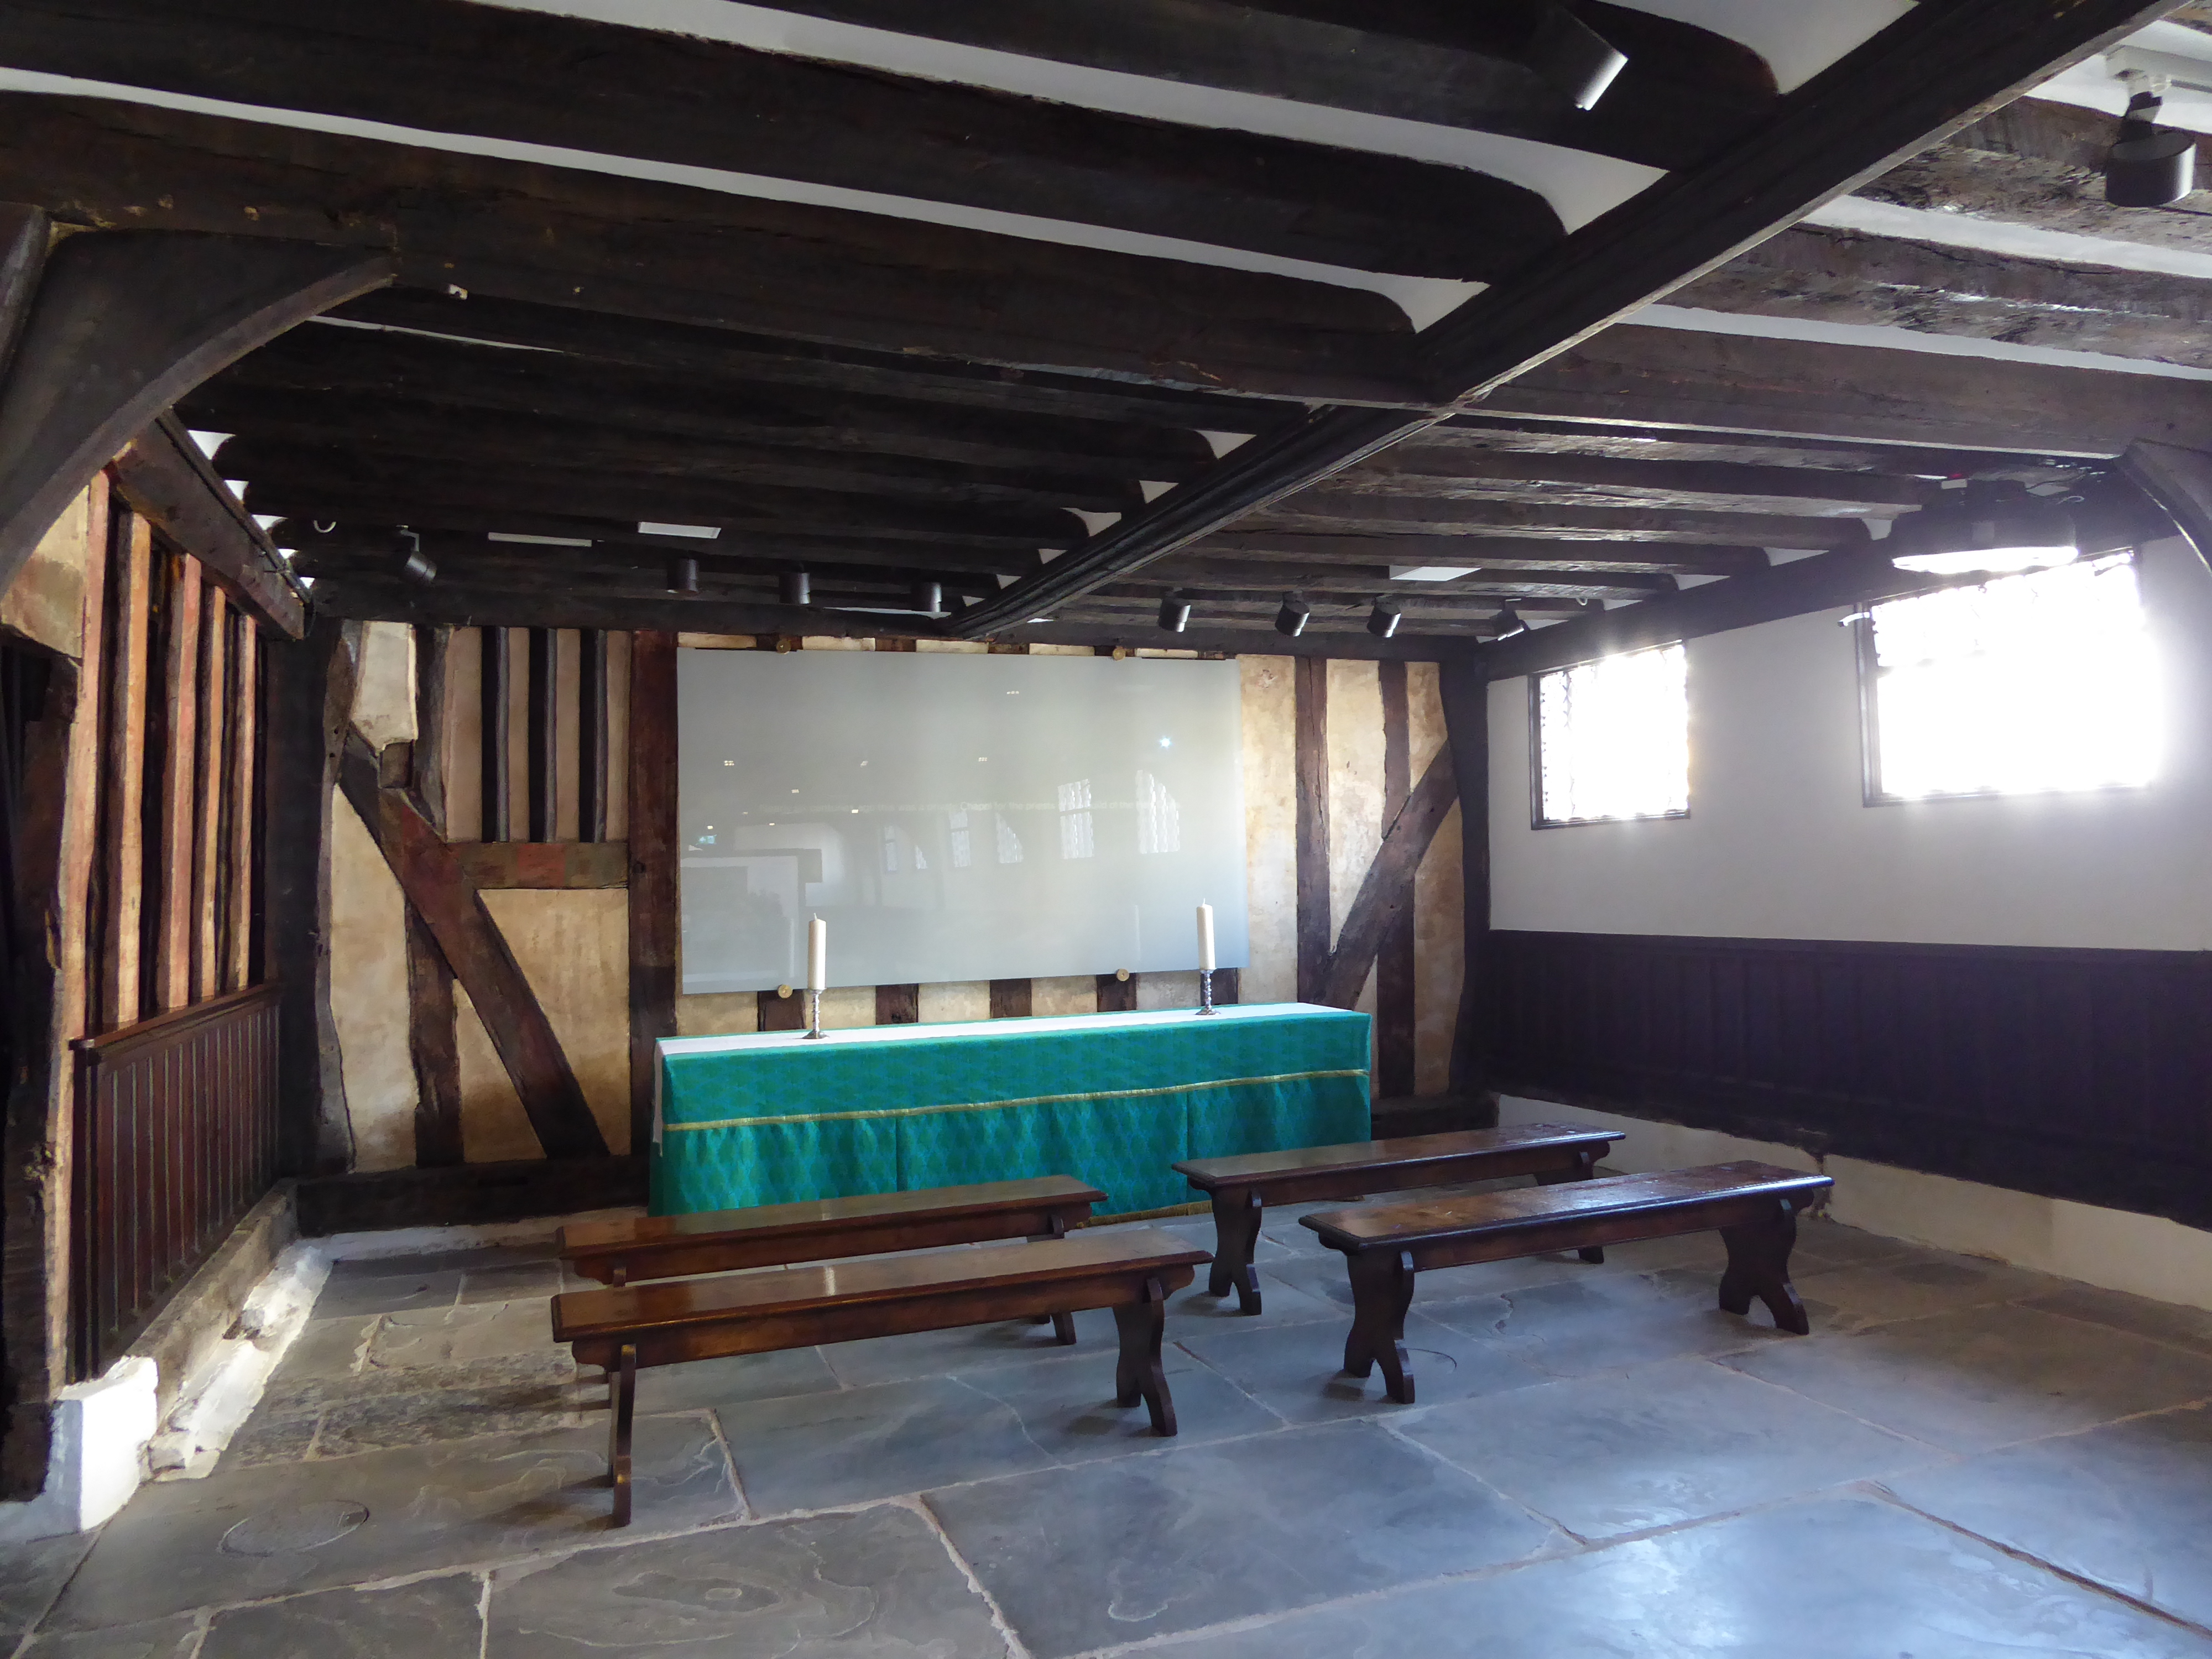
Figure 39: The 'Chapel' space in the Lower Guildhall
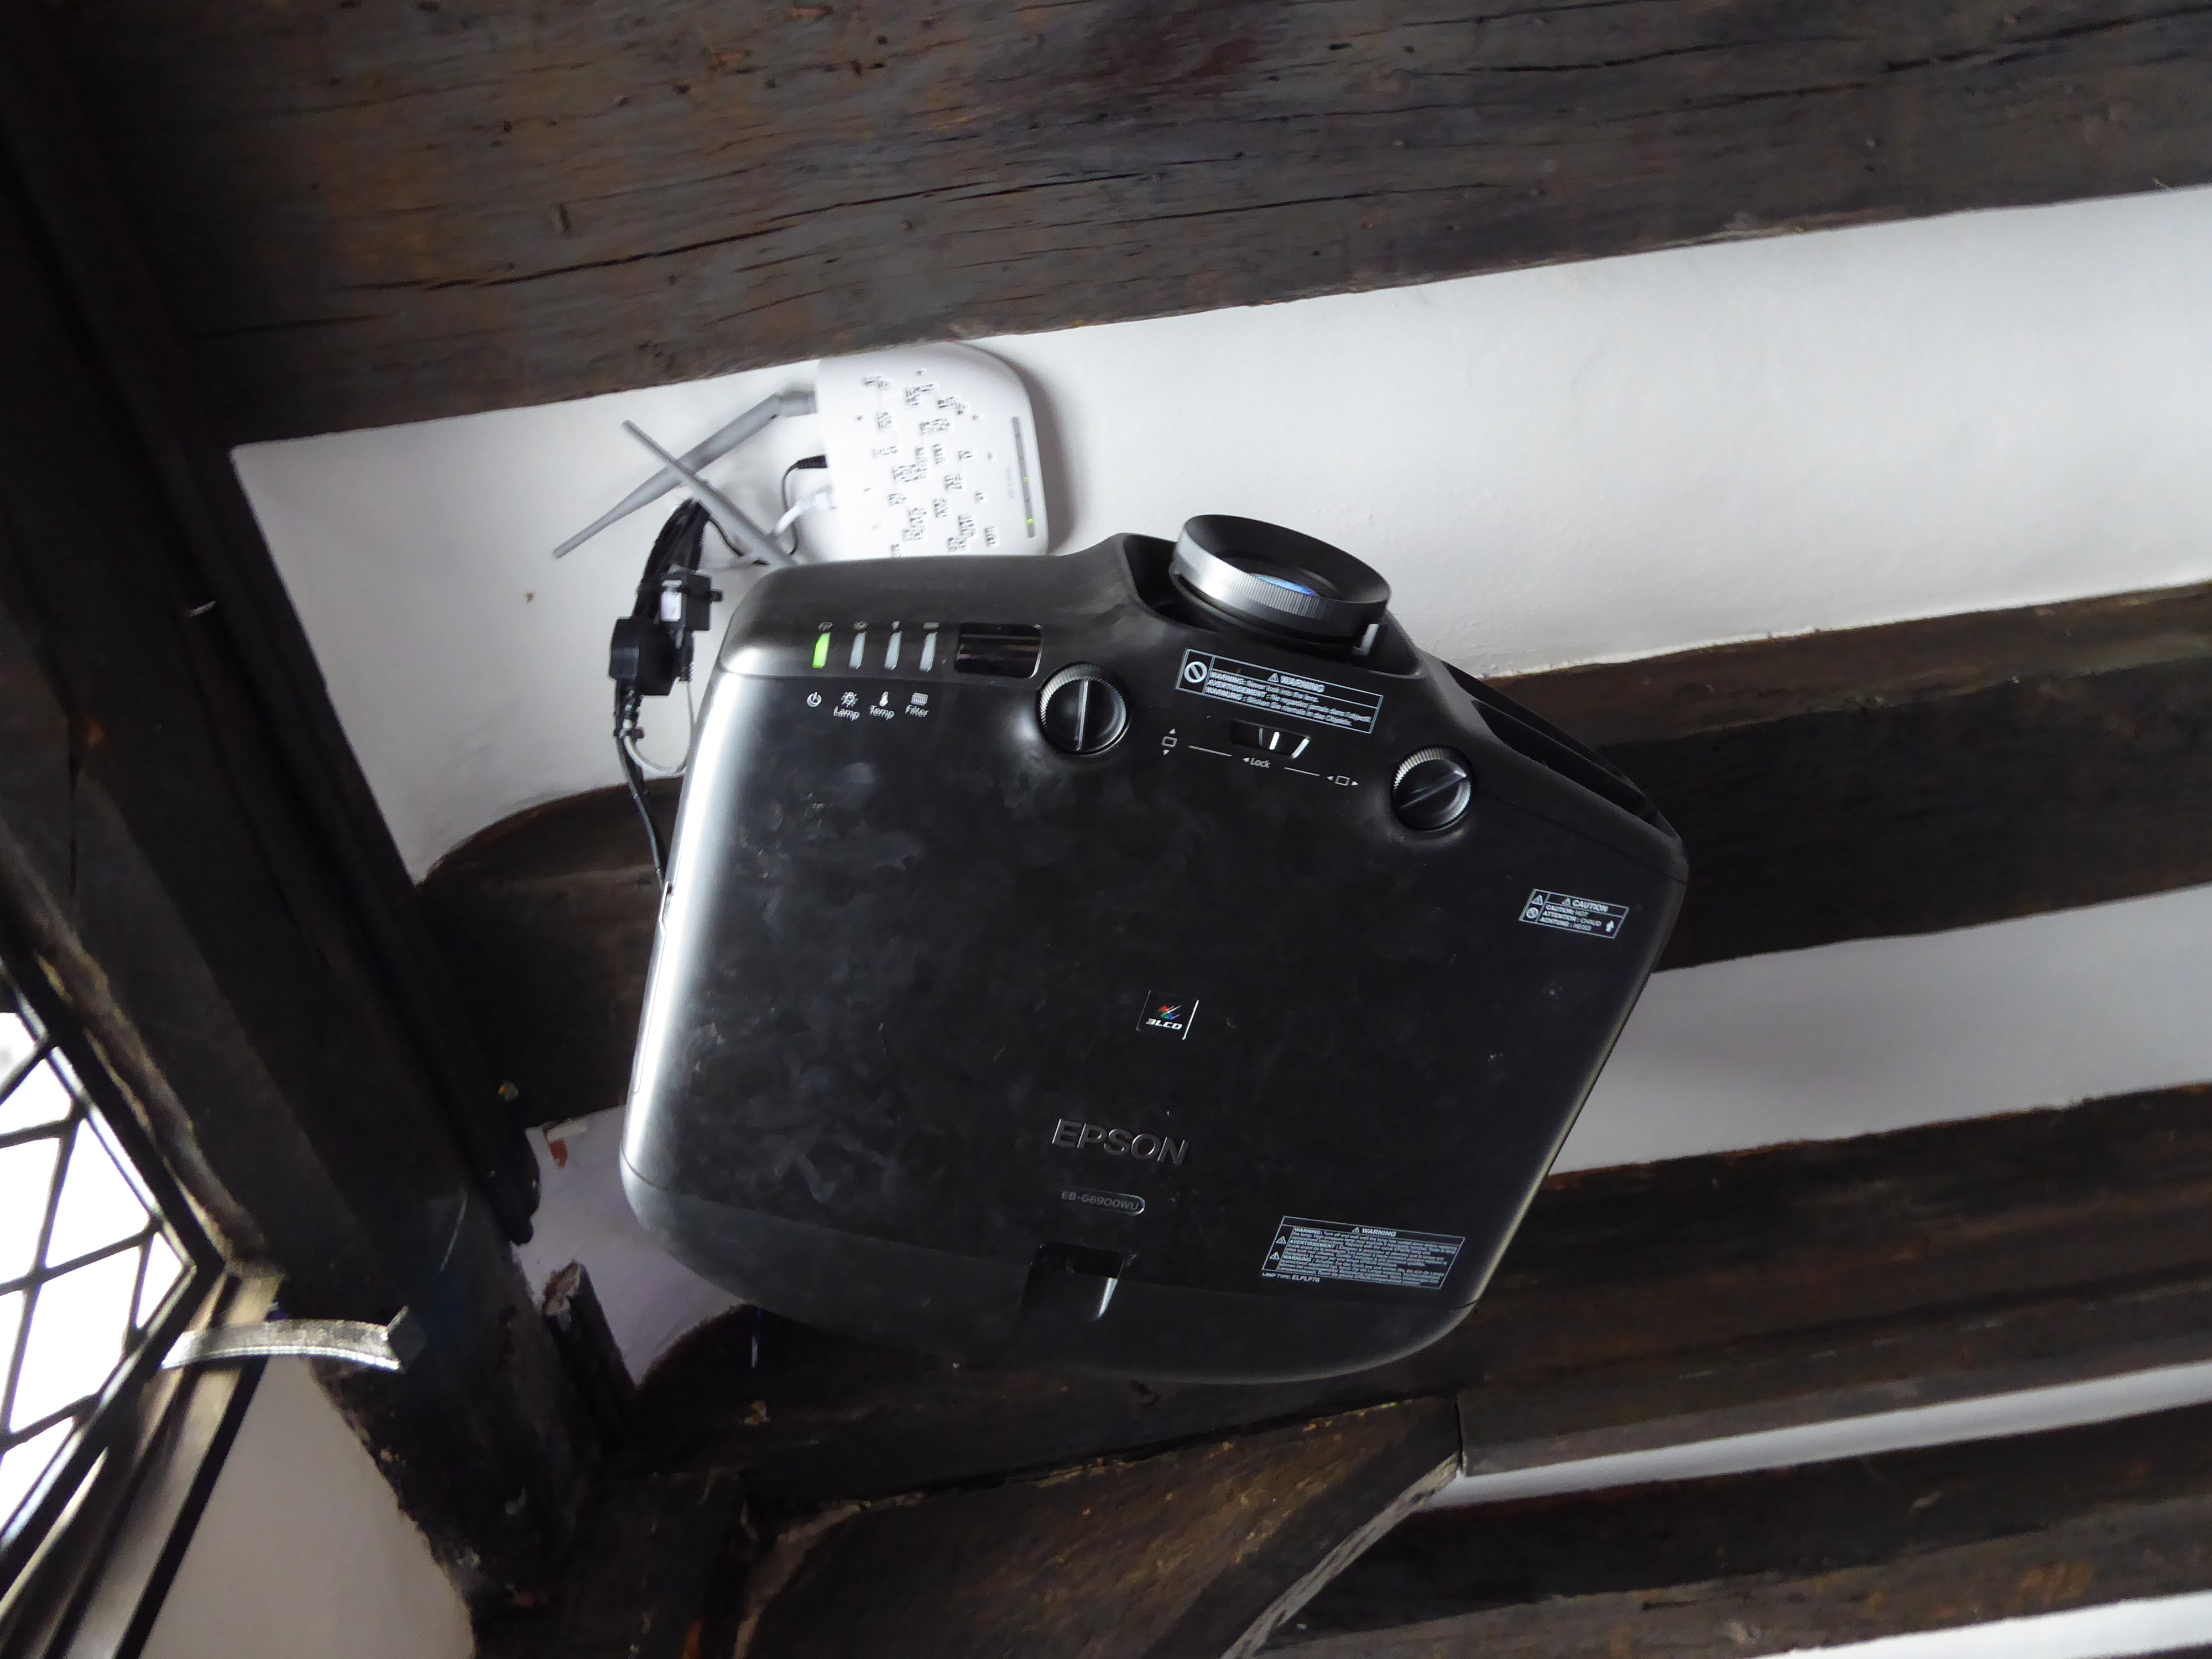
Figure 40: The EPSON EB-G6900WS projector
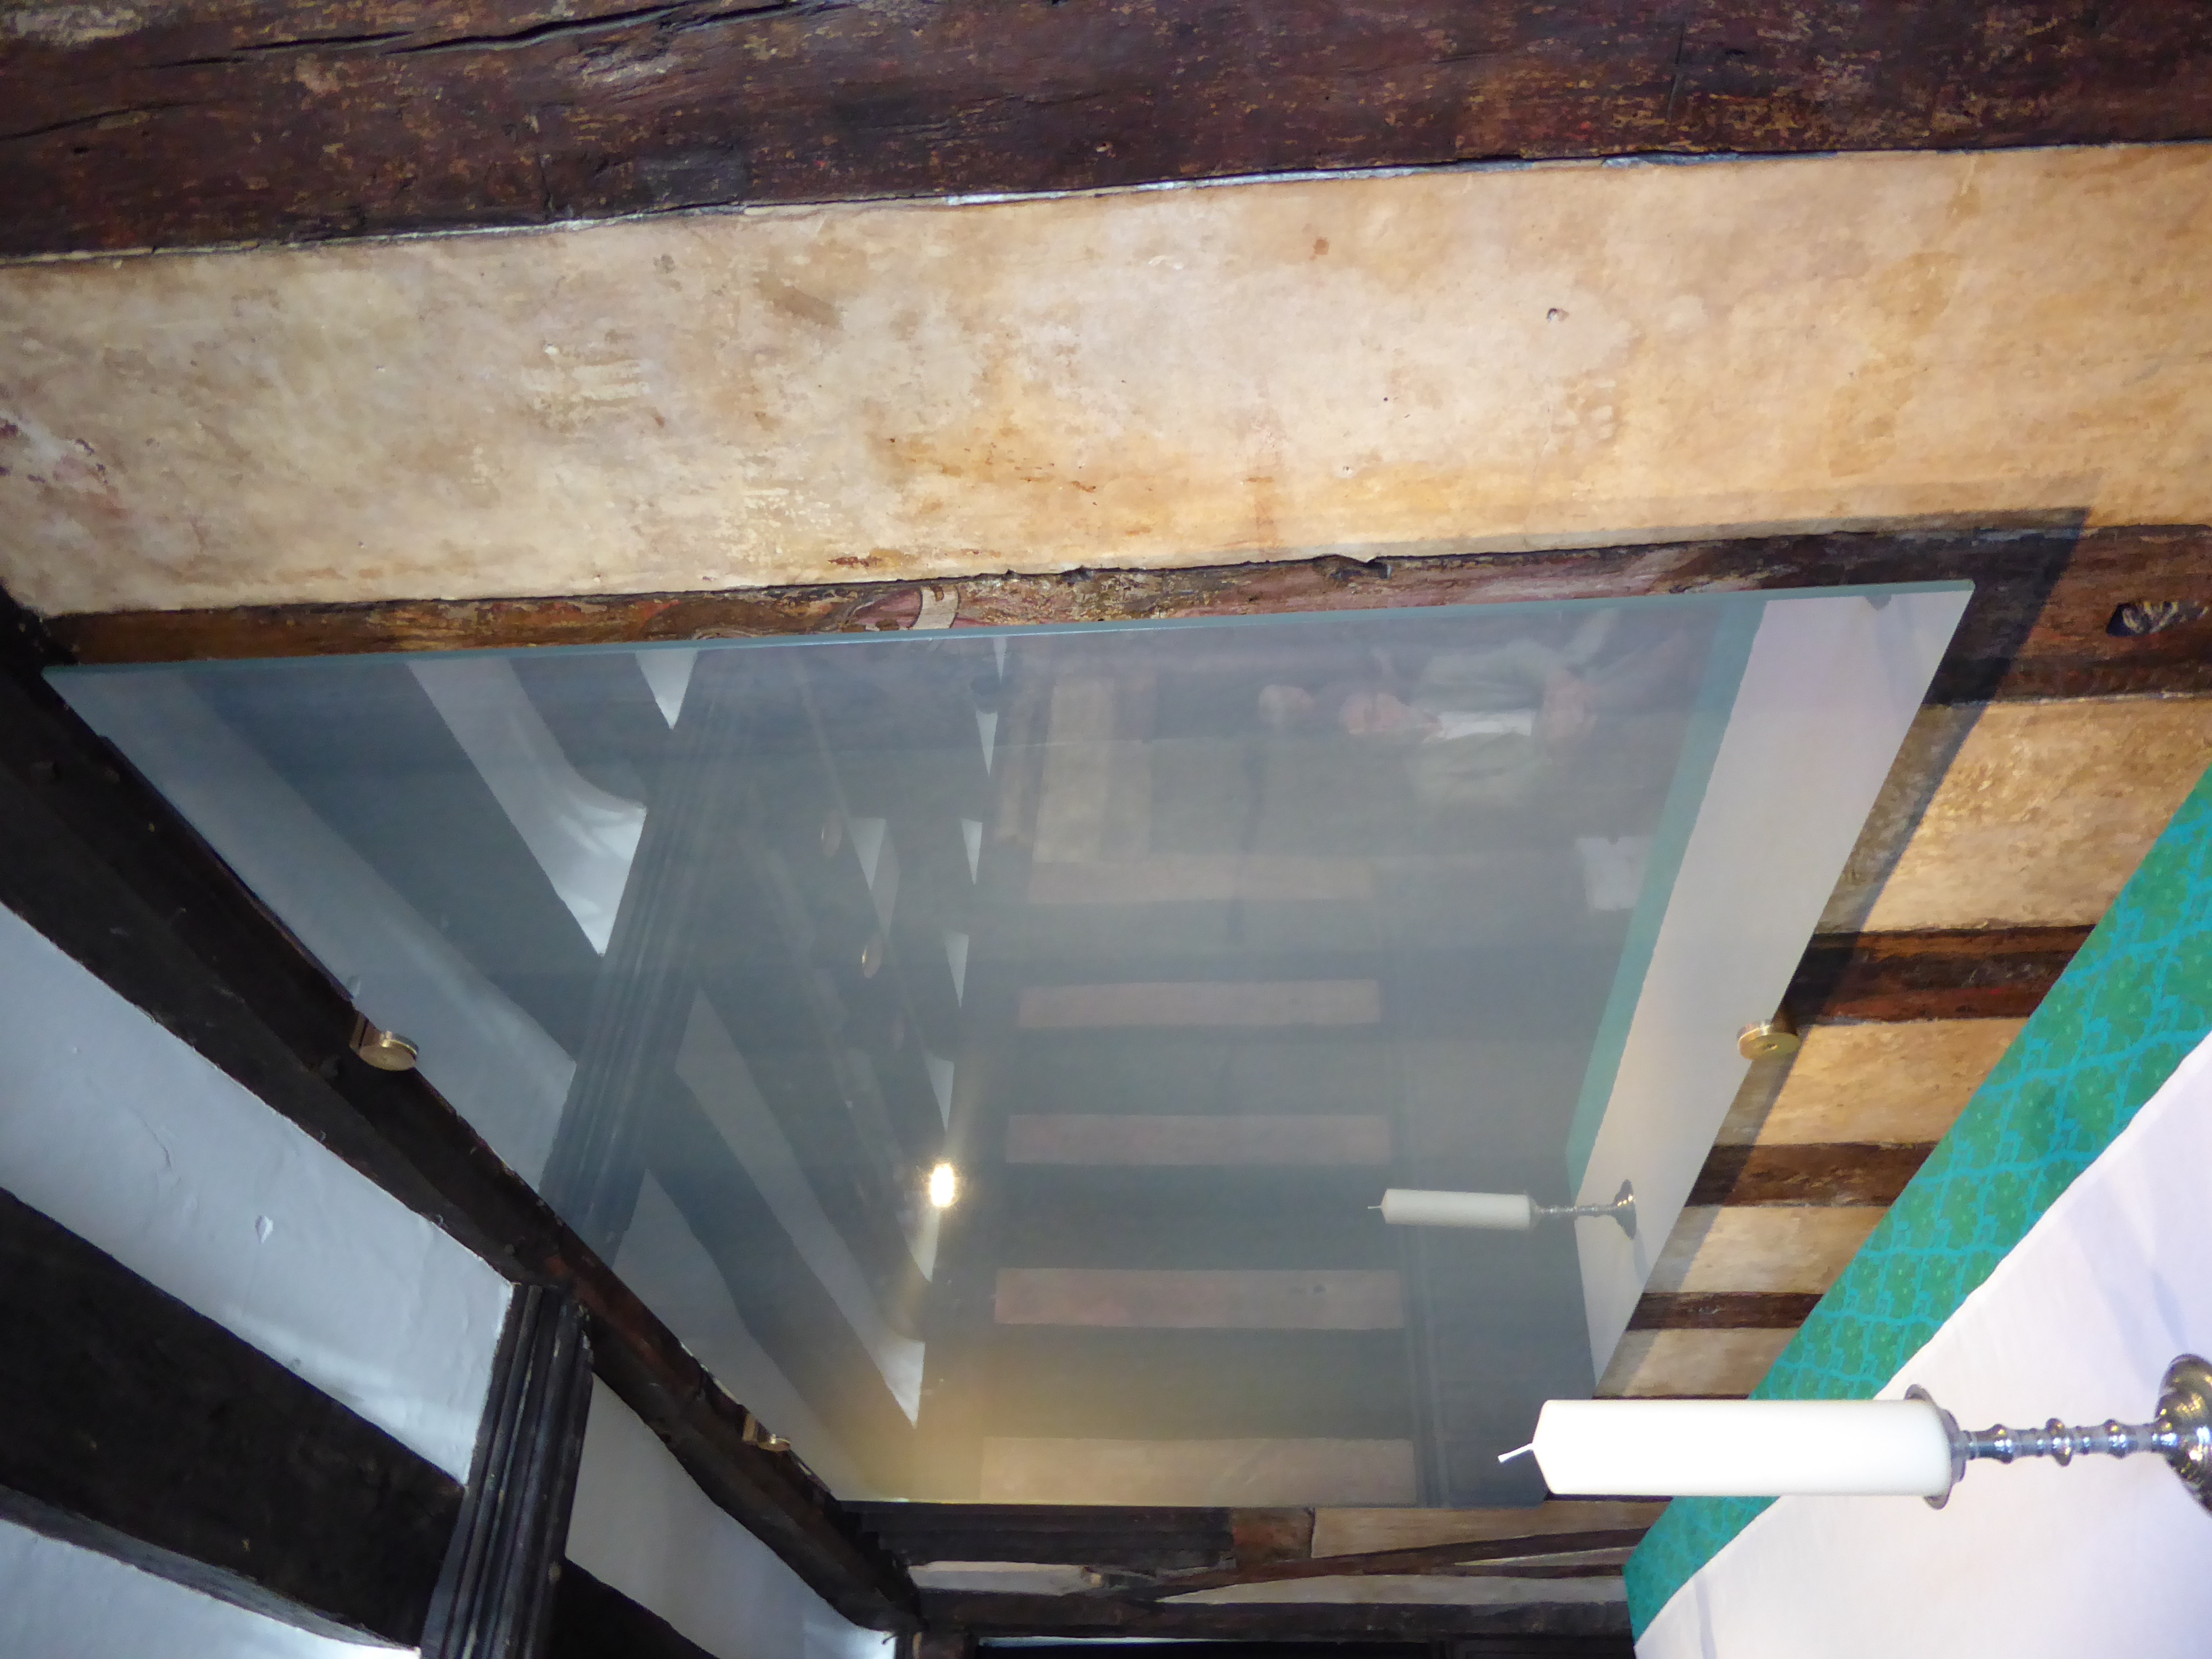
Figure 41: The UV resistant screen
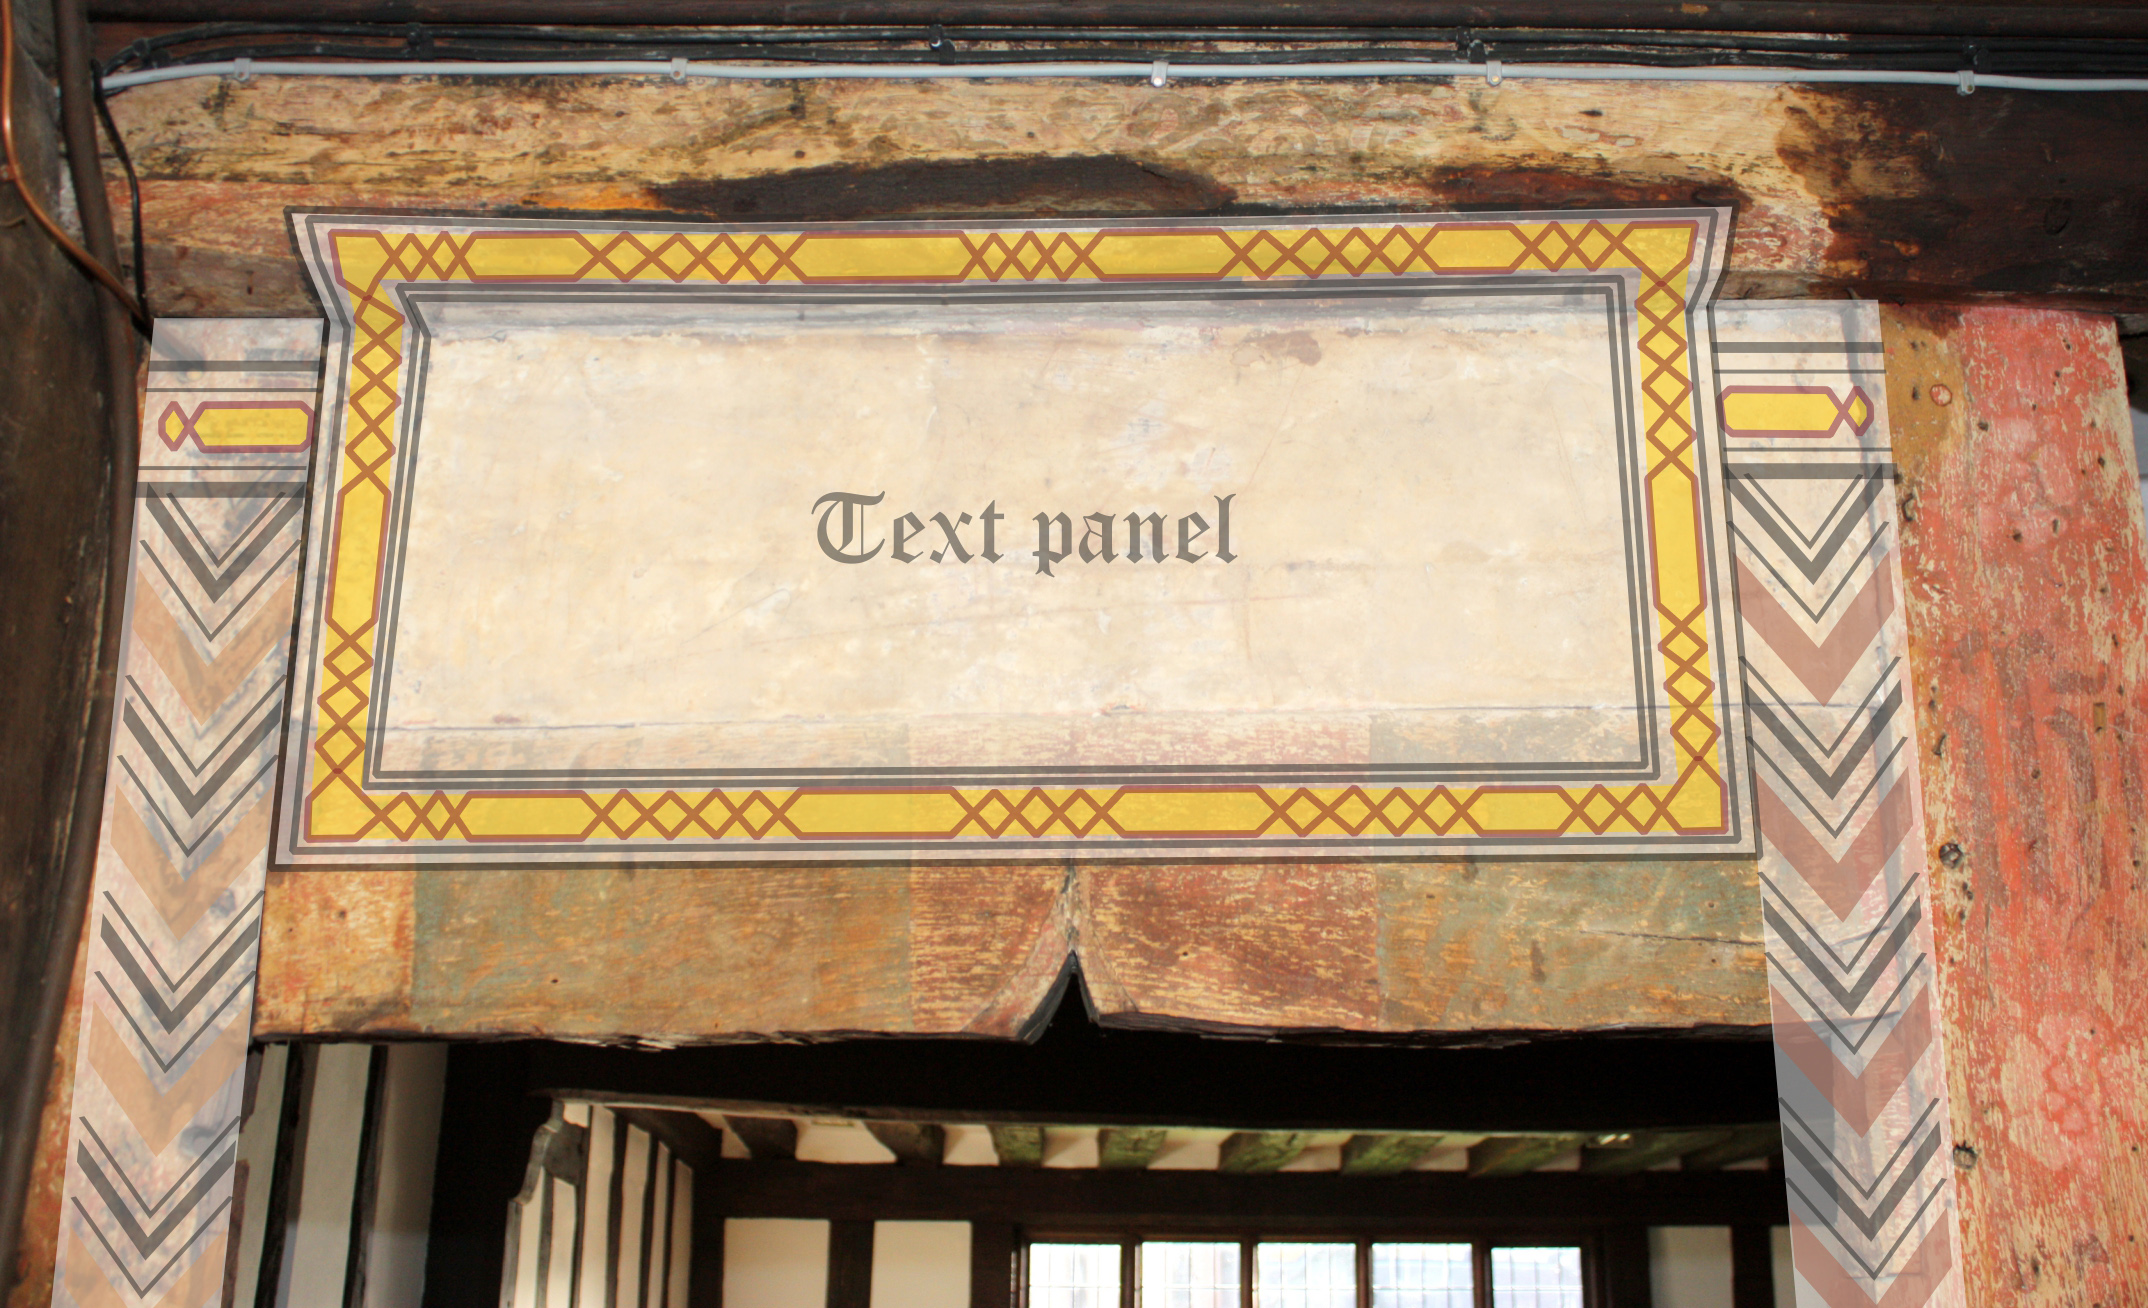
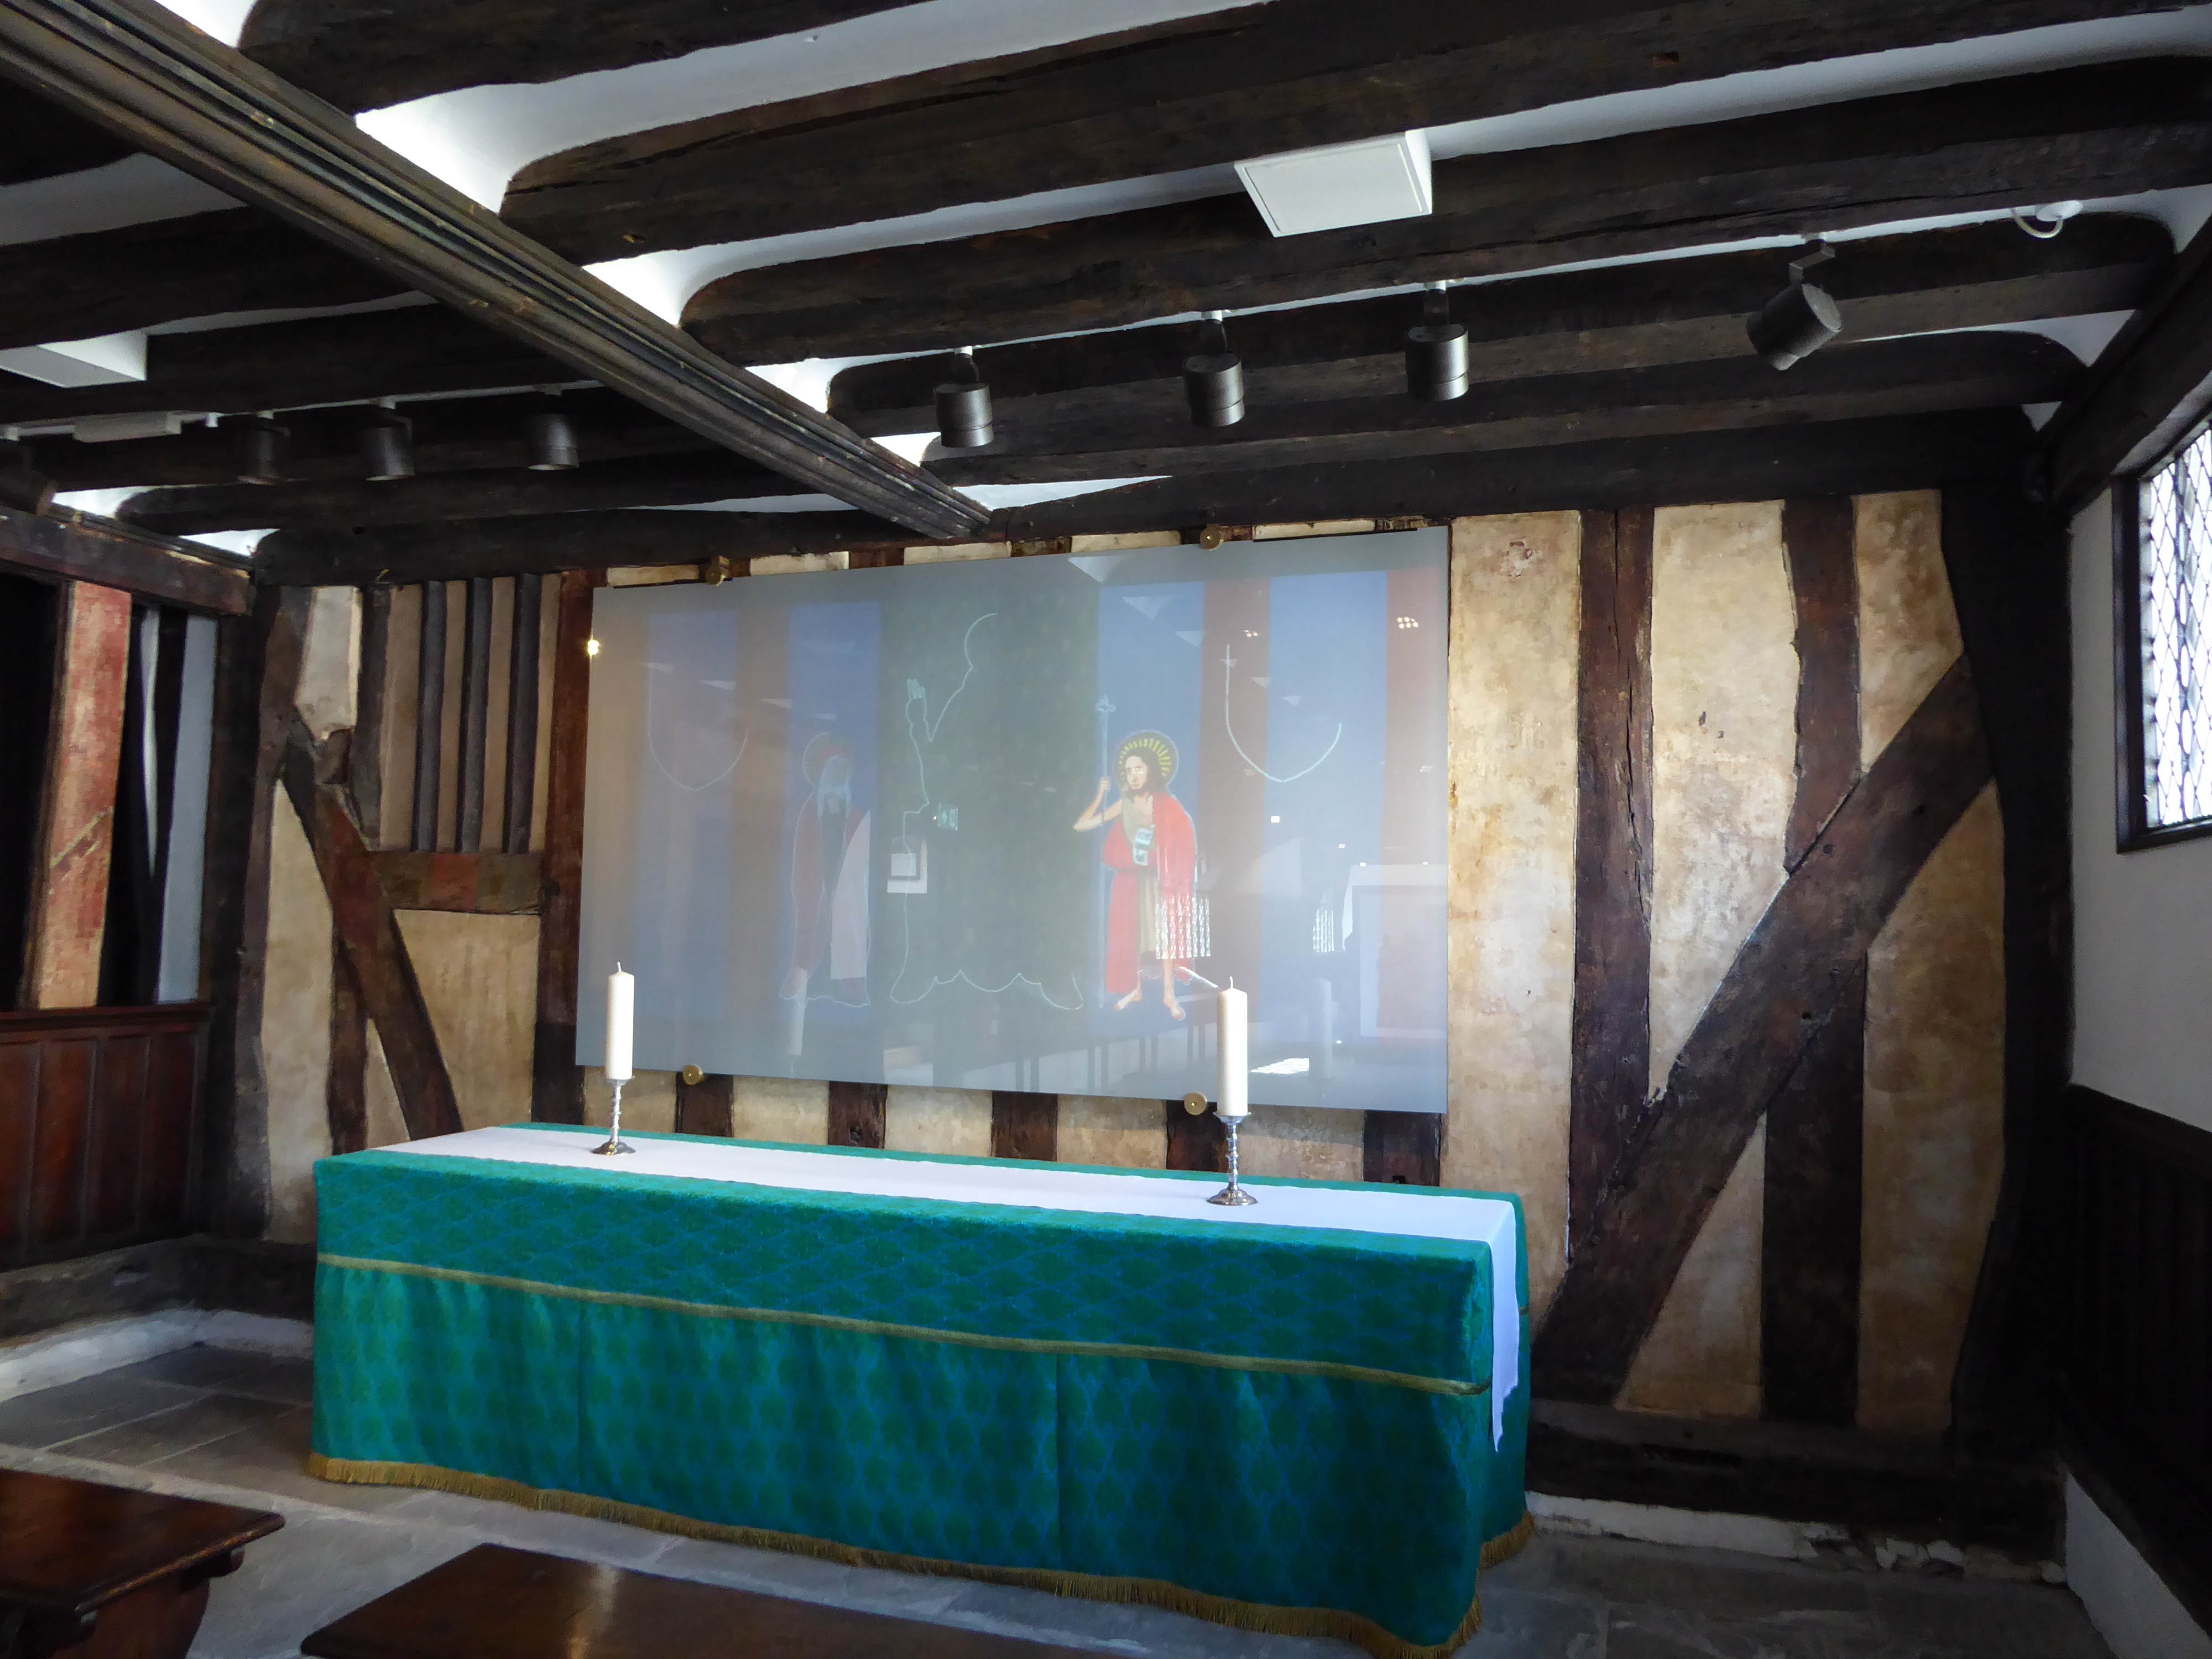
Figure 42: The projection of the chapel reconstruction drawing, gradually revealed to the viewer.
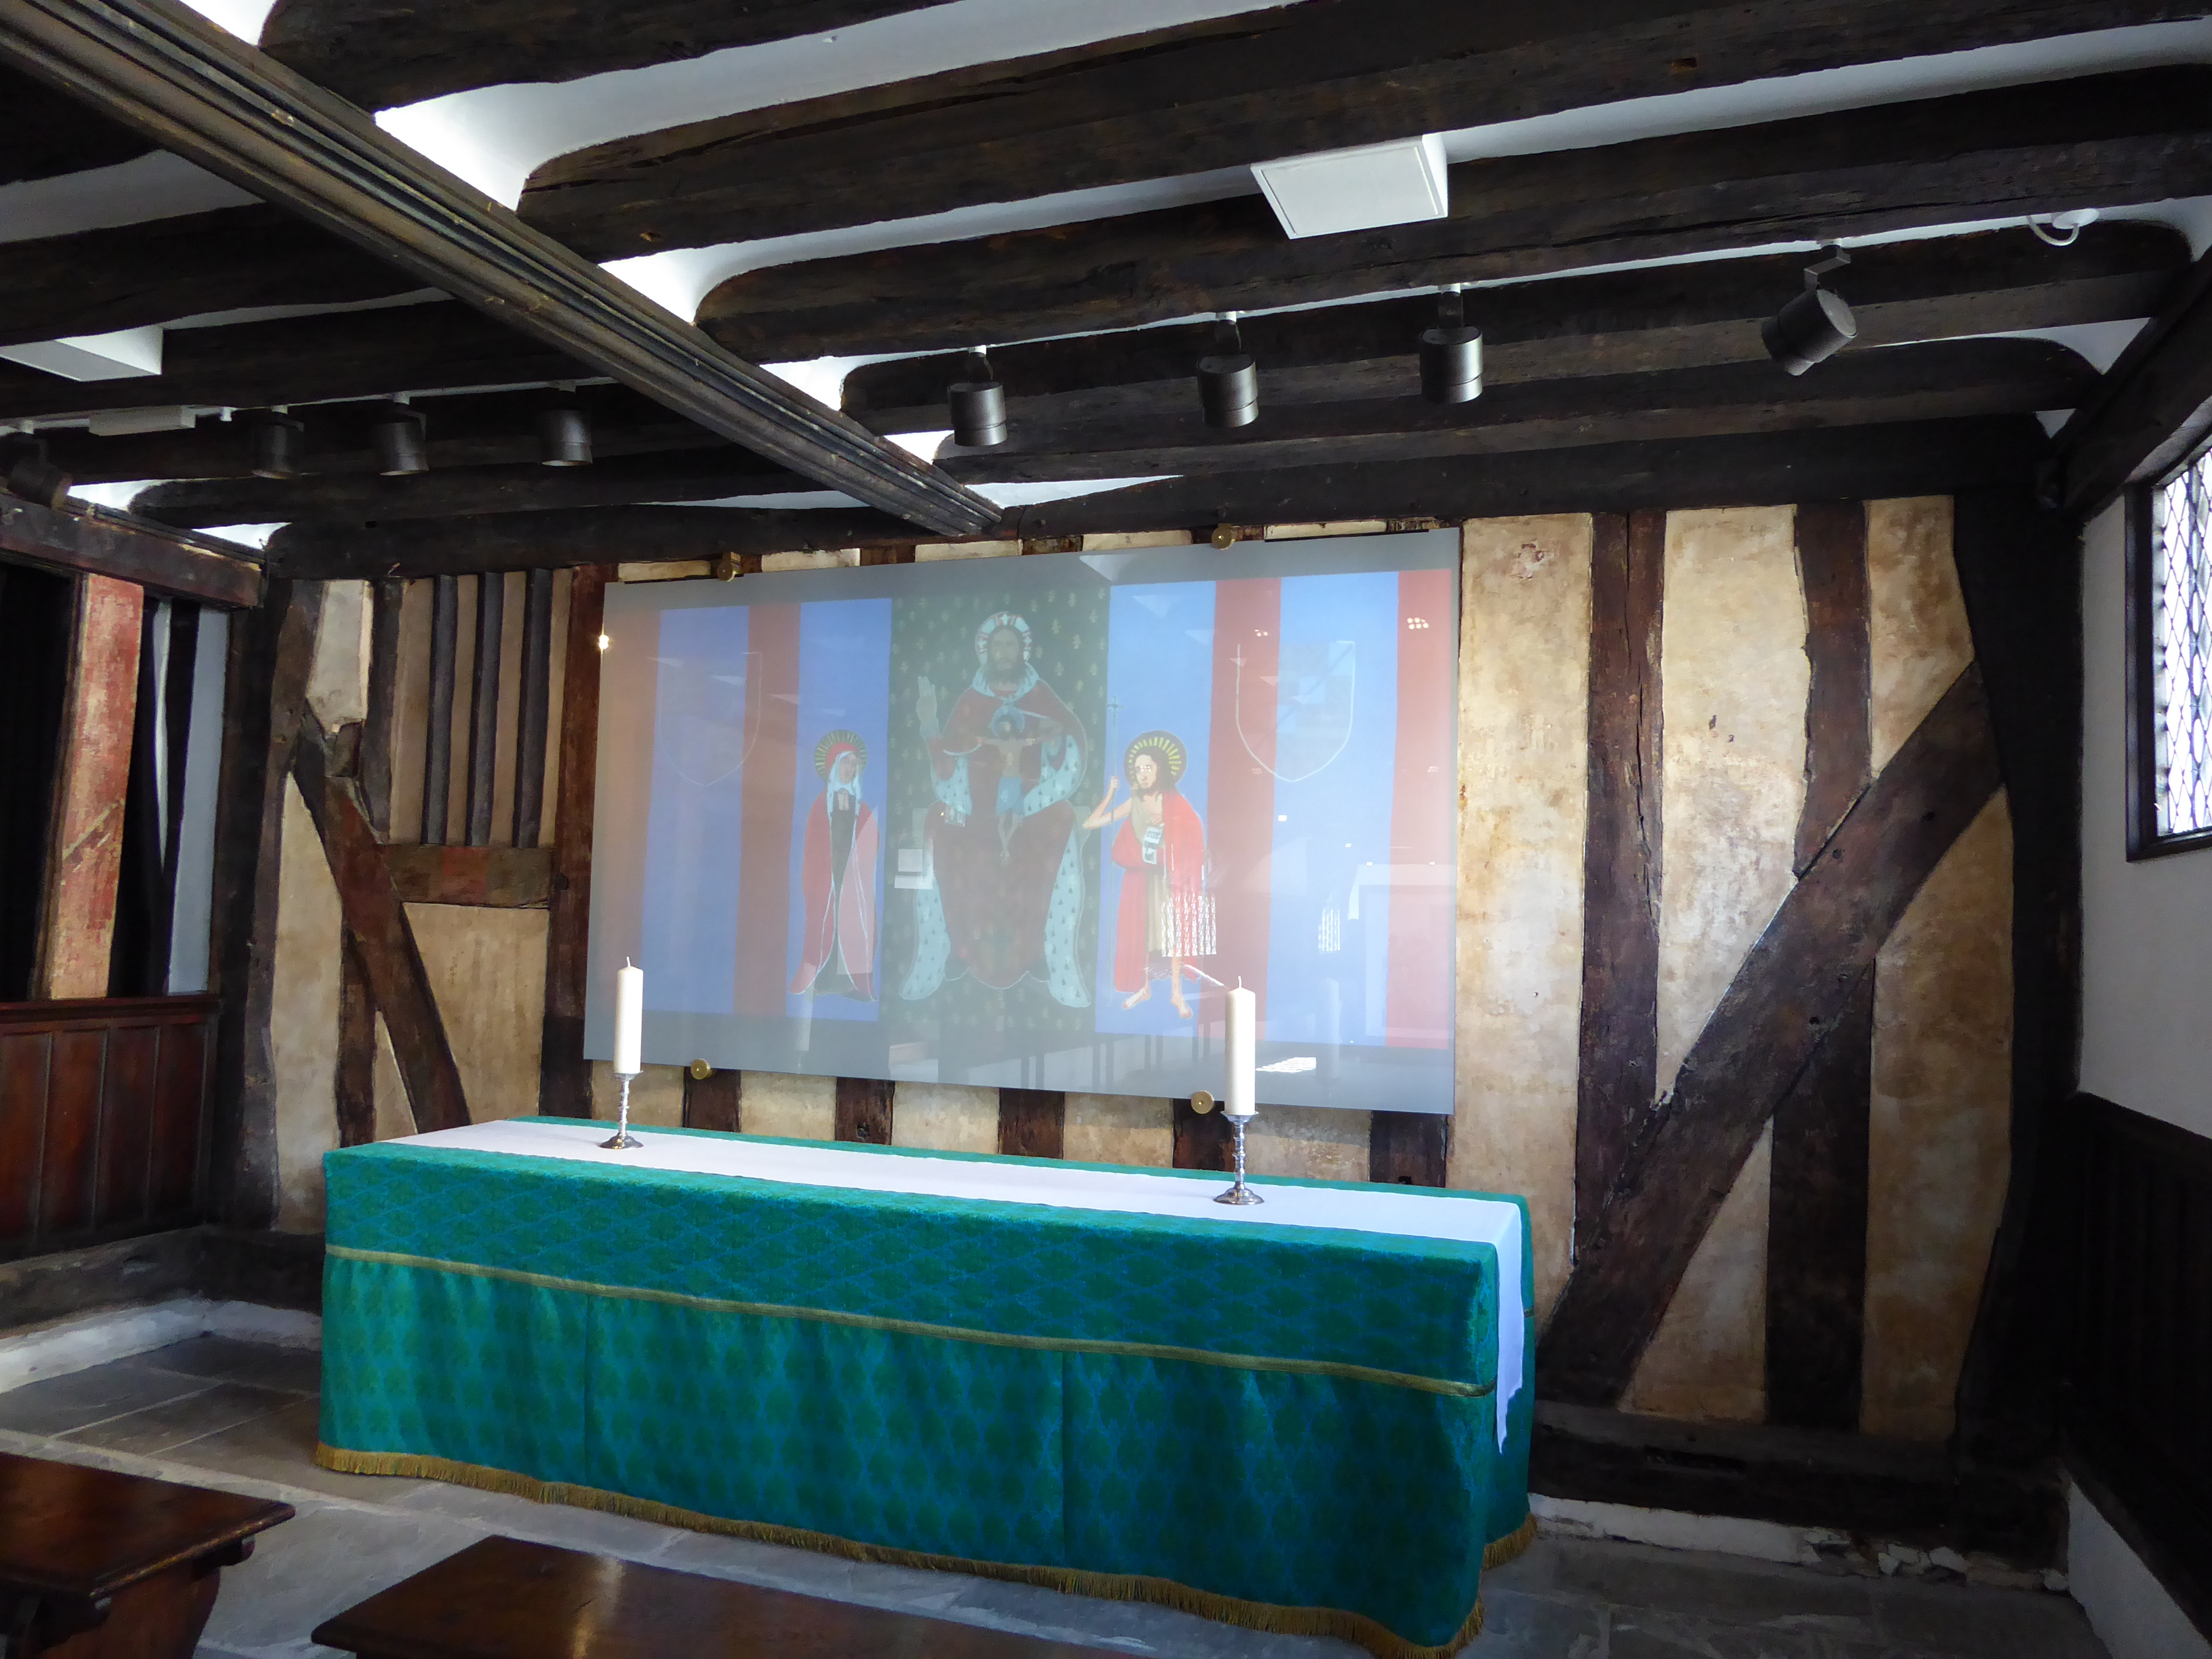
Figure 43: The projection of the chapel reconstruction drawing, gradually revealed to the viewer.
Figure 44: The projection of the chapel reconstruction drawing, gradually revealed to the viewer.
Figure 45: The projection of the chapel reconstruction drawing, gradually revealed to the viewer.
Figure 46: The projection of the chapel reconstruction drawing, gradually revealed to the viewer.
Figure 47: The explanation of the Reformation context and revelation of the original painting below
Figure 48: The explanation of the Reformation context and revelation of the original painting below
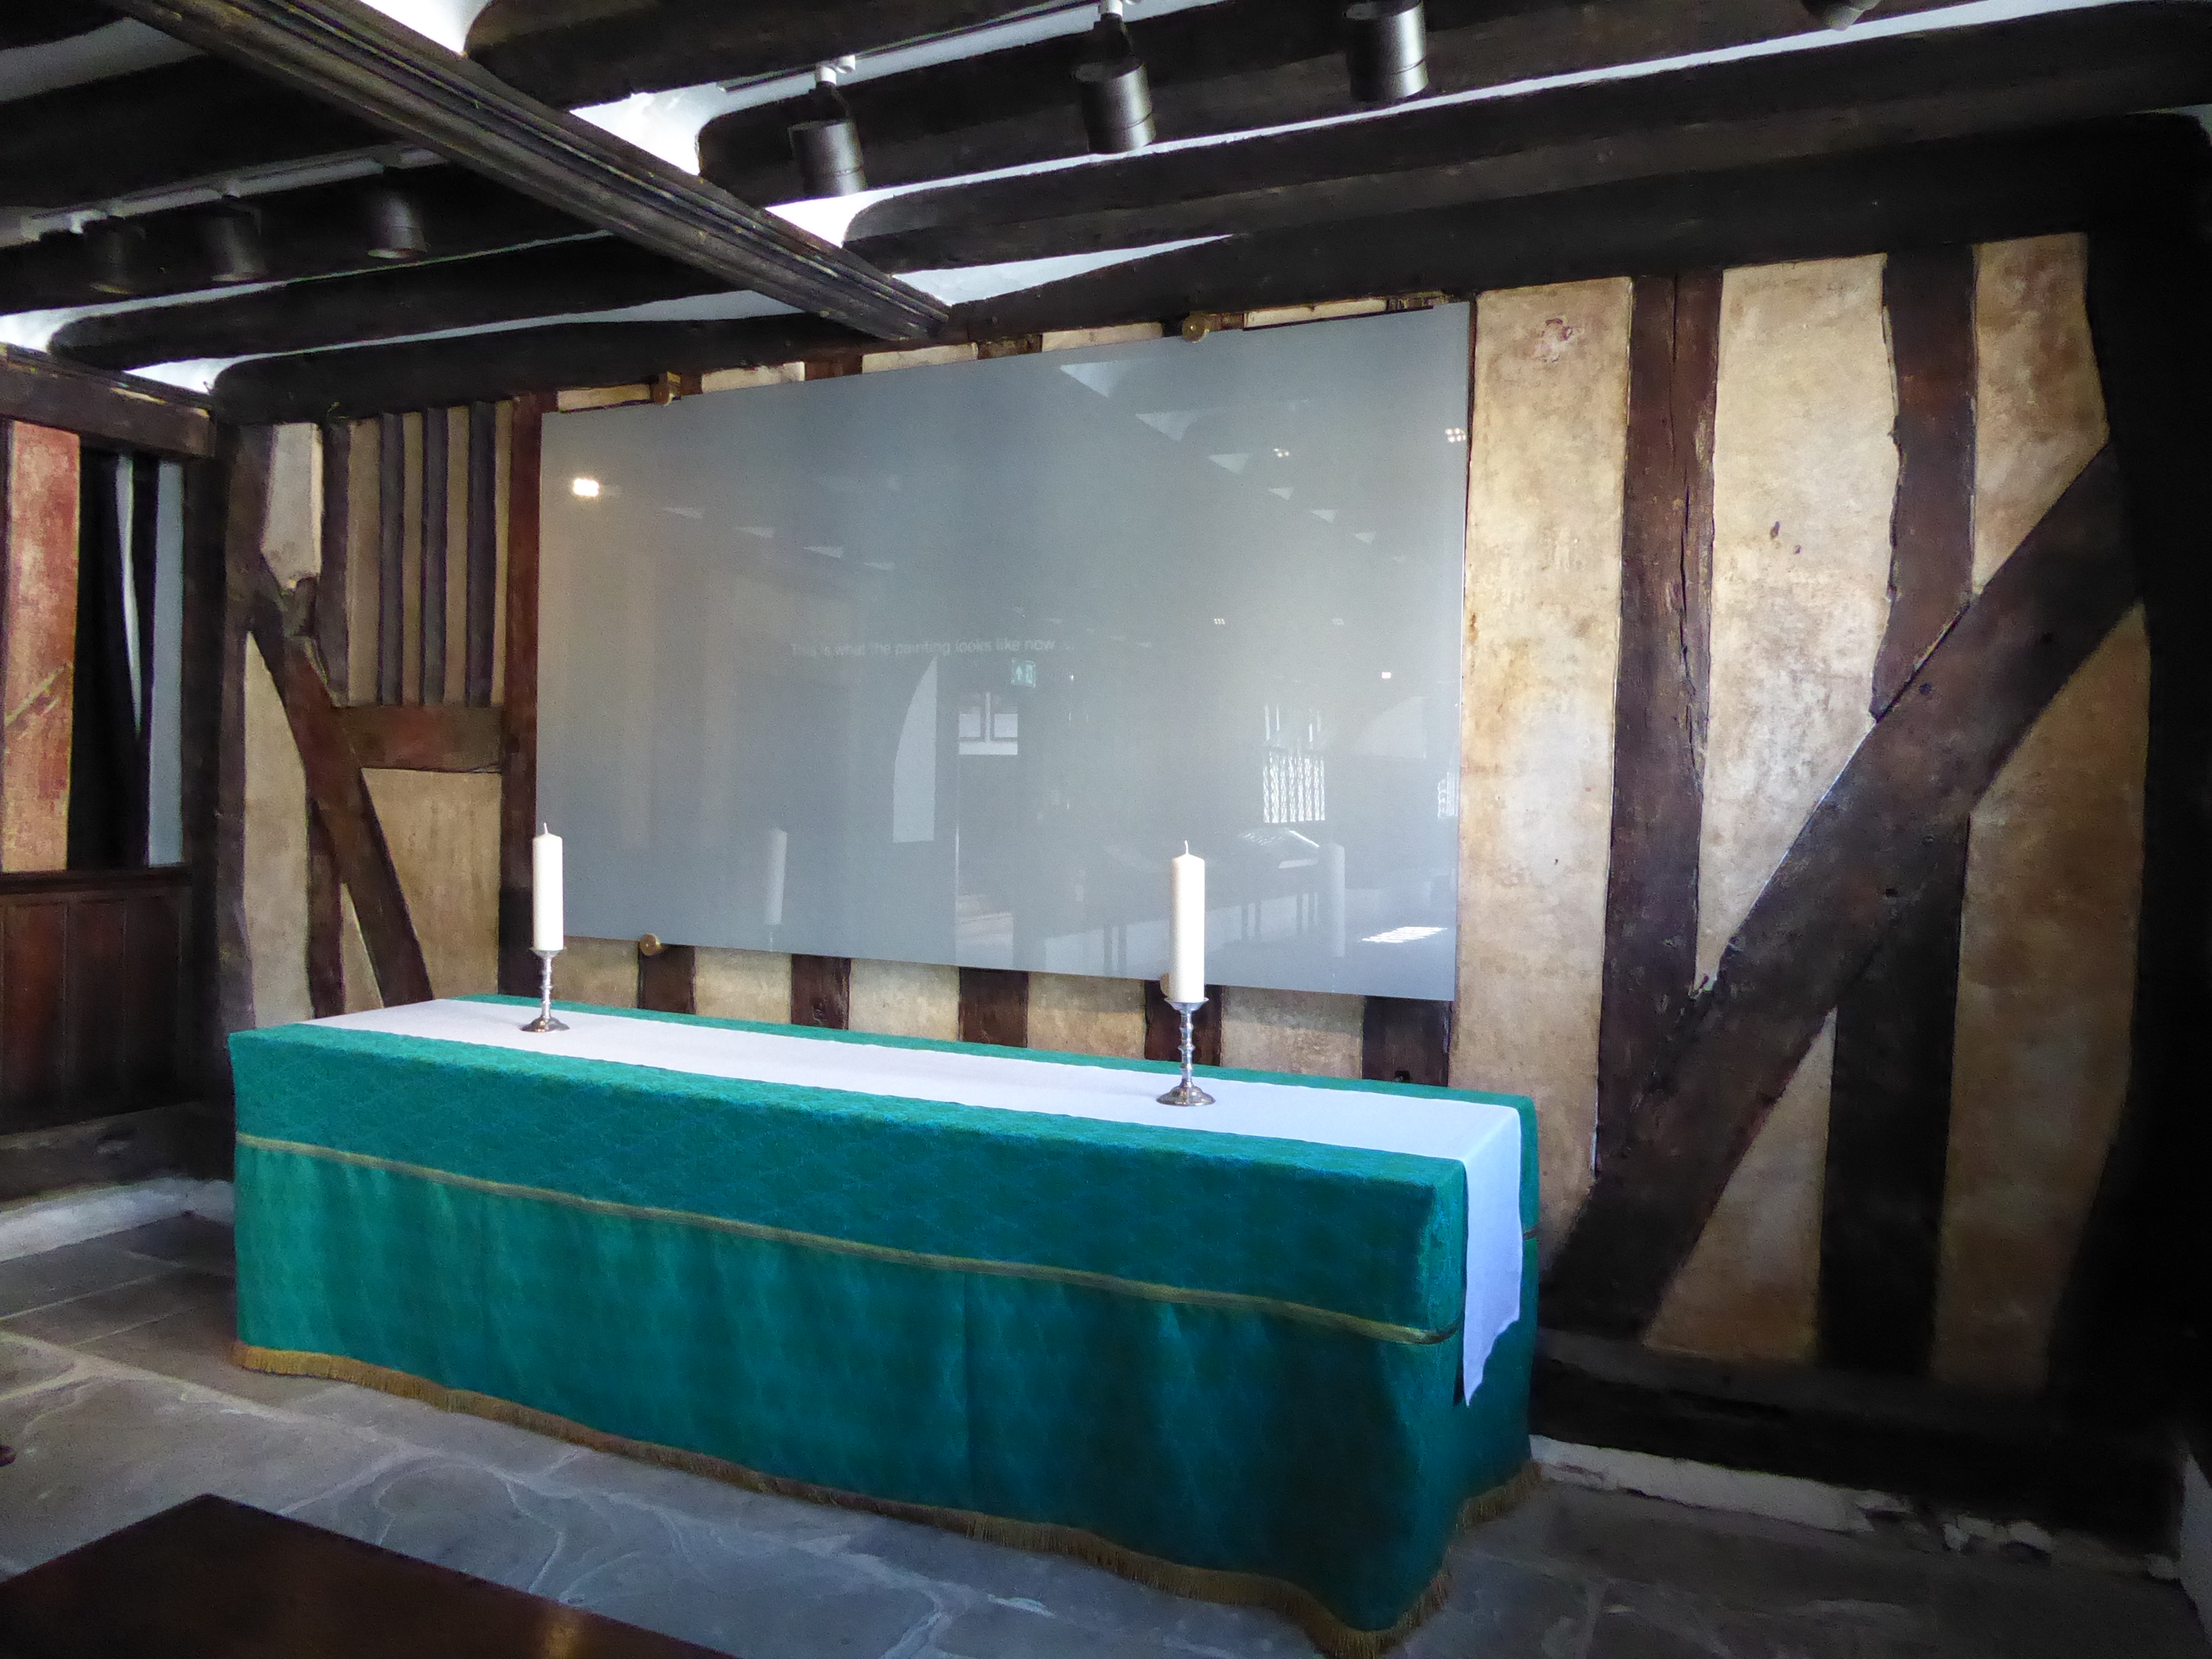
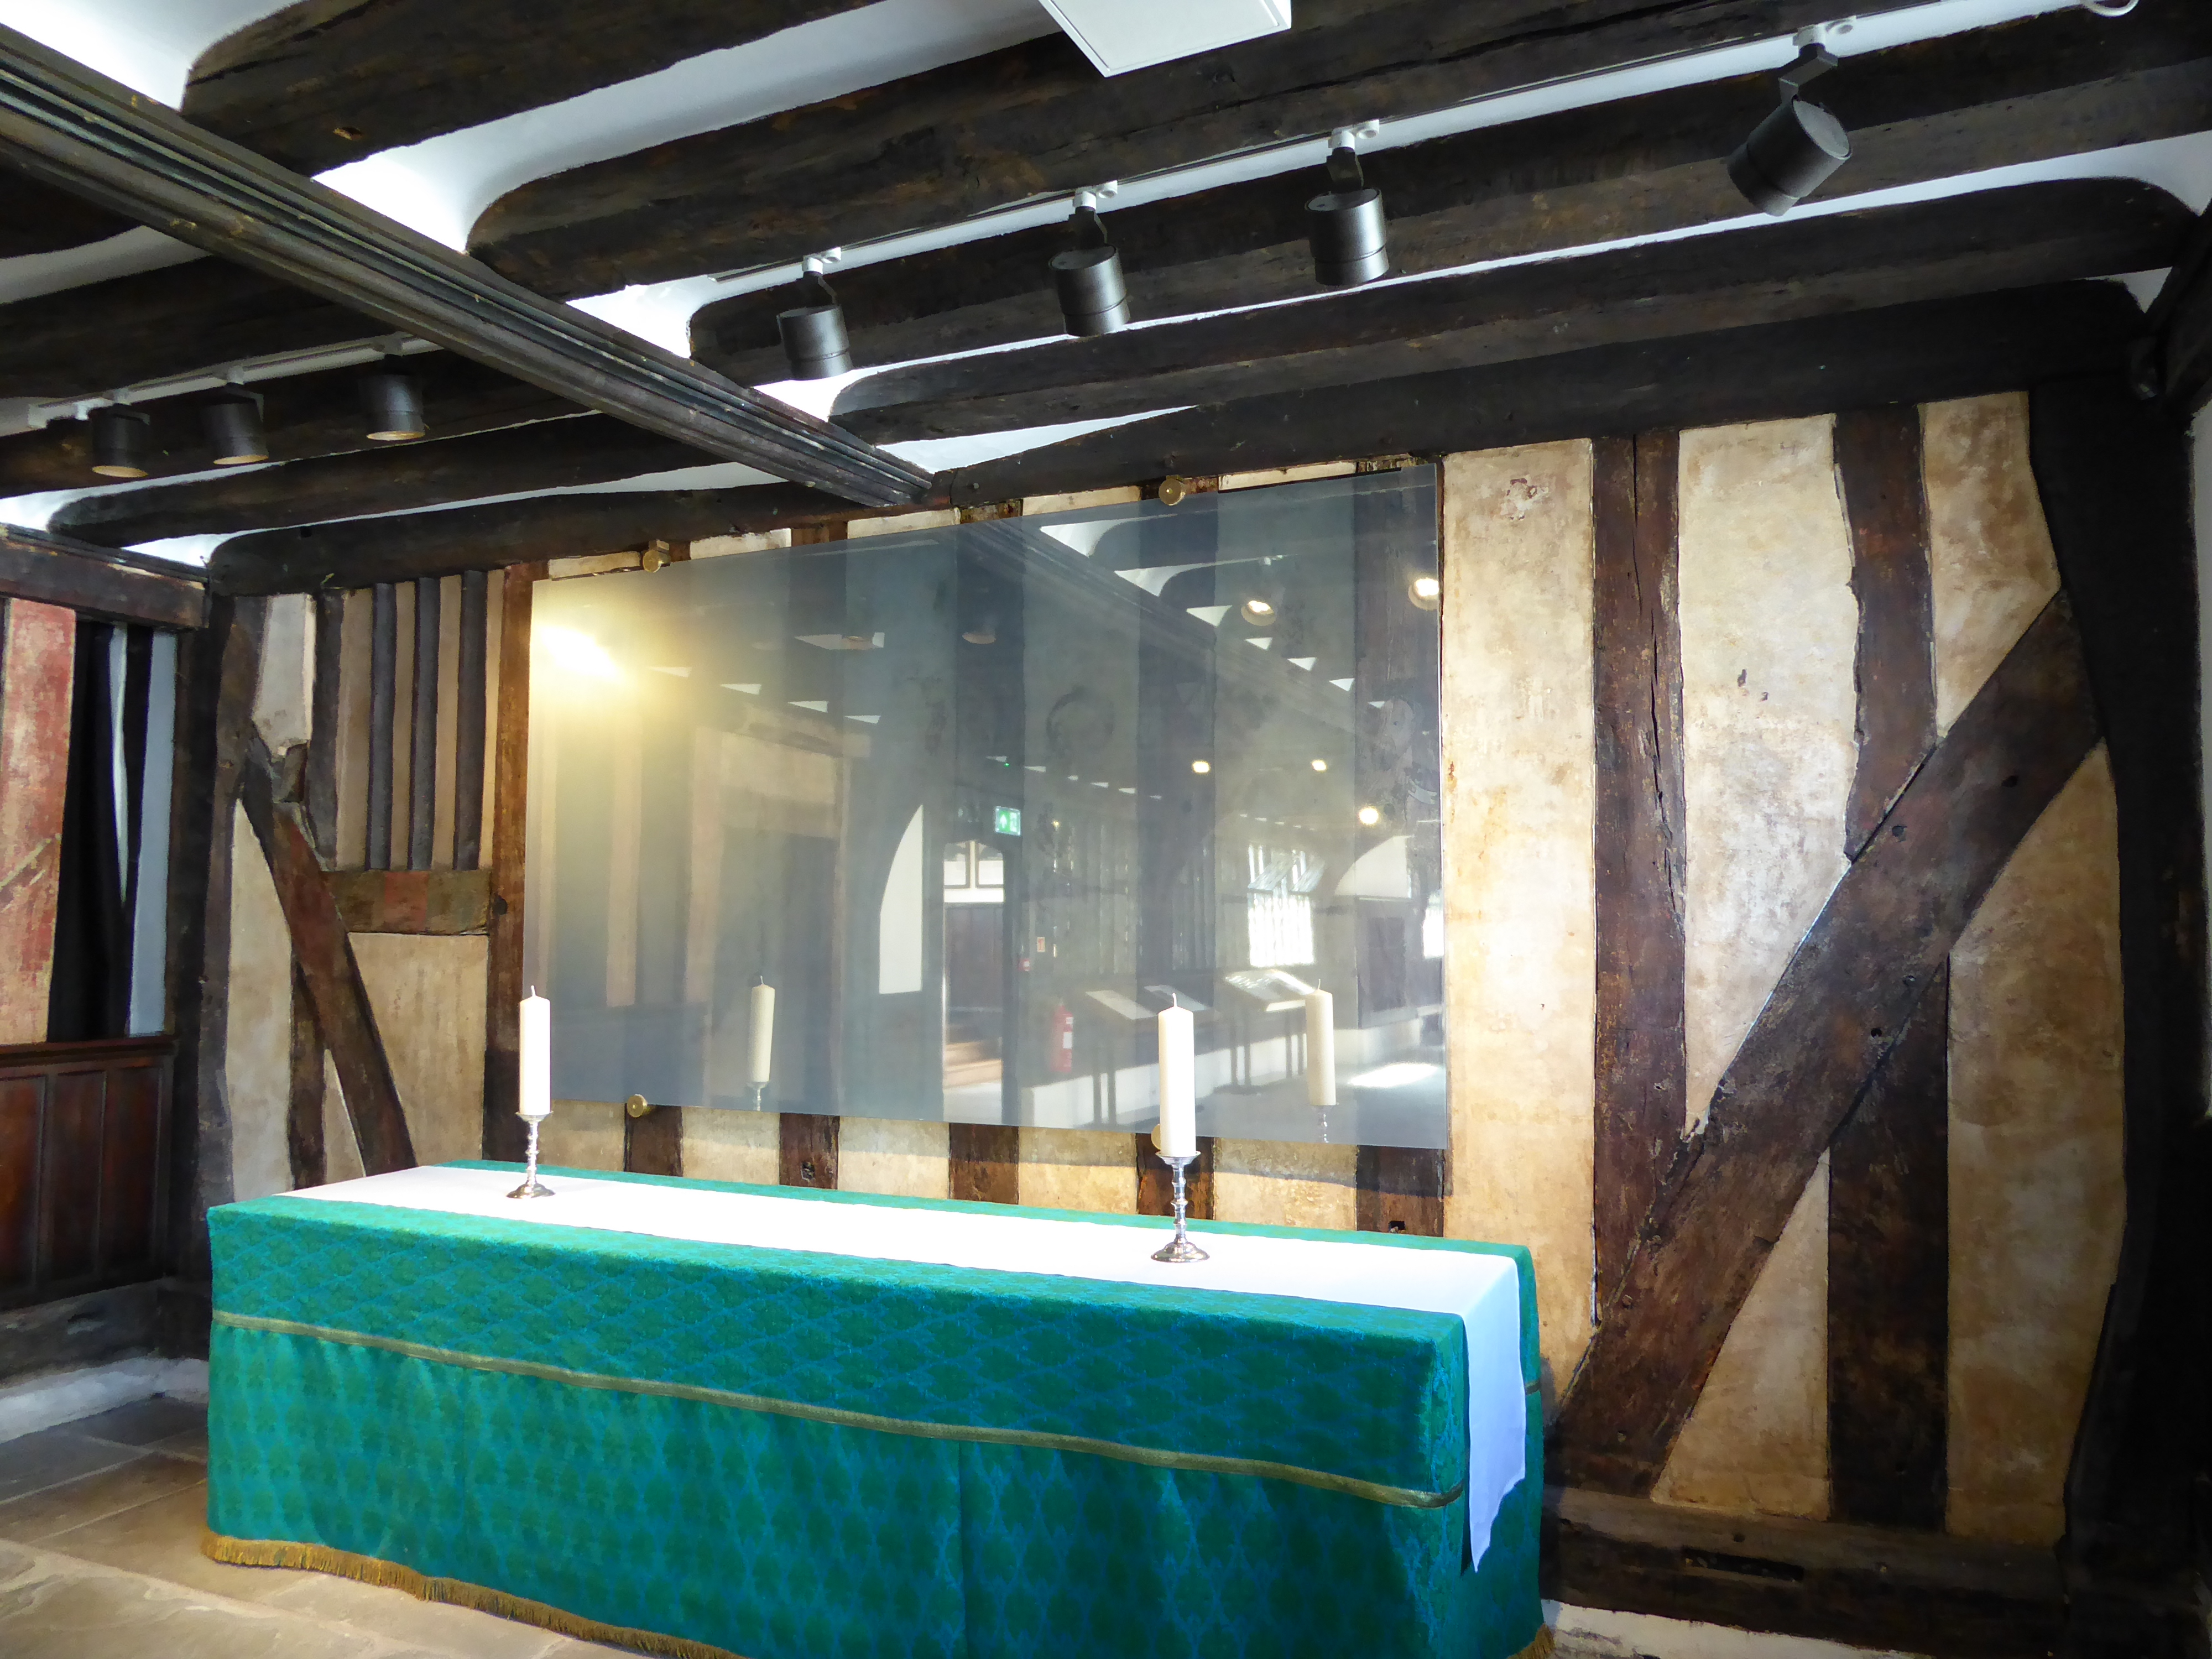
Figure 49: The new 'drop down' screen
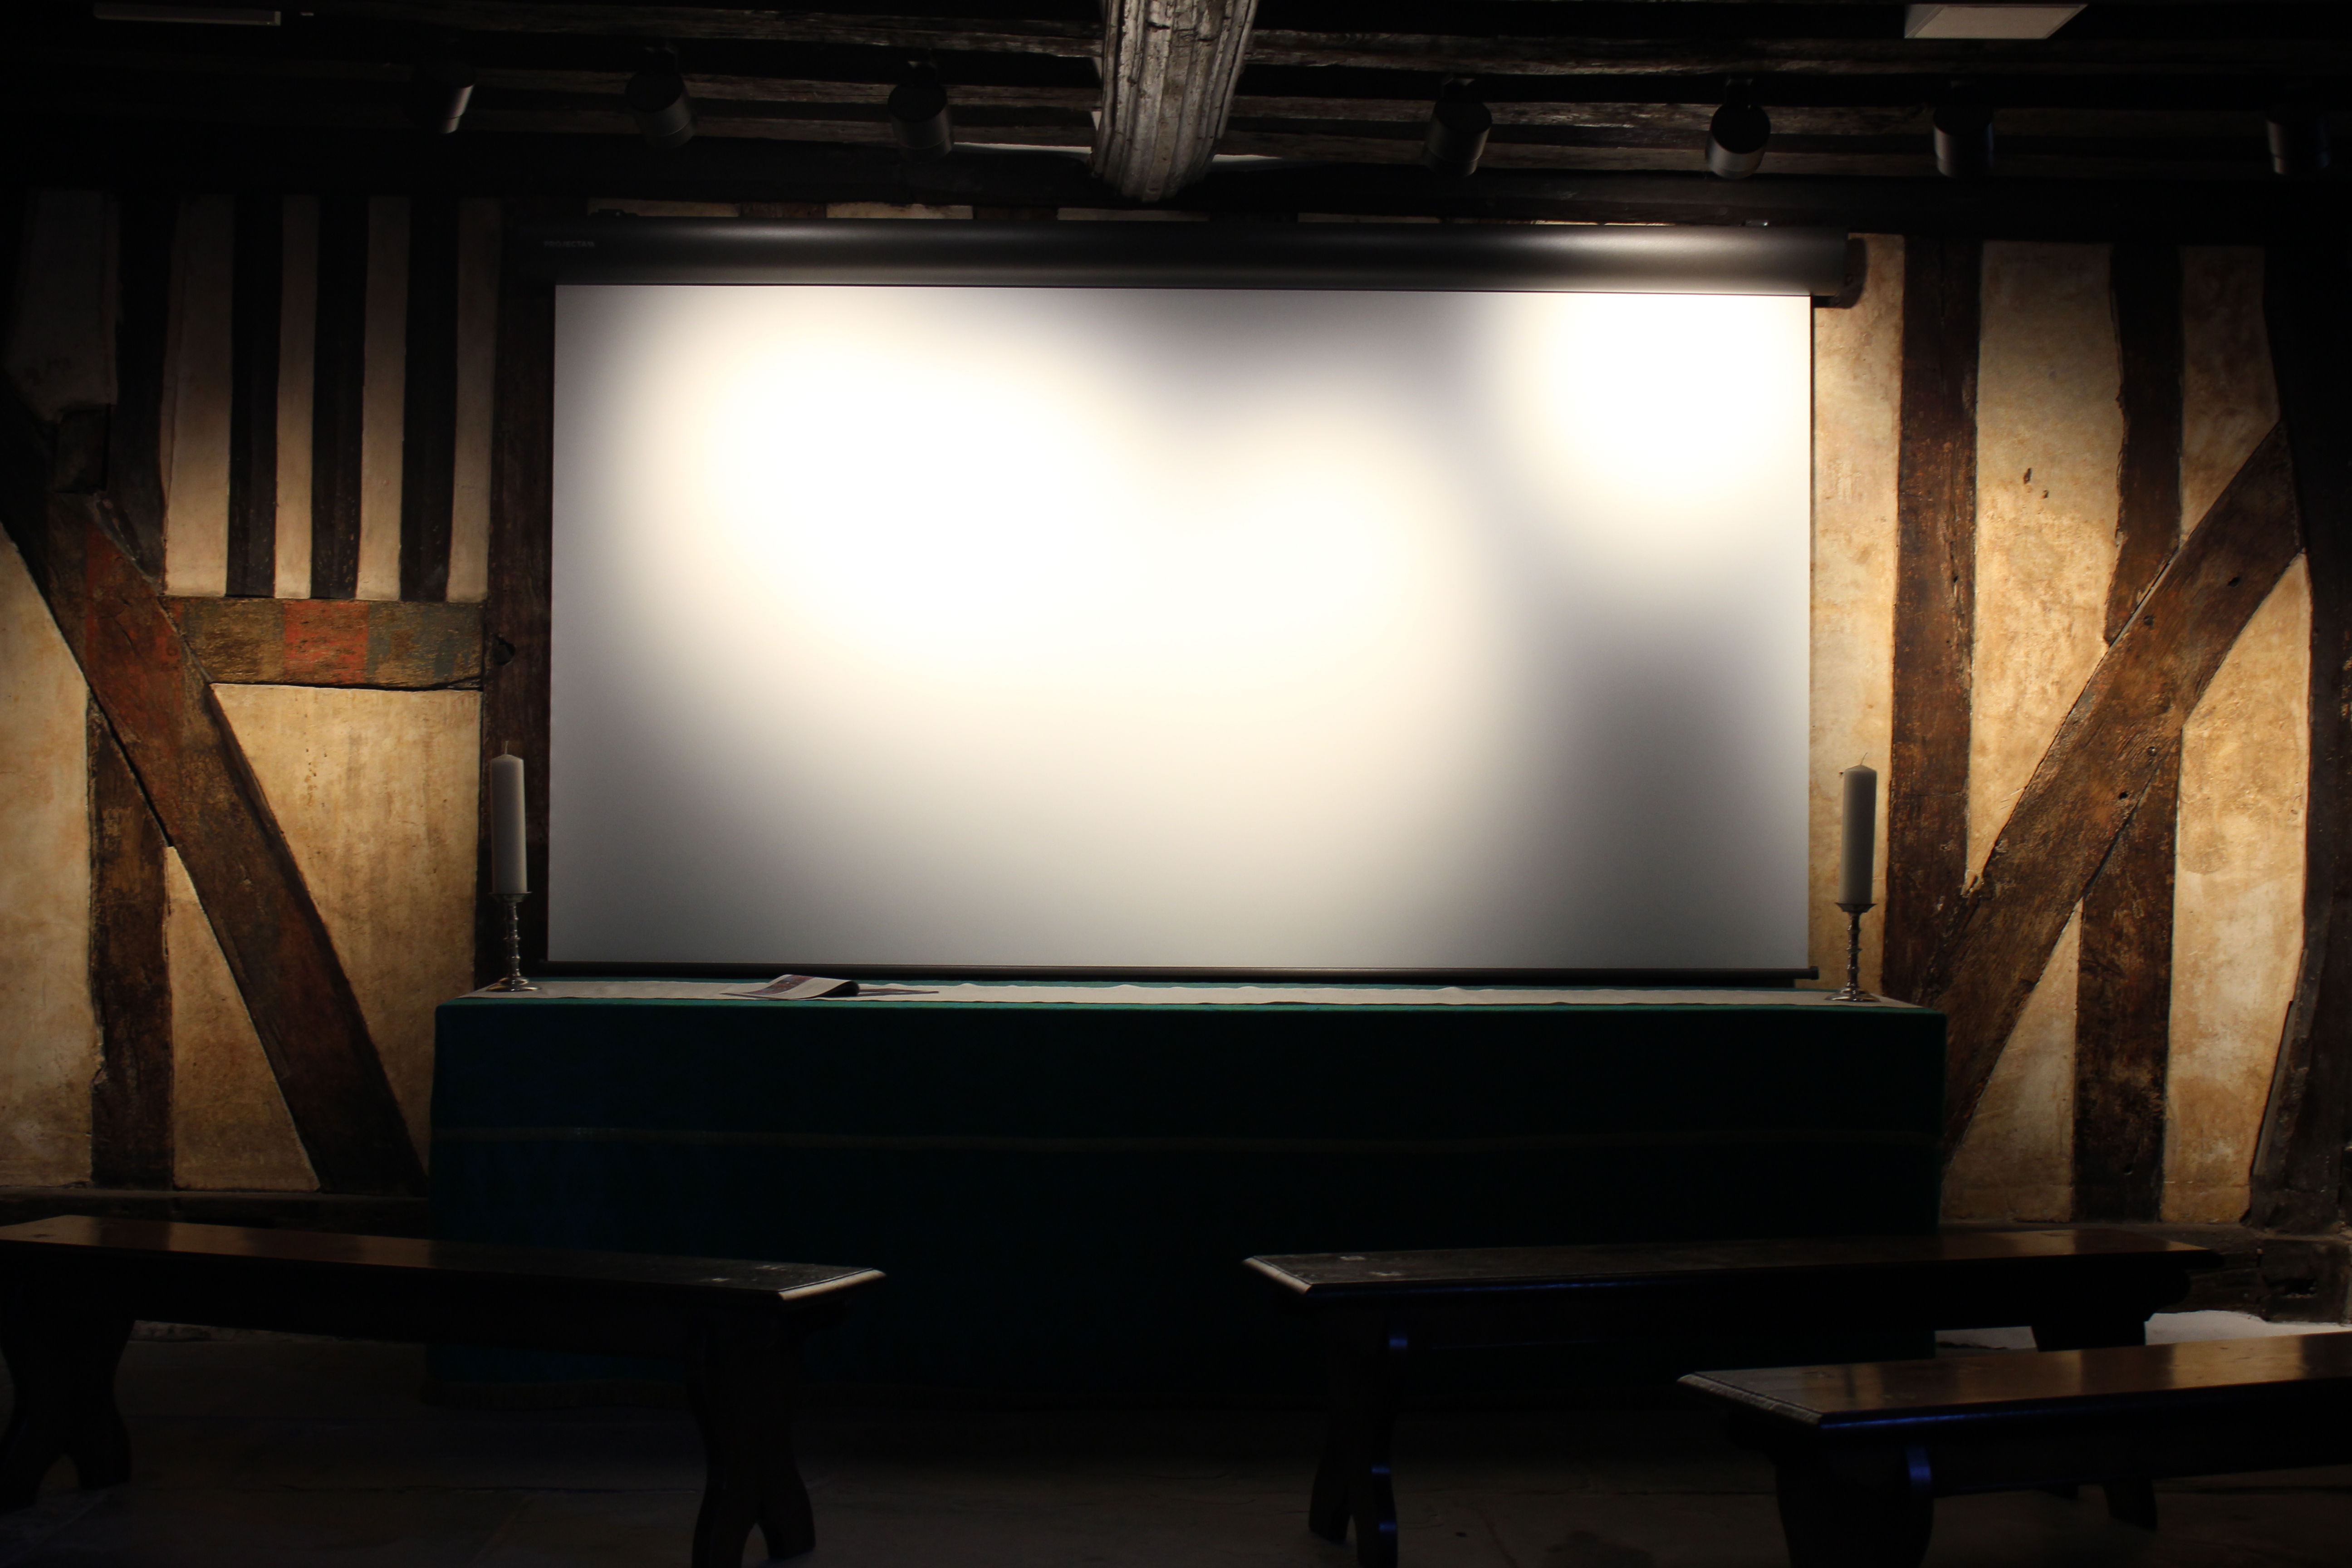
Figure 50: The final reconstruction drawing projected onto the new 'drop down' screen
Figure 51: The conserved image, with low level lighting
Figure 52: The Council chamber, which features a film by Michael Wood.
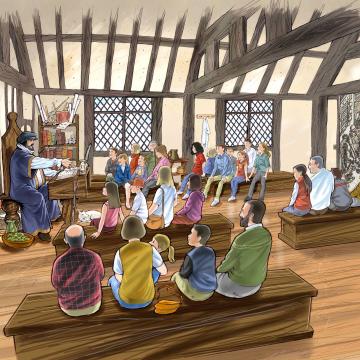
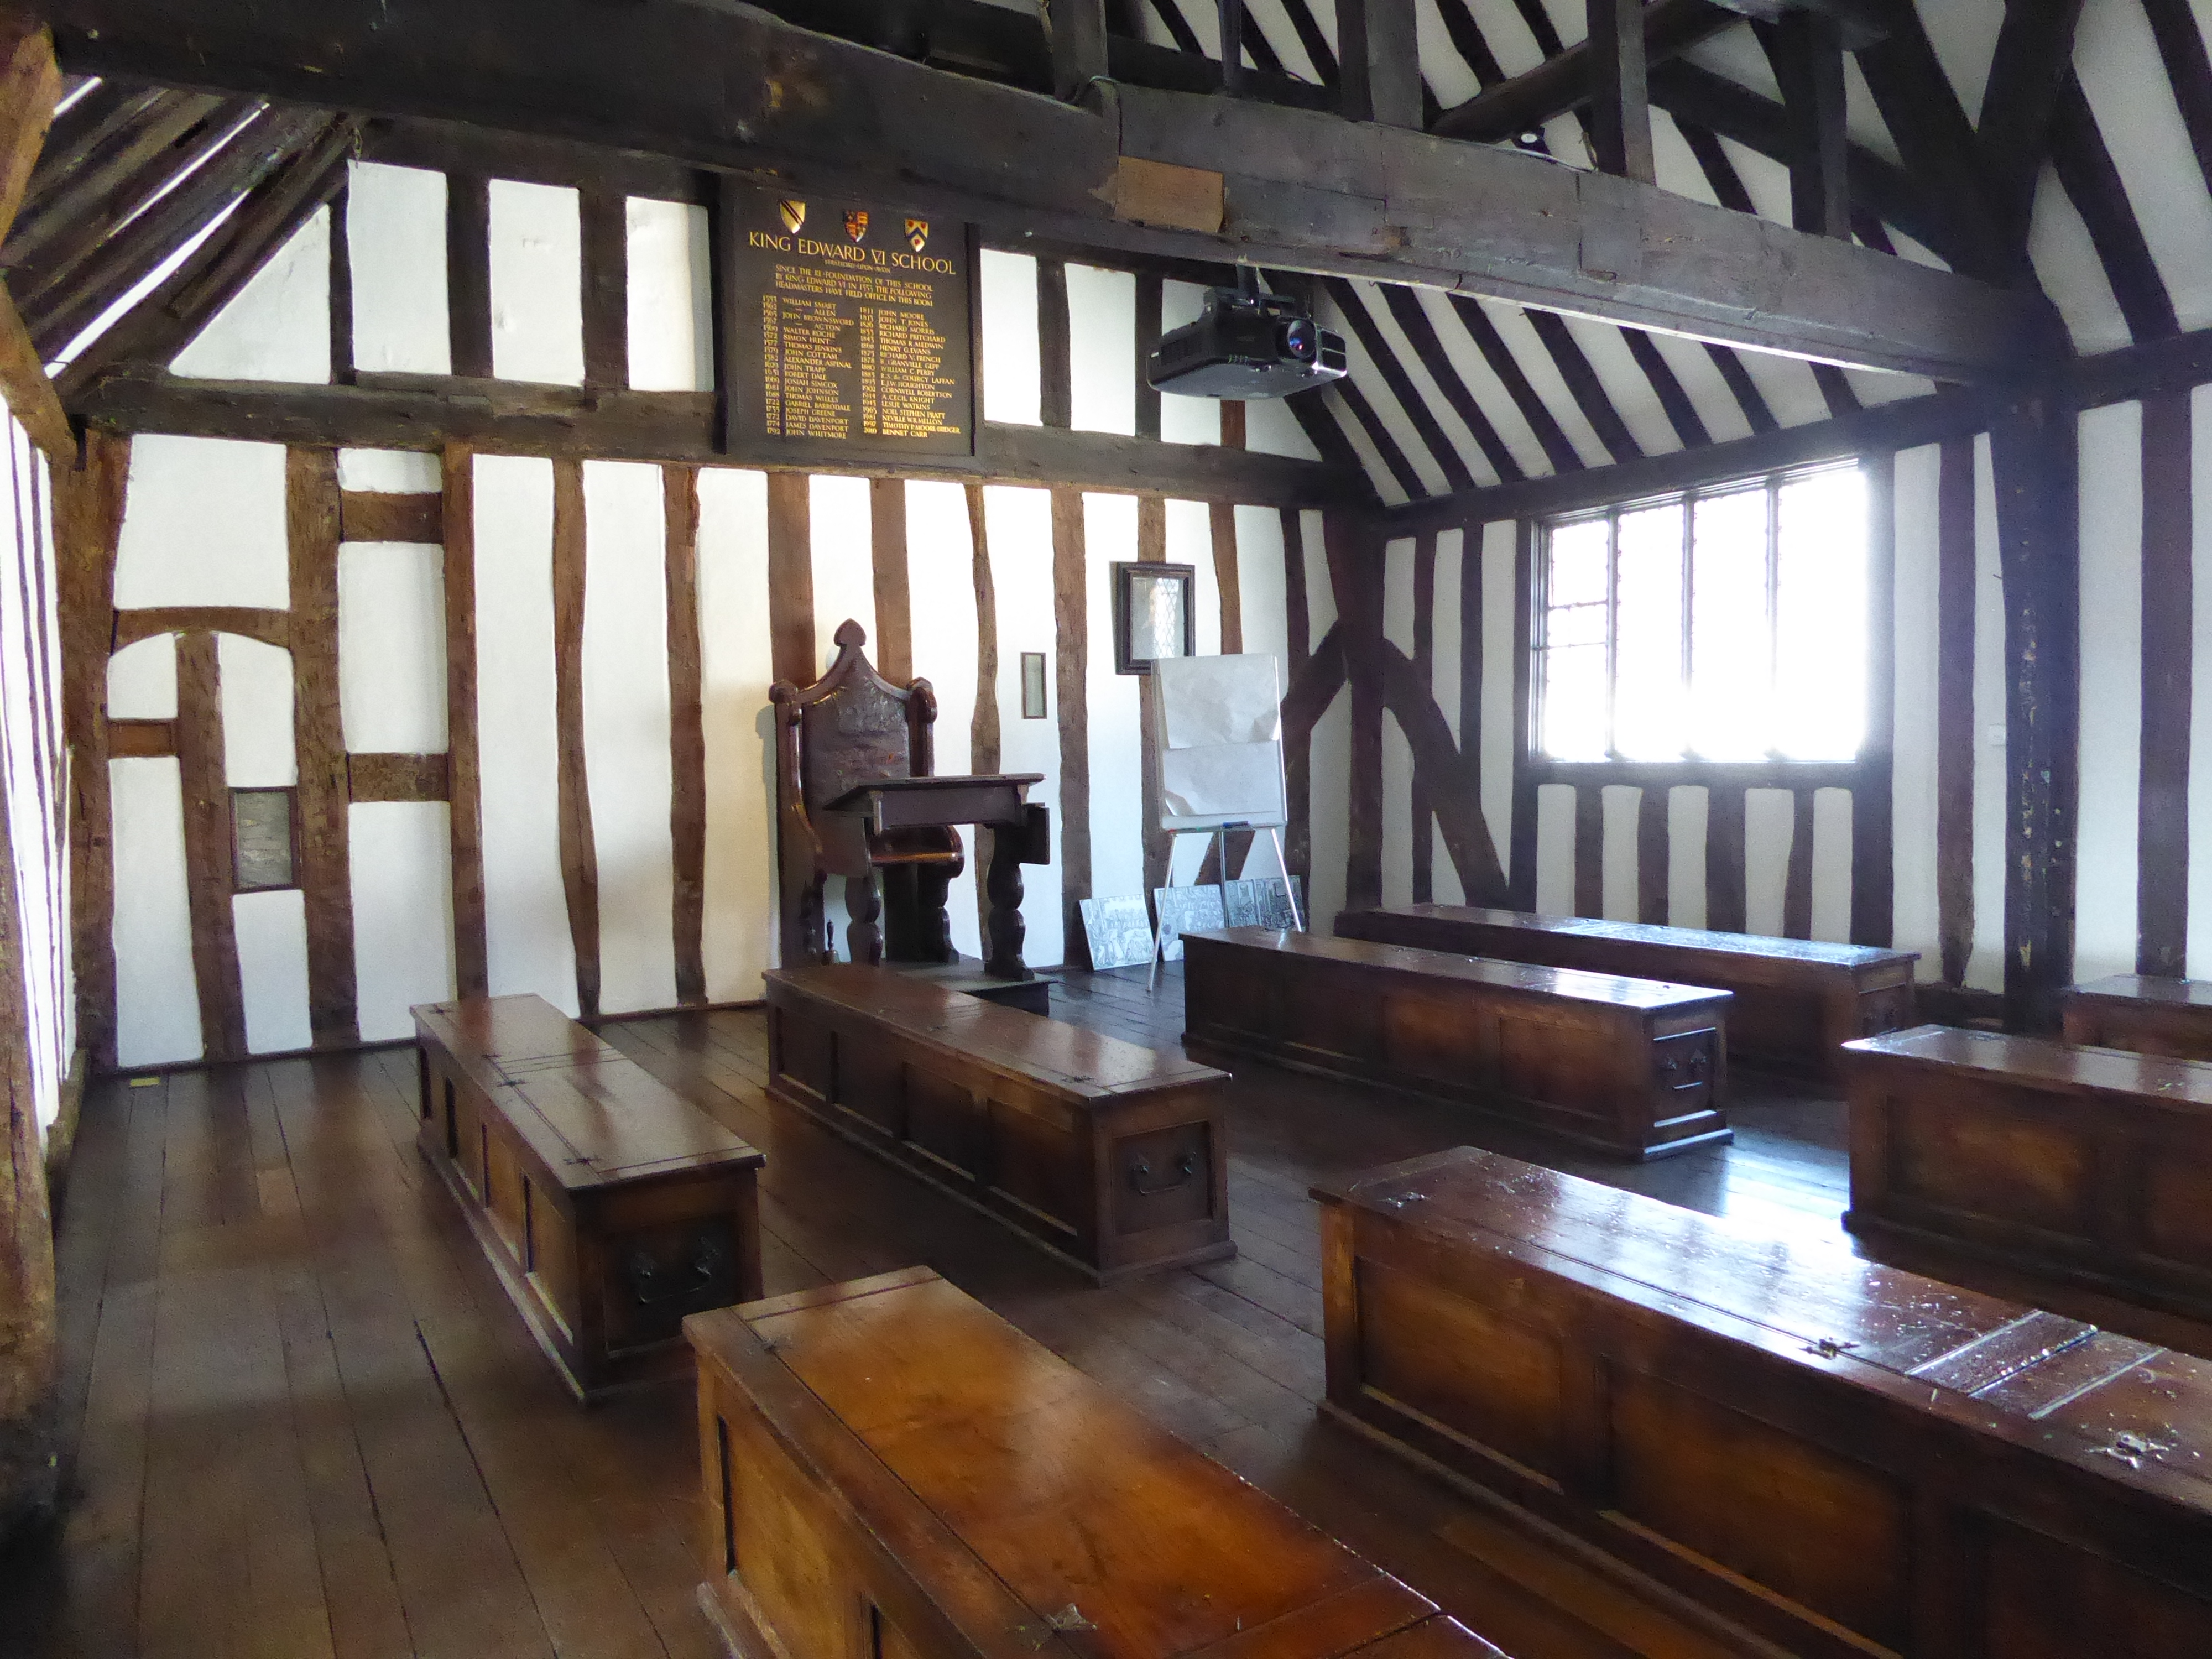
Figure 53: Shakespeare's Schoolroom looking south
Figure 54: Shakespeare's Schoolroom looking north
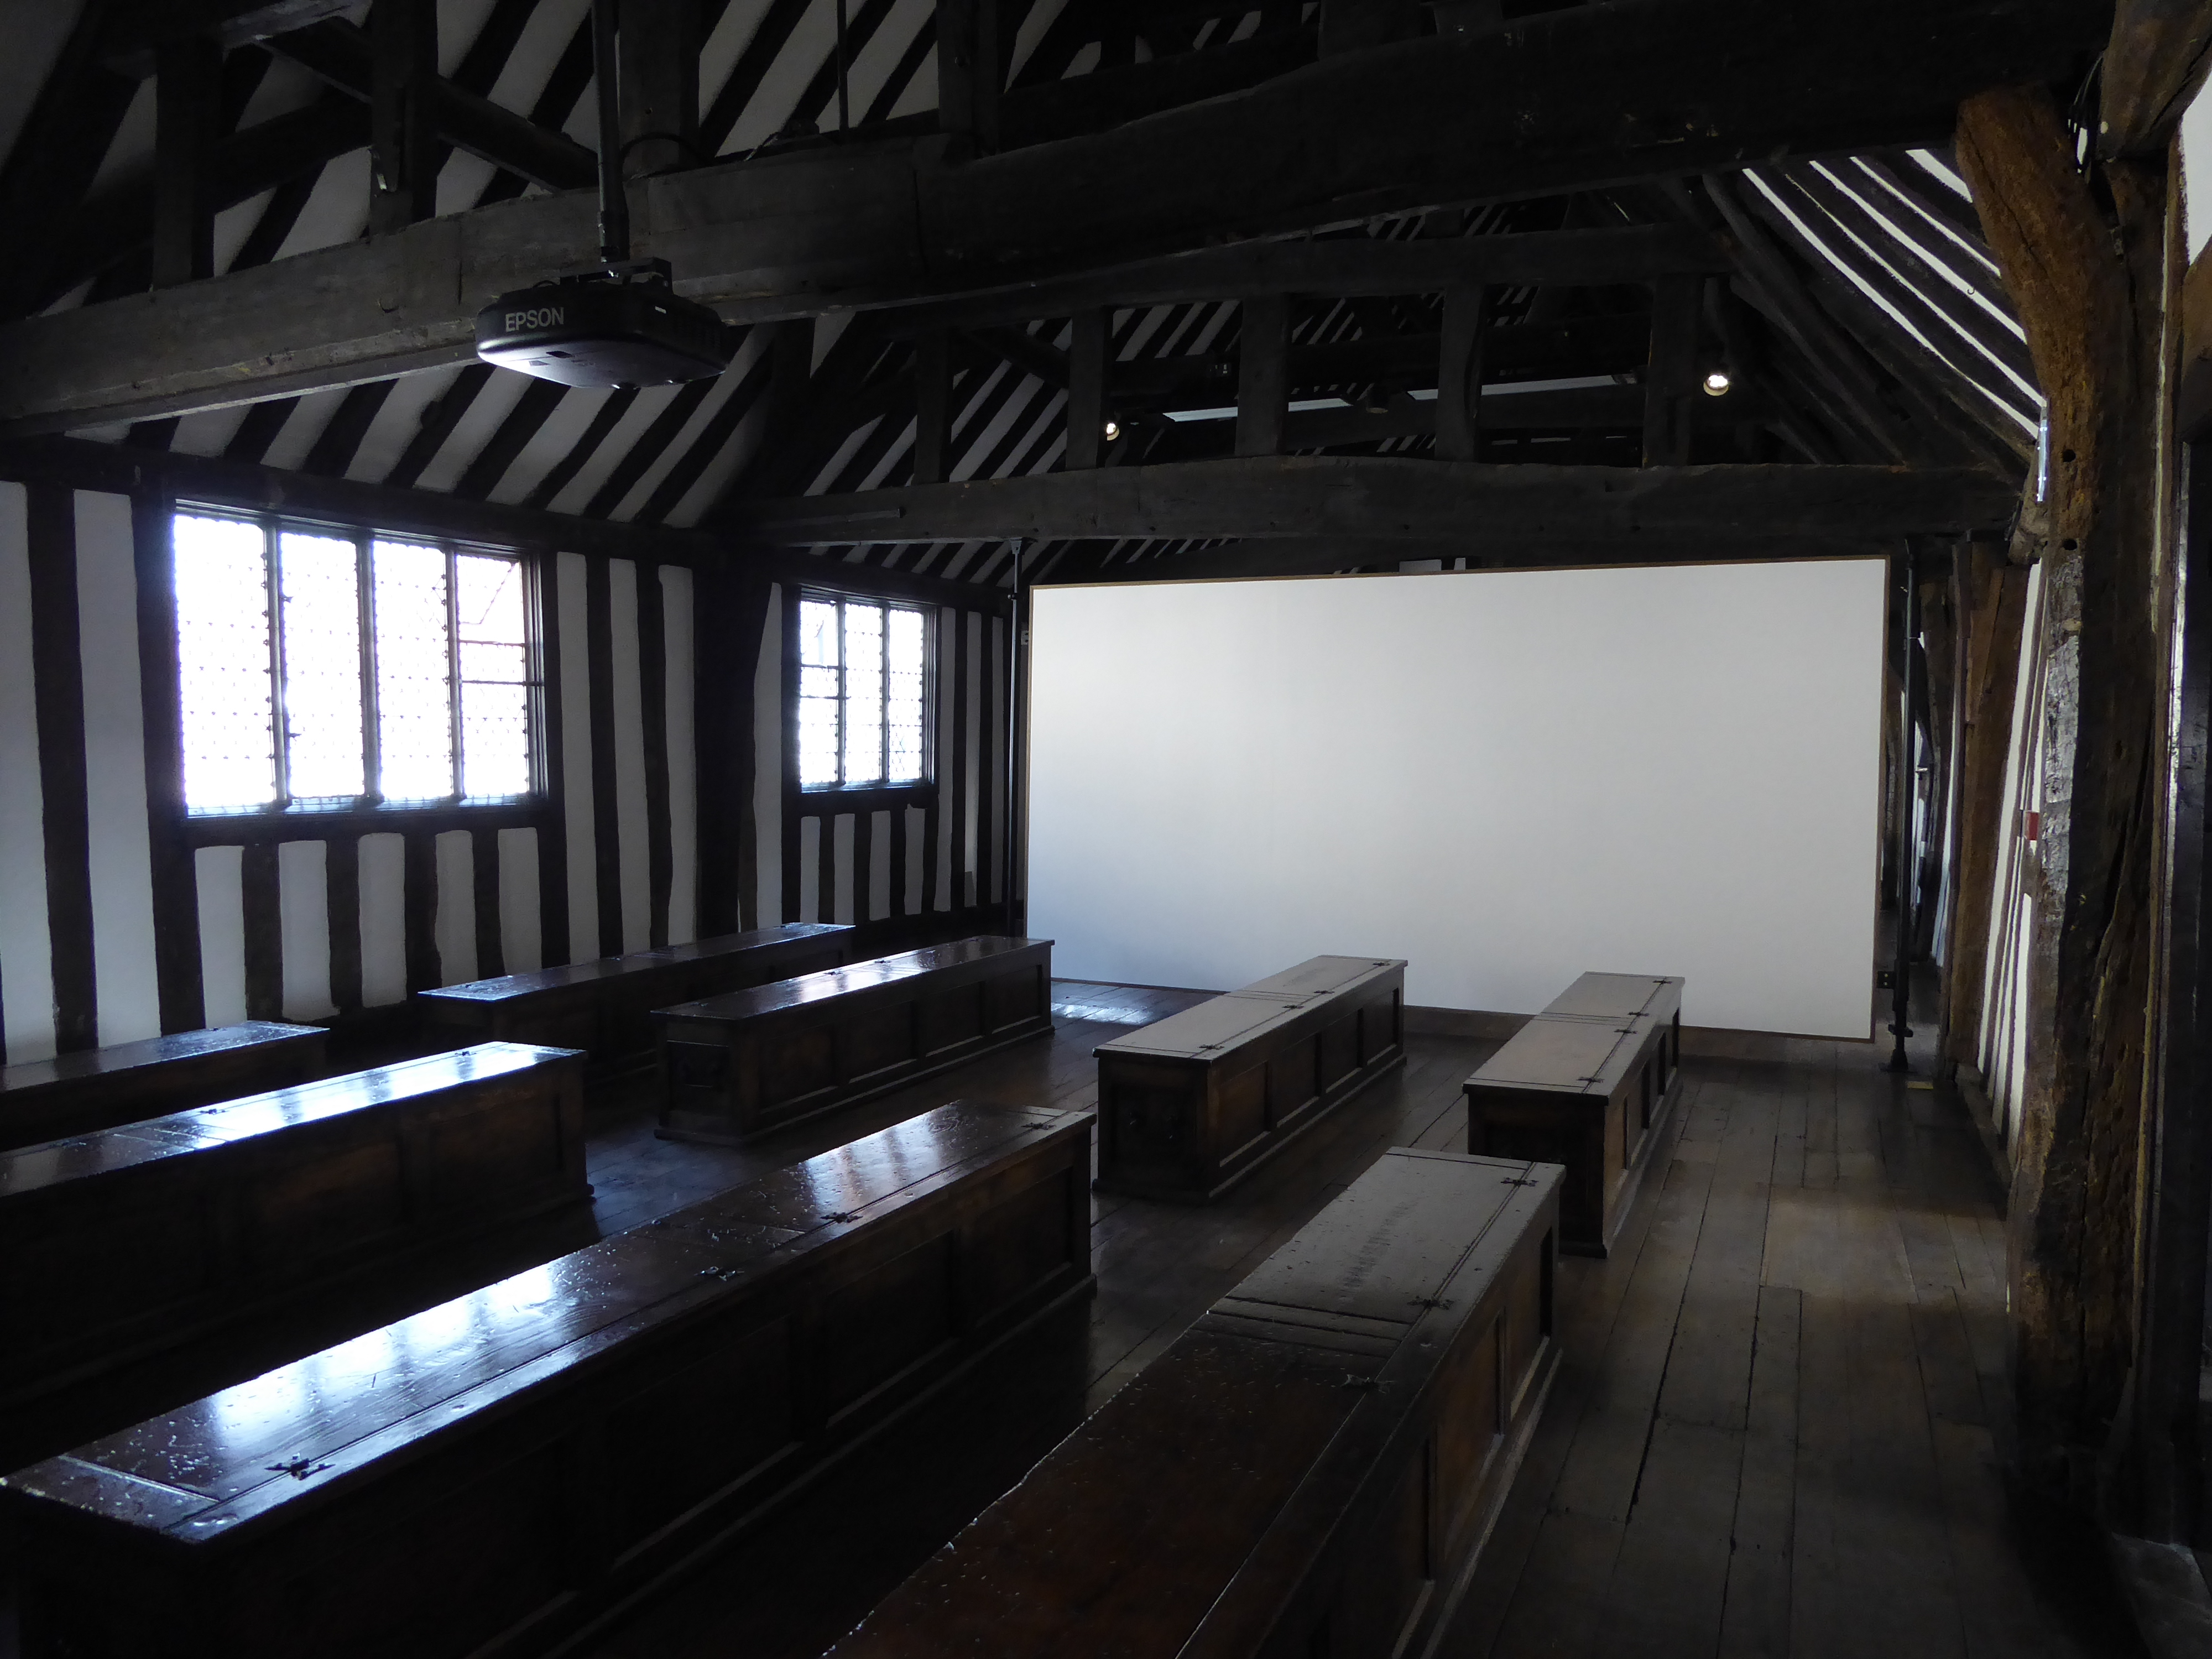
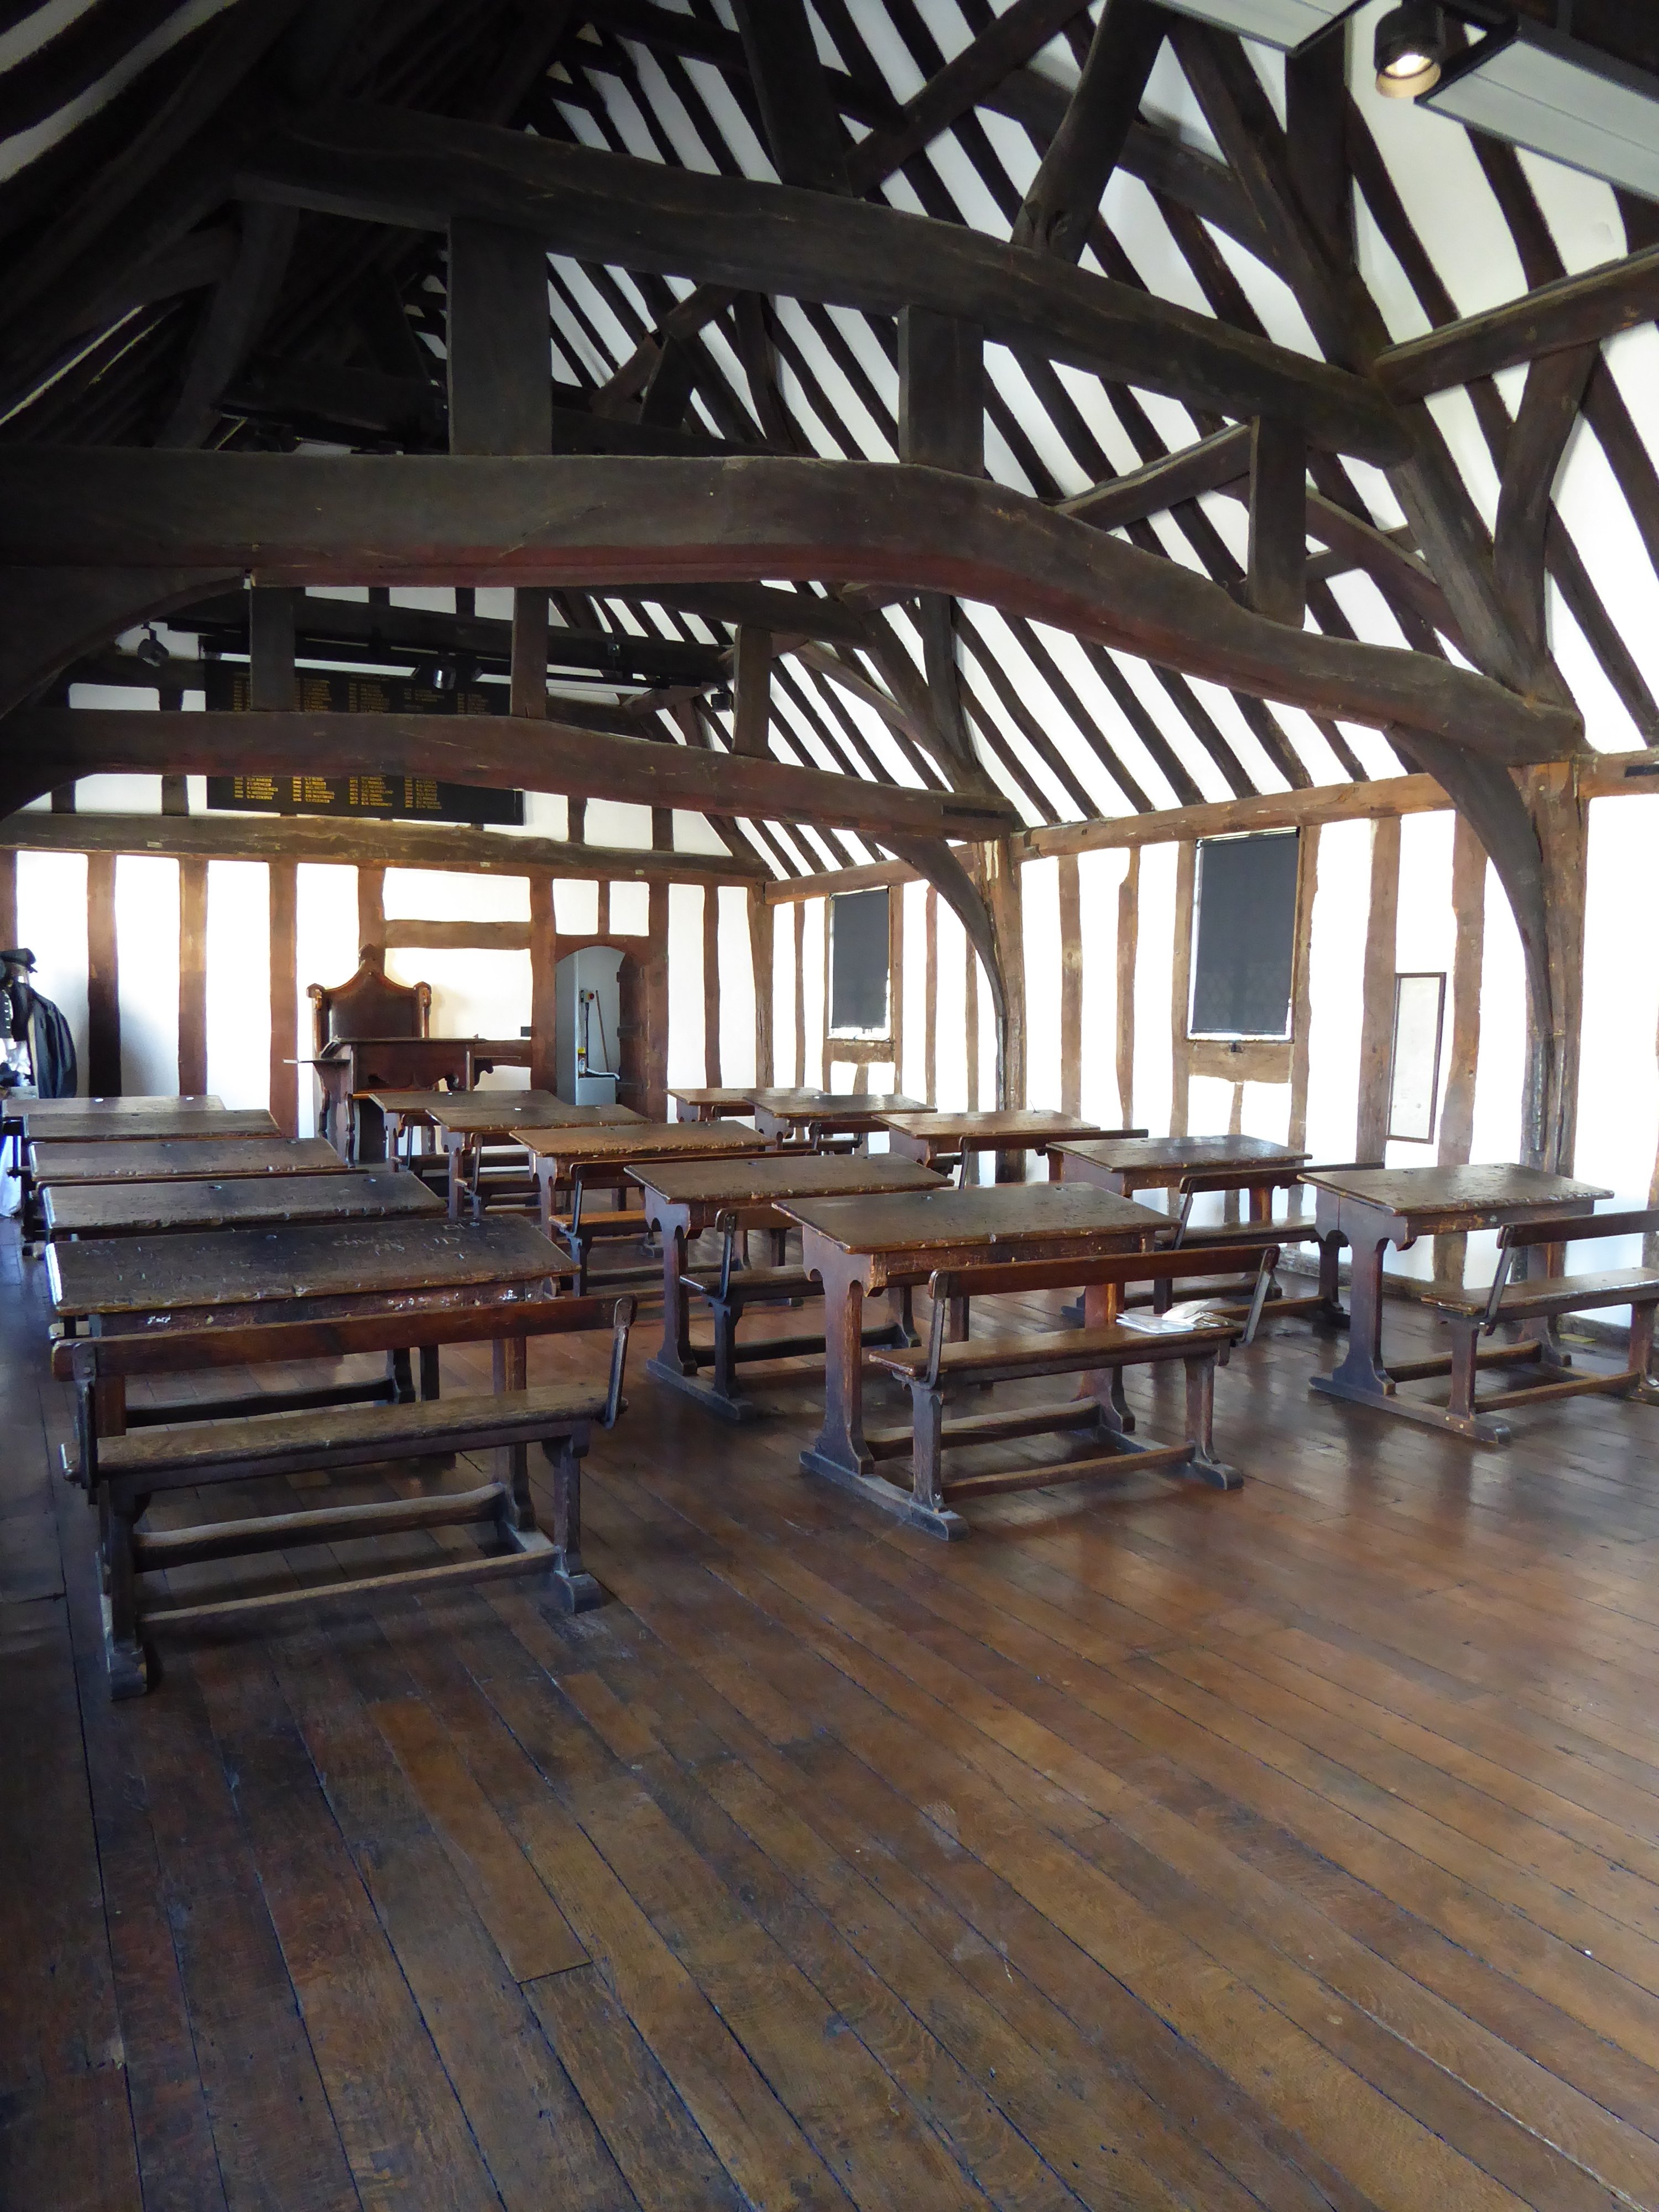
Figure 55: The current schoolroom, featuring 18th century schooldesks.
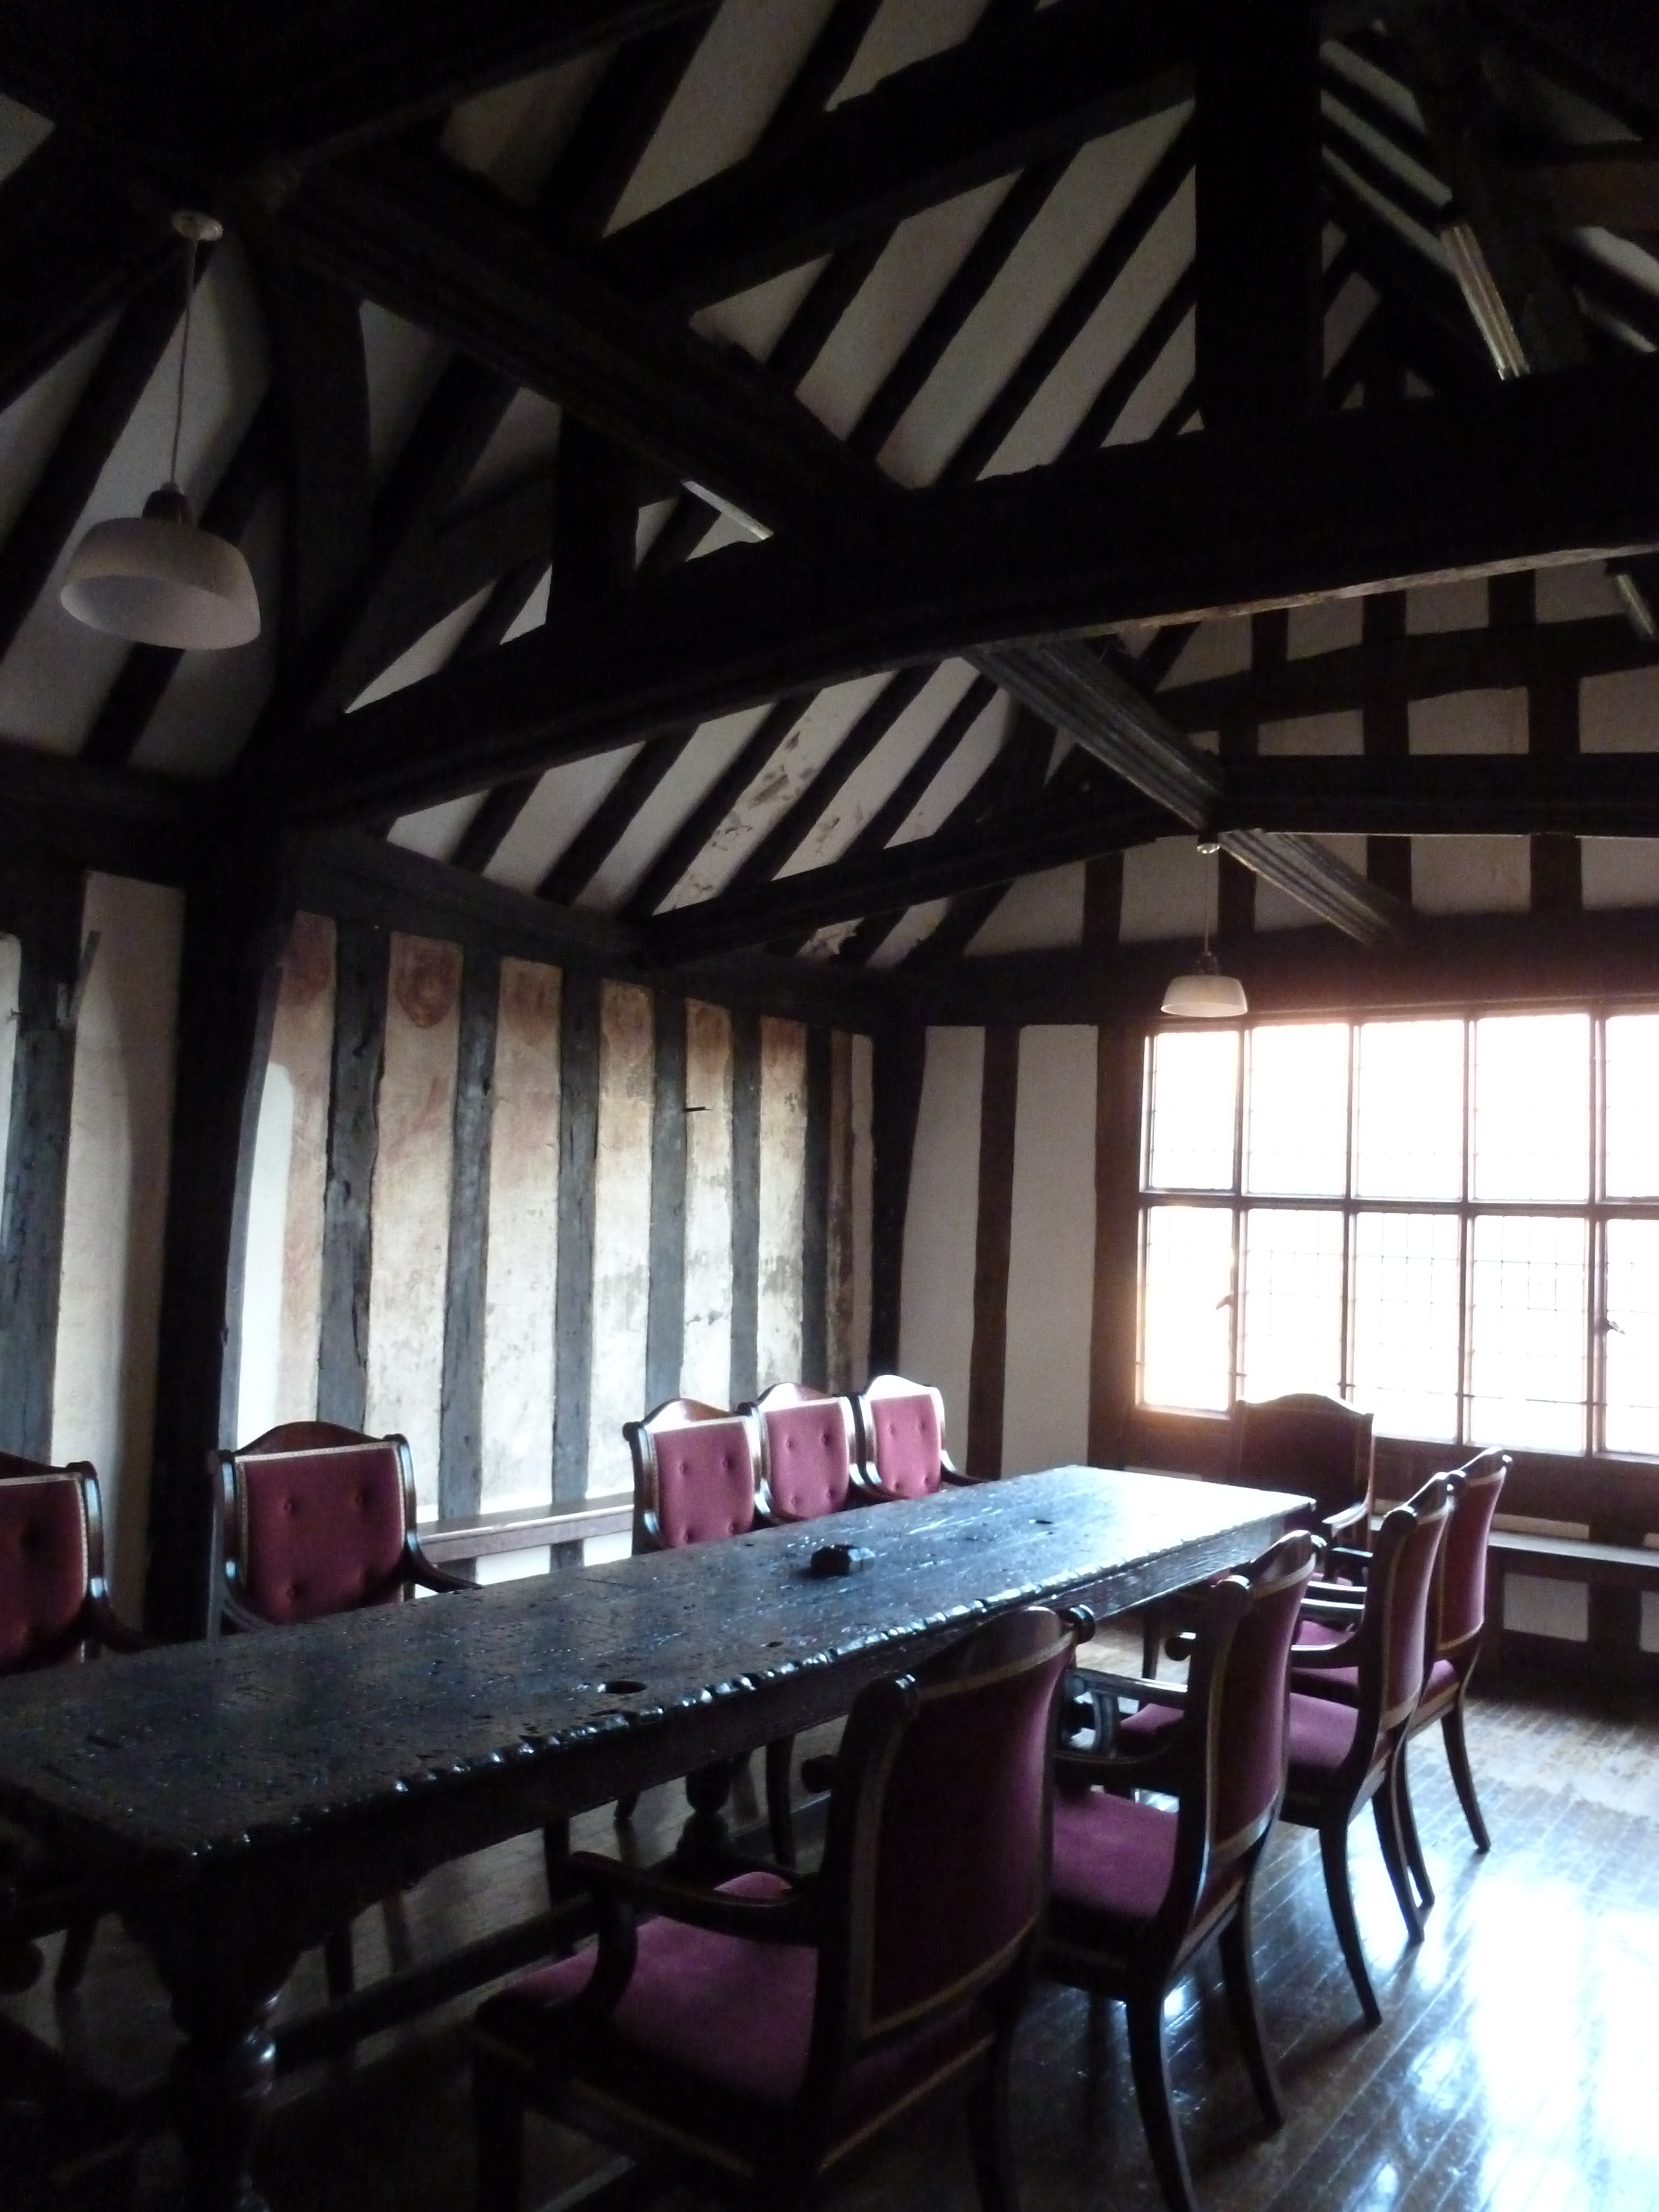
Figure 56: The 'Master's chamber' above the Council Chamber, with surviving wall paintings.
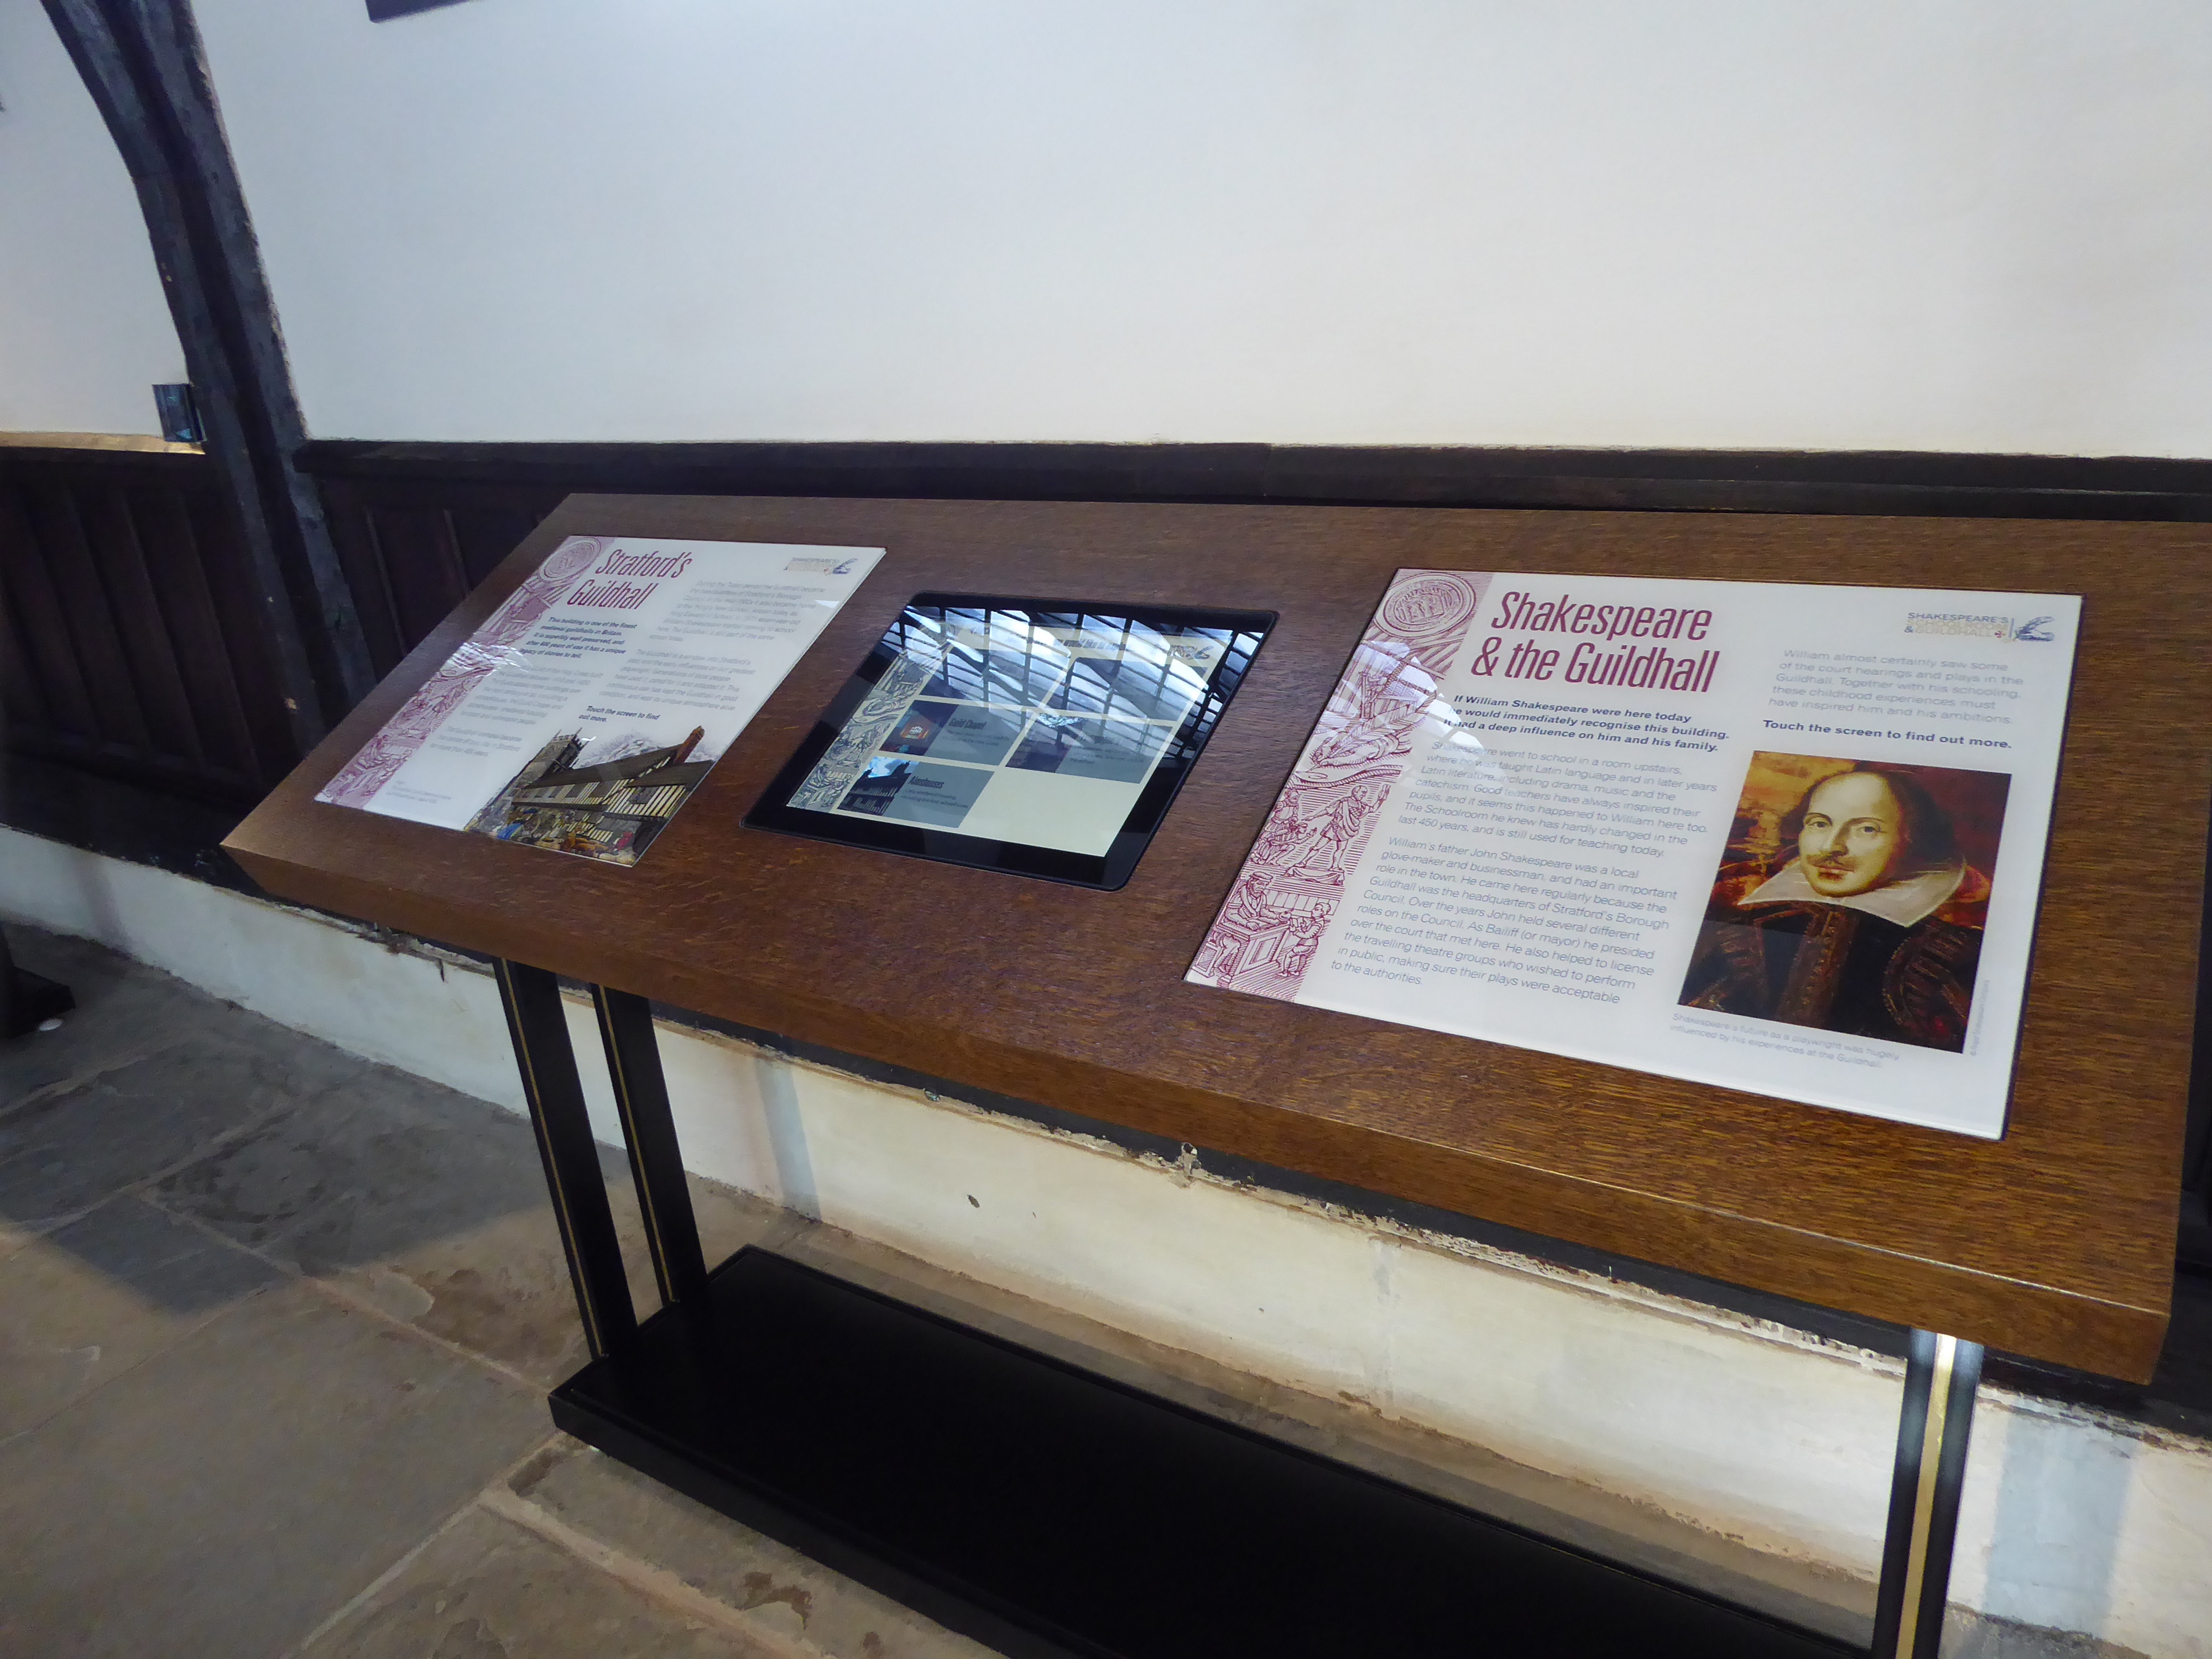
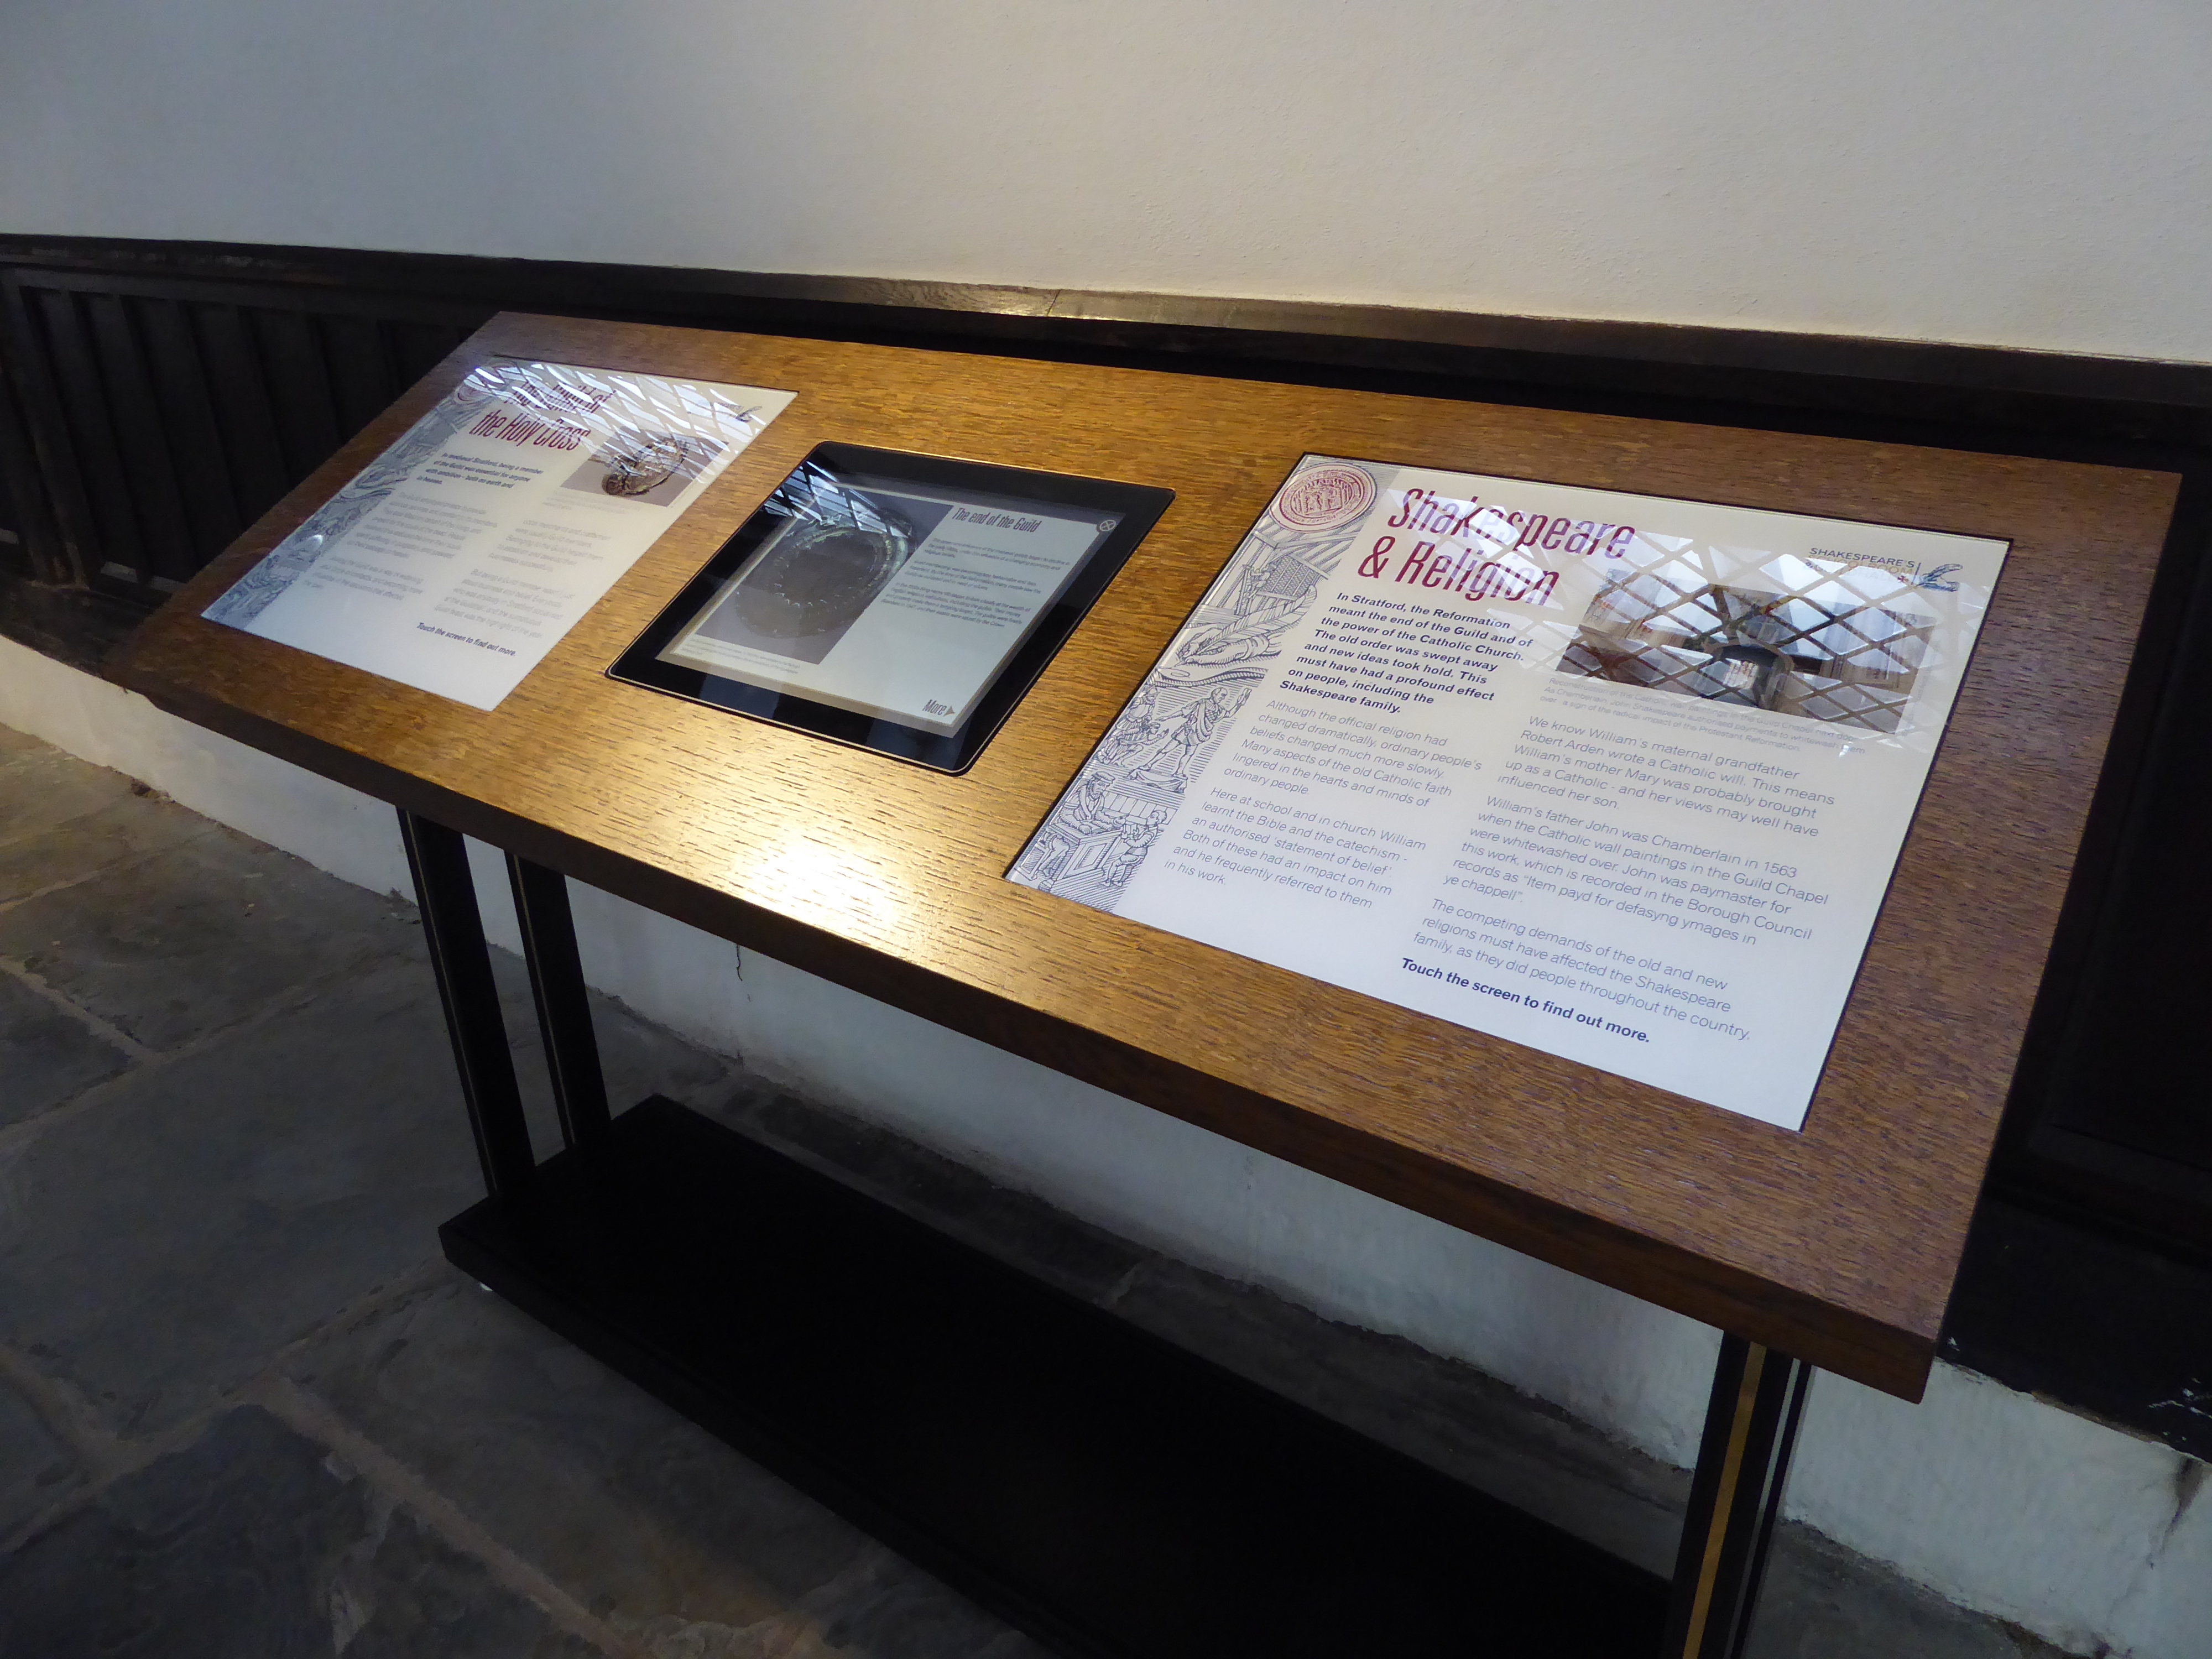
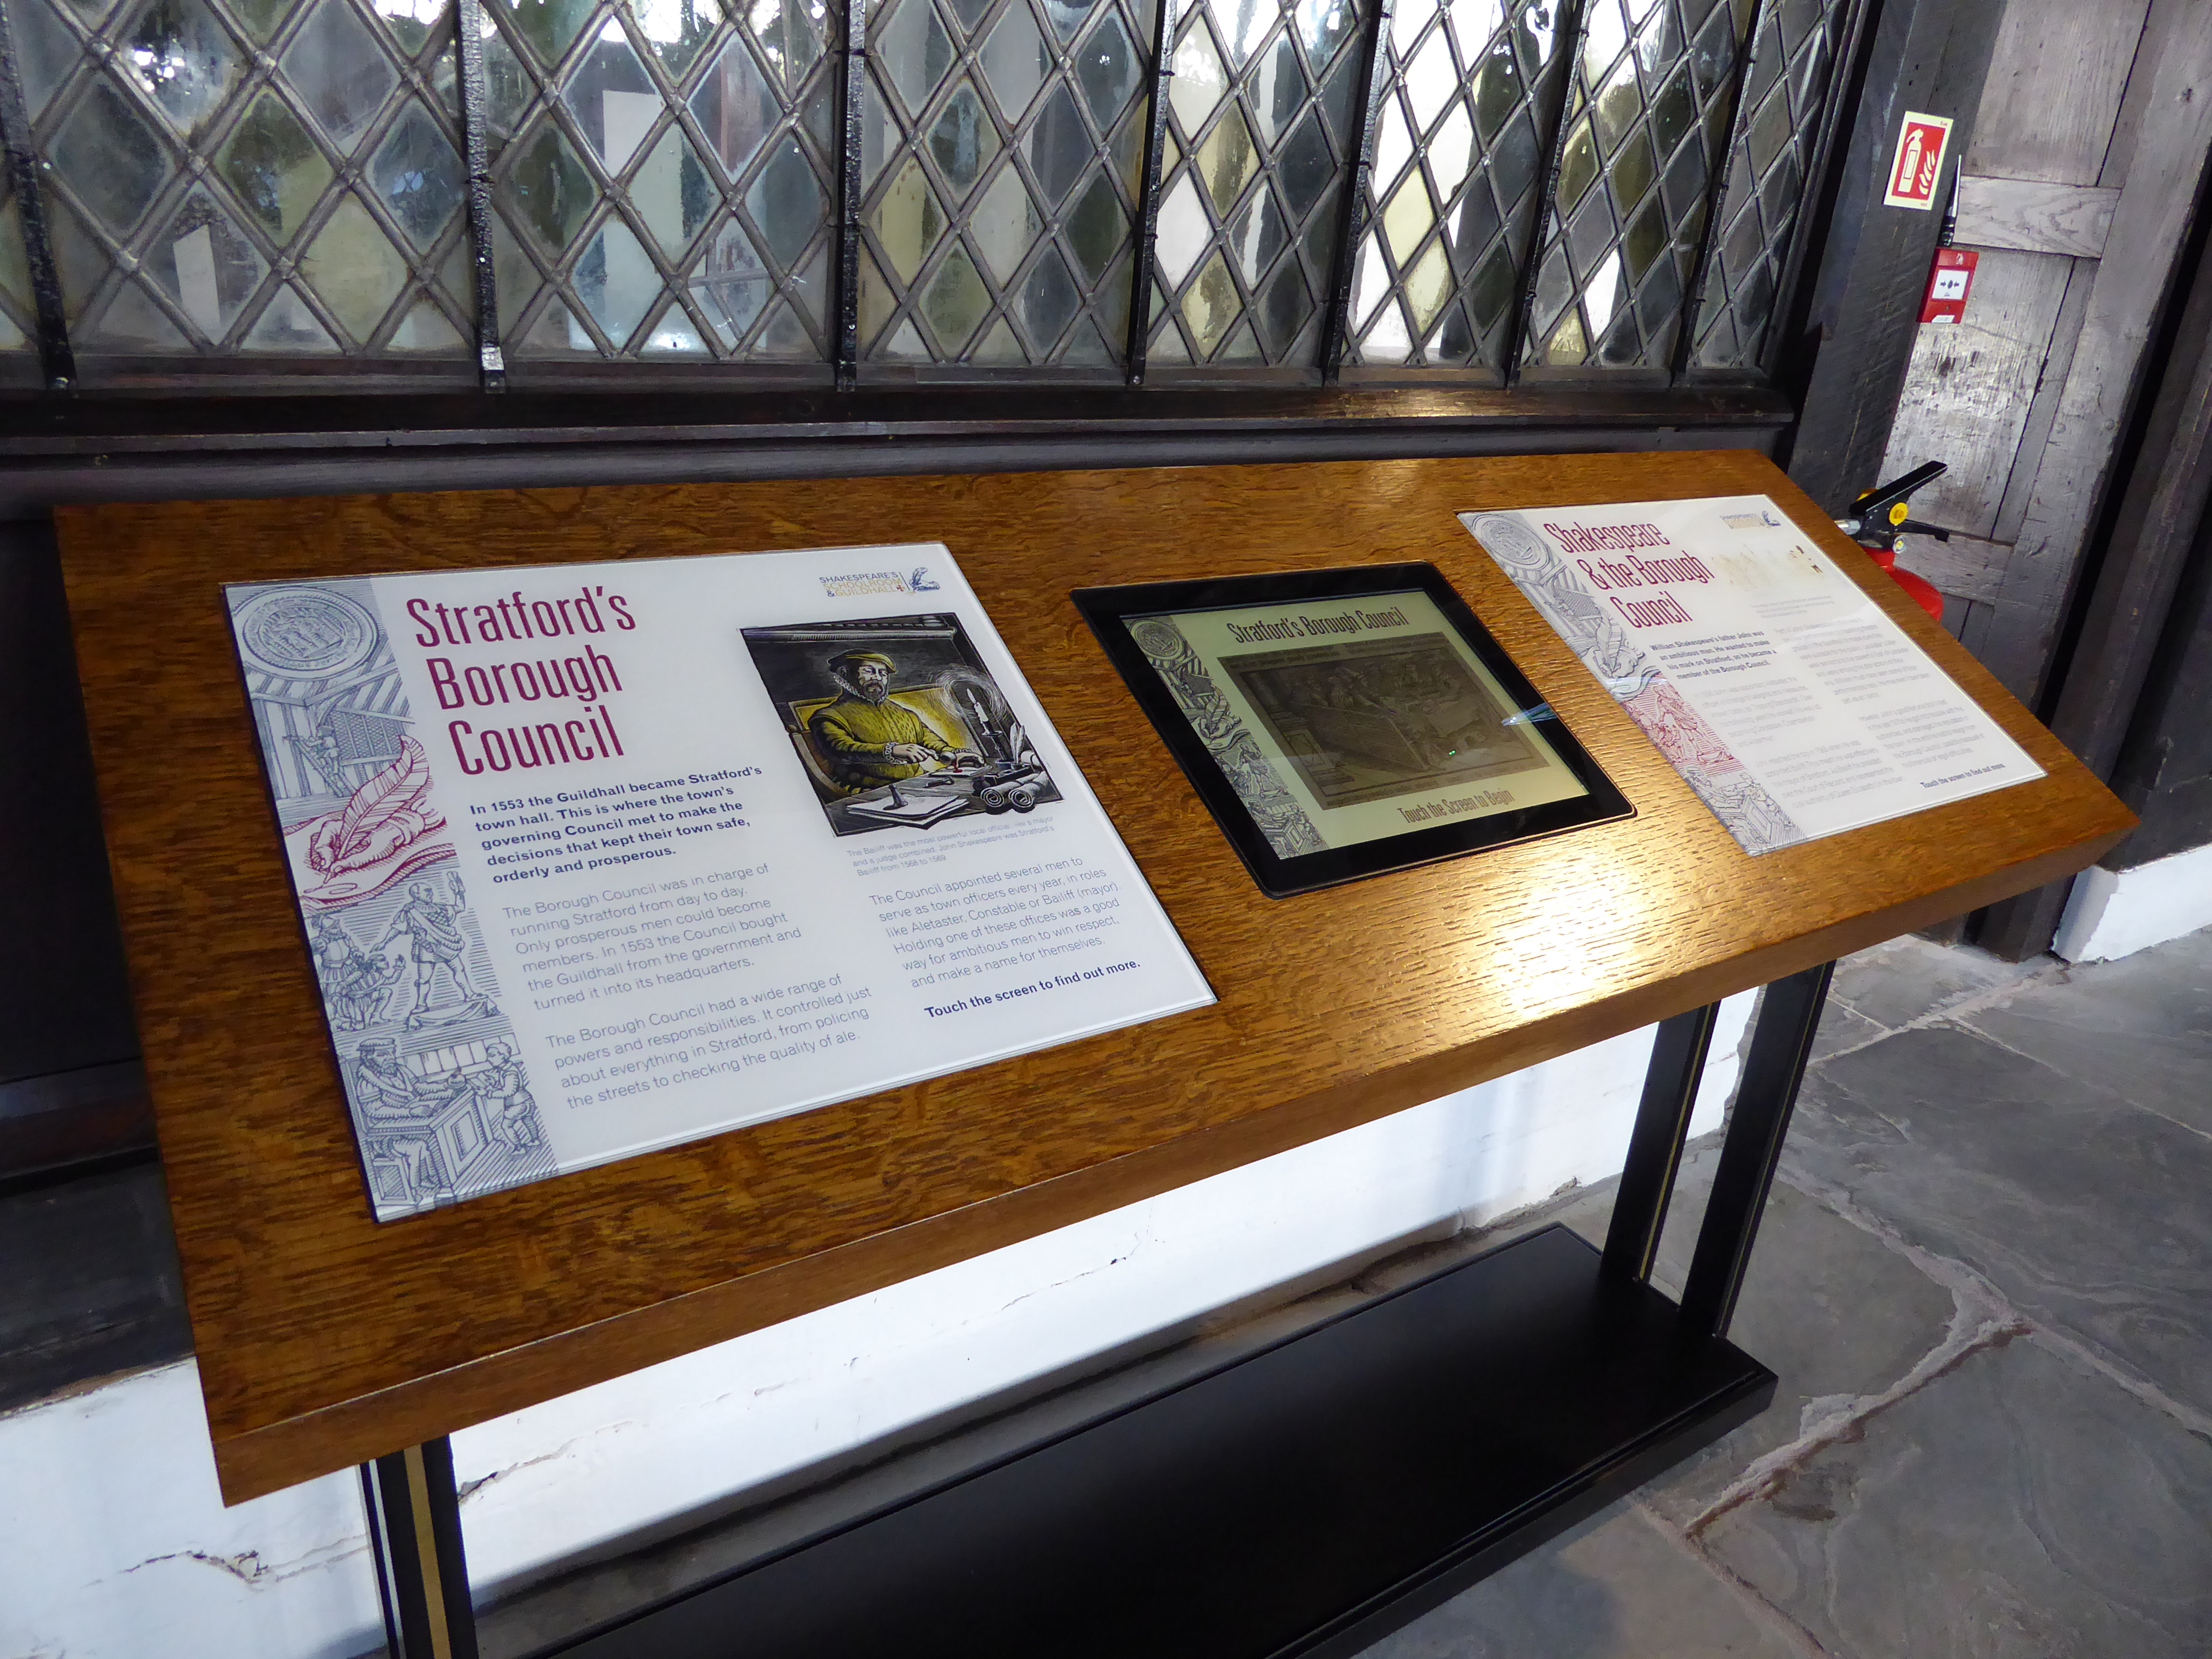
Figure 57: Touchscreen panels featuring information about The Guild and Guild Chapel, Shakespeare and religion, The Corporation and the Court of Record.
Figure 57b: Touchscreen panels featuring information about The Guild and Guild Chapel, Shakespeare and religion, The Corporation and the Court of Record.
Figure 57c: Touchscreen panels featuring information about The Guild and Guild Chapel, Shakespeare and religion, The Corporation and the Court of Record.
Figure 57d: Touchscreen panels featuring information about The Guild and Guild Chapel, Shakespeare and religion, The Corporation and the Court of Record.
Figure 58: The screen partition separating Shakespeare's Schoolroom from the present schoolroom. Note that the screen has been fixed to create a corridor on the west side of the hall, whereas archaeological evidence reflects the presence of a corridor along the east side of the hall originally, providing access to the Chamber which may well have been used as a 'tiring room' for the players, as reconstructed in Figure 59.
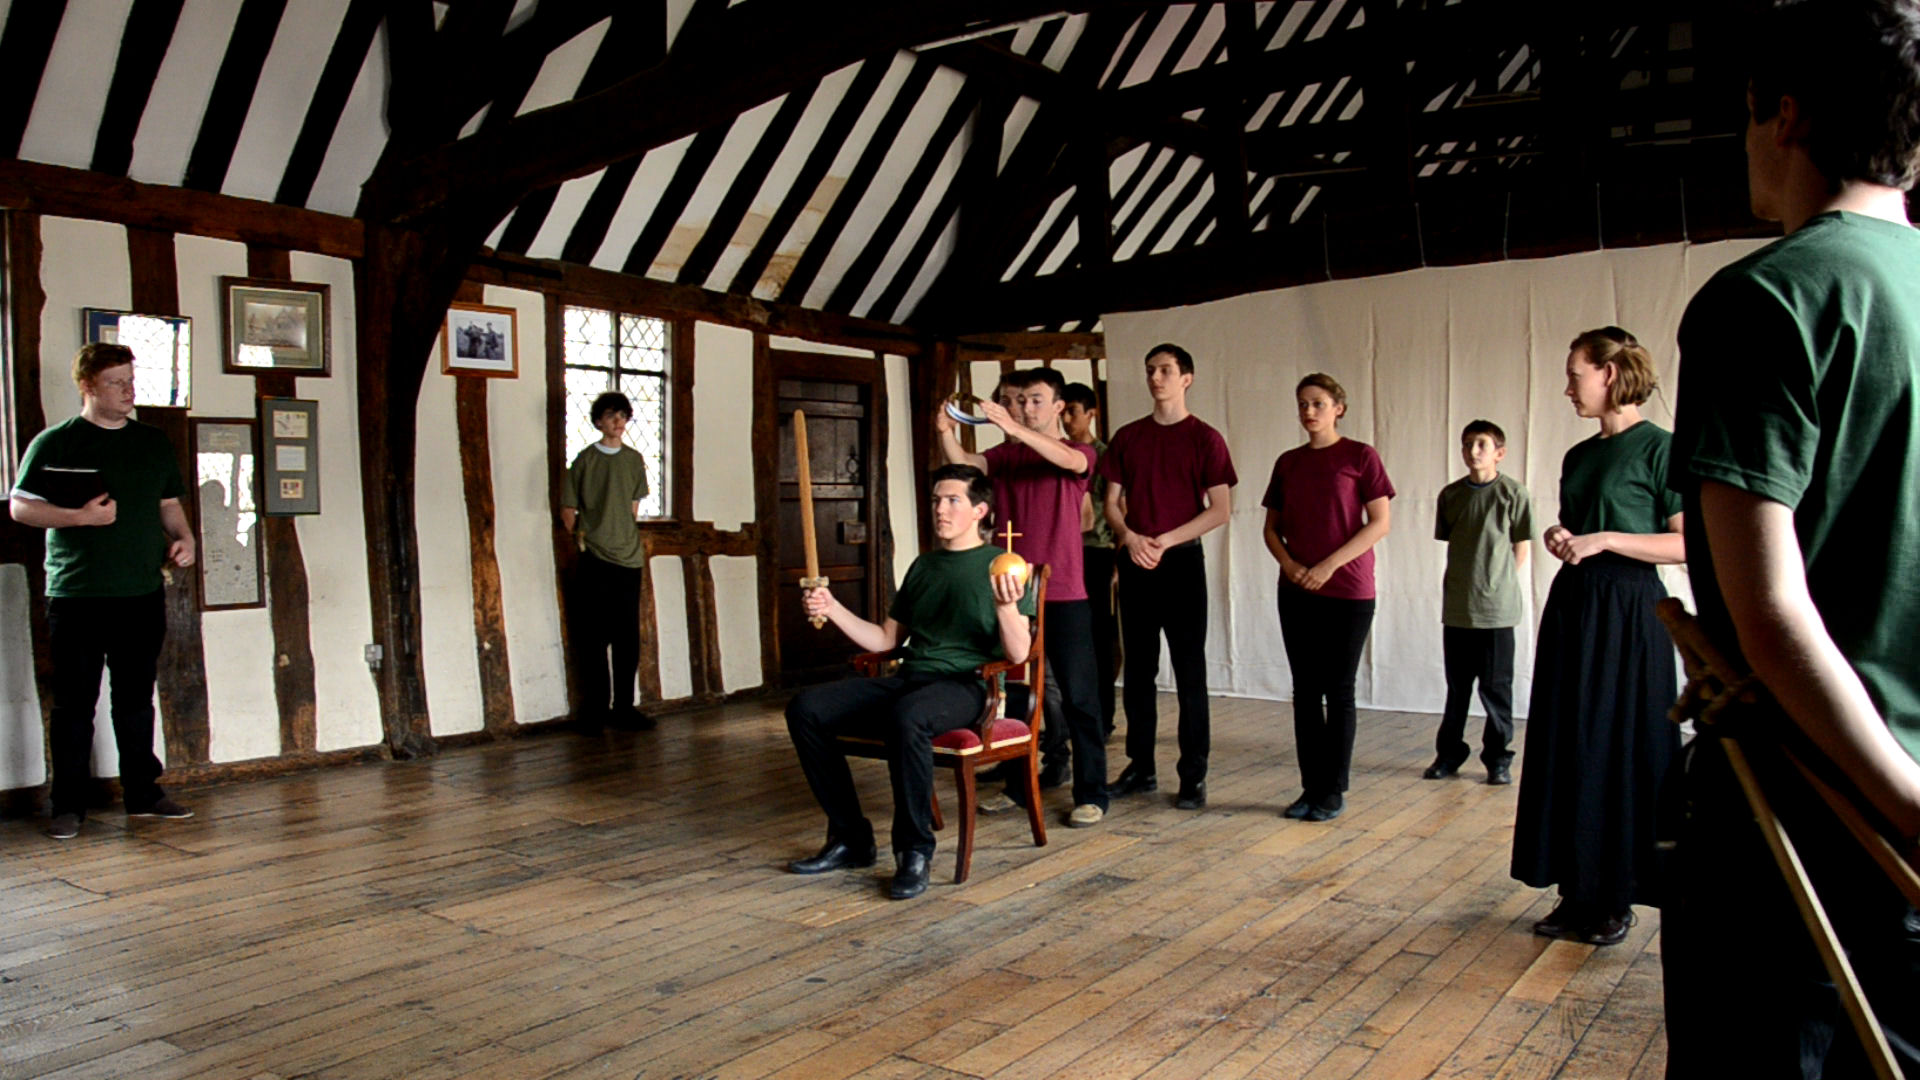
Figure 59: A performance of The Troublesome Reigne of John, King of England, directed by Dr Ollie Jones and performed by students from the University of York.
Internet Archaeology is an open access journal based in the Department of Archaeology, University of York. Except where otherwise noted, content from this work may be used under the terms of the Creative Commons Attribution 3.0 (CC BY) Unported licence, which permits unrestricted use, distribution, and reproduction in any medium, provided that attribution to the author(s), the title of the work, the Internet Archaeology journal and the relevant URL/DOI are given.
Terms and Conditions | Legal Statements | Privacy Policy | Cookies Policy | Citing Internet Archaeology
Internet Archaeology content is preserved for the long term with the Archaeology Data Service (ROR). Help sustain and support open access publication by donating to our Open Access Archaeology Fund.